Can You Smell Gas?
My wife and I are converting a delivery van into a motorhome in the following three phases:
Lining and insulationFurniture and bedding- Gas, water and electrical
This post deals mostly with the LPG installation, which is part of the last (third) phase of the conversion.
If you just want to look at pictures, here is a running project photo journal with the most recent photos at the top.
Budget and Hours
I've now lost track of how many hours we've spent working on this conversion, which is probably a good thing. It would be difficult to estimate how many hours have been spent just on LPG installation alone, as at this point in the project the remaining work streams are converging. In any case, around 12 weeks have passed since we started on the last phase, having already spent around 500 hours, so by my estimate, there is an additional 240 hours in here, which includes LPG, electrics and plumbing.
In terms of the budget, according to my records, we've spent just over £22,000, which is around 10% over. The gas kit alone cost around £655, not including additional tools (e.g. pipe bender, etc.).
LPG Tank
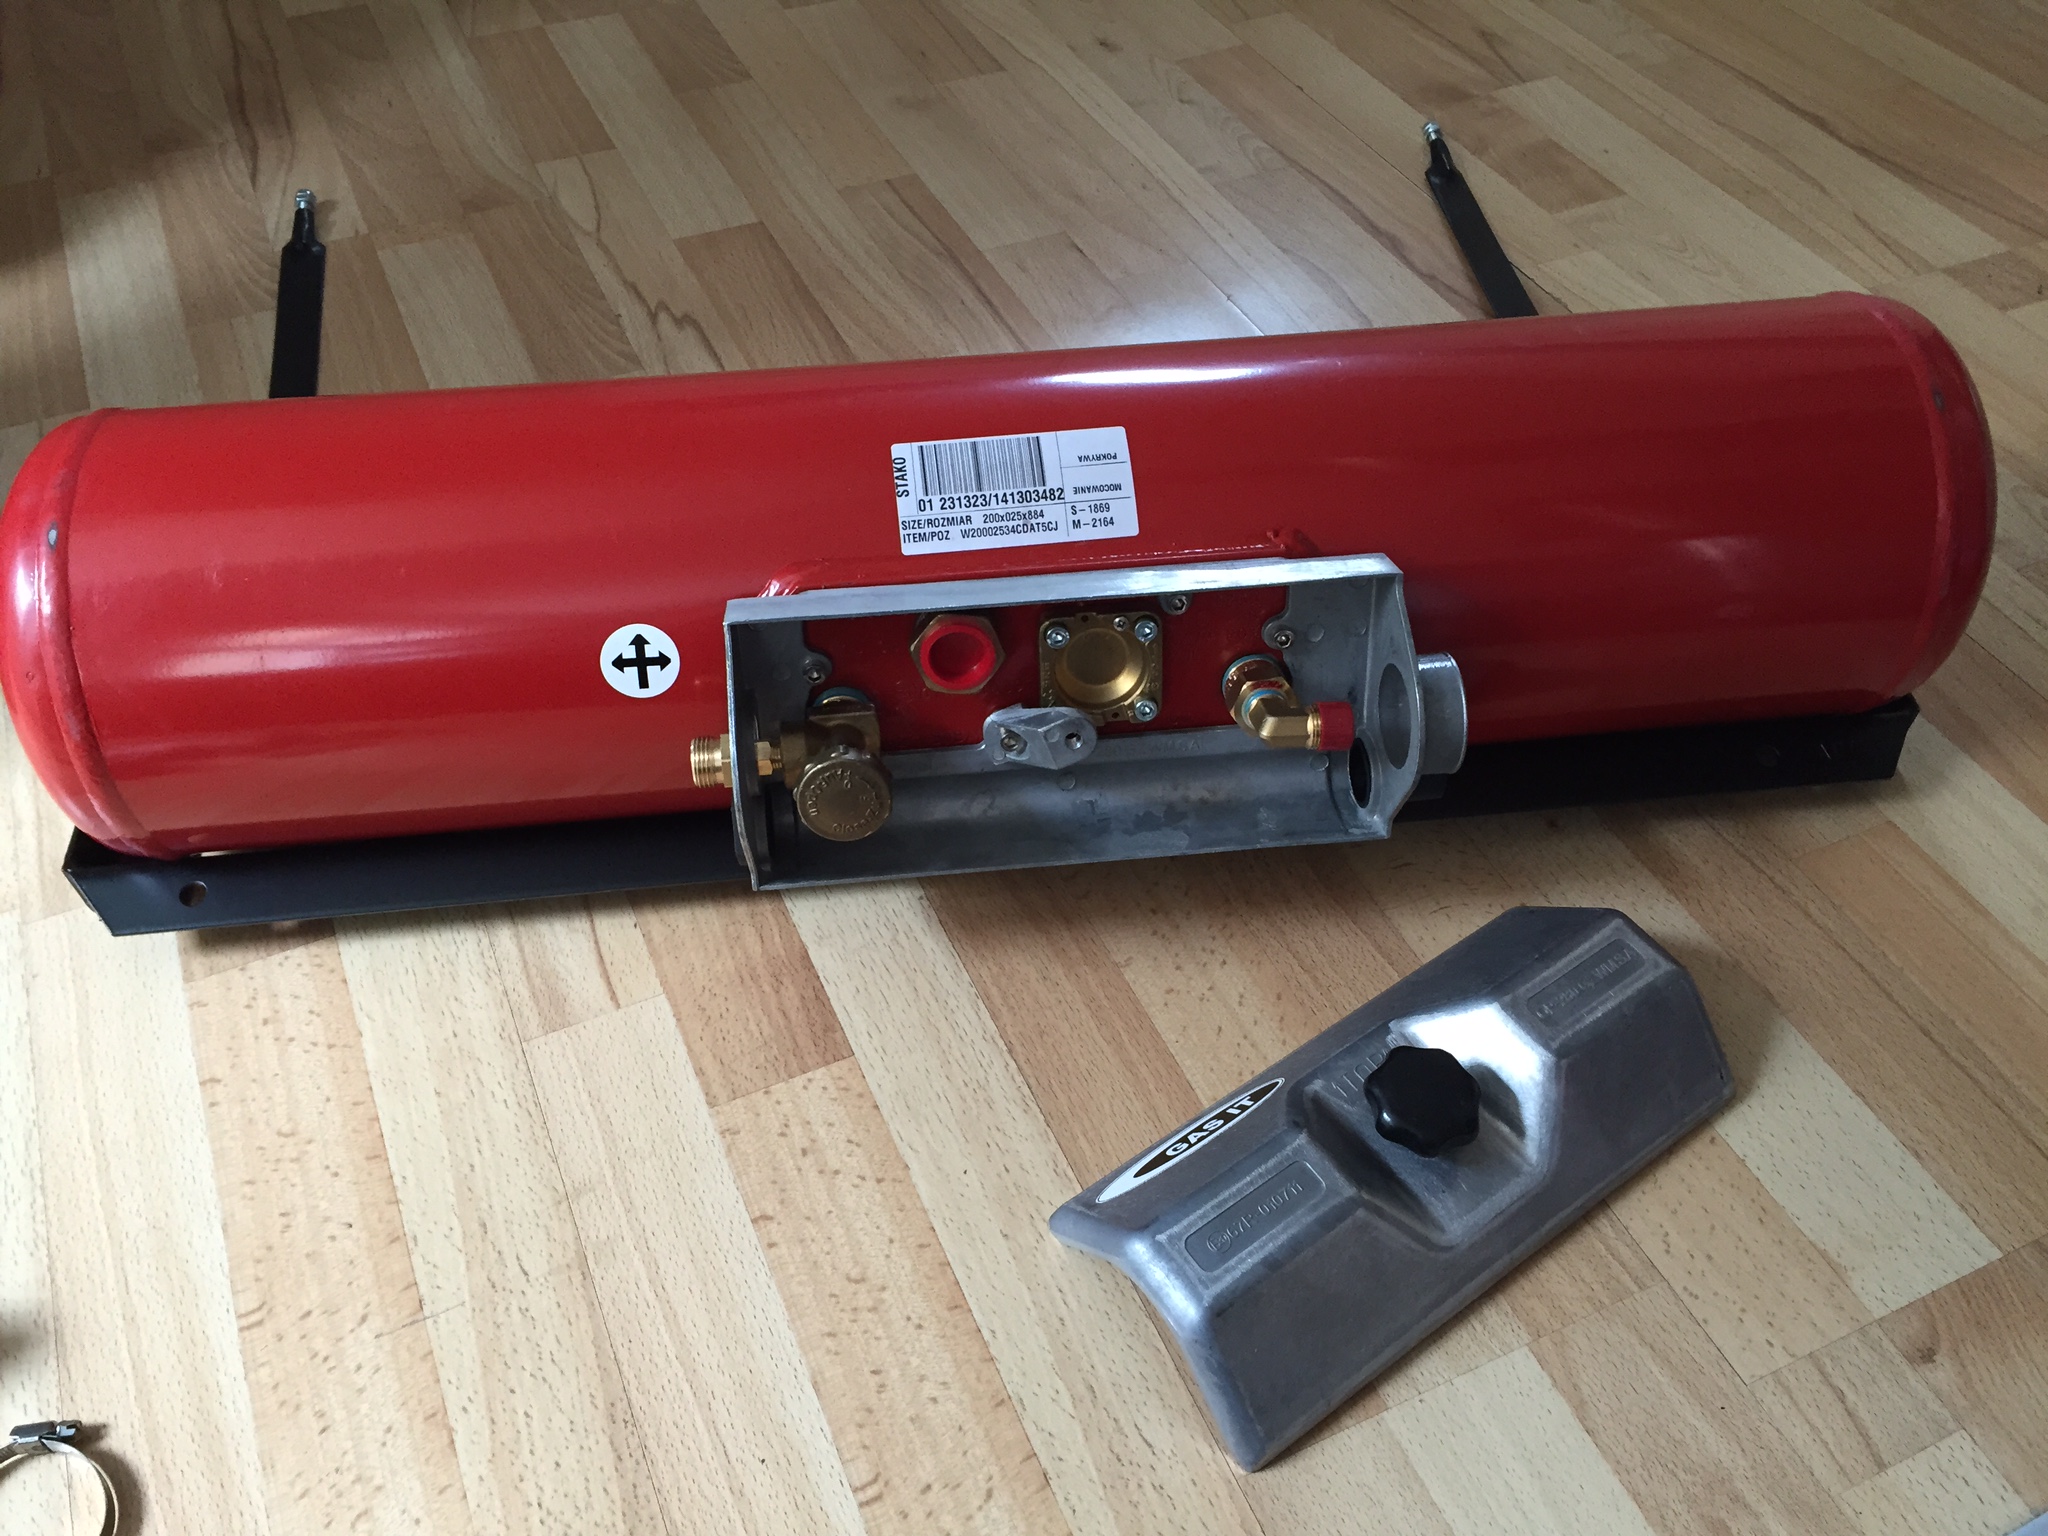
We've decided to put a 25 litre (20 usable) horizontal vapour tank under the van, rather than having to mess around with cylinders inside. I bought the tank, bracket, straps and all the rest of the kit from GAS IT, which is the UK distributor for the STAKO brand of tanks.
I originally thought the tank could go into the cavity under and behind the sliding door step on the N/S of the van, however it turned out that it would be difficult to mount it there with adequate ground clearance and custom brackets would have to be manufactured due to access issues. Because this is a rear wheel drive van, there is almost no usable space underneath due to the drive-shaft occupying the space
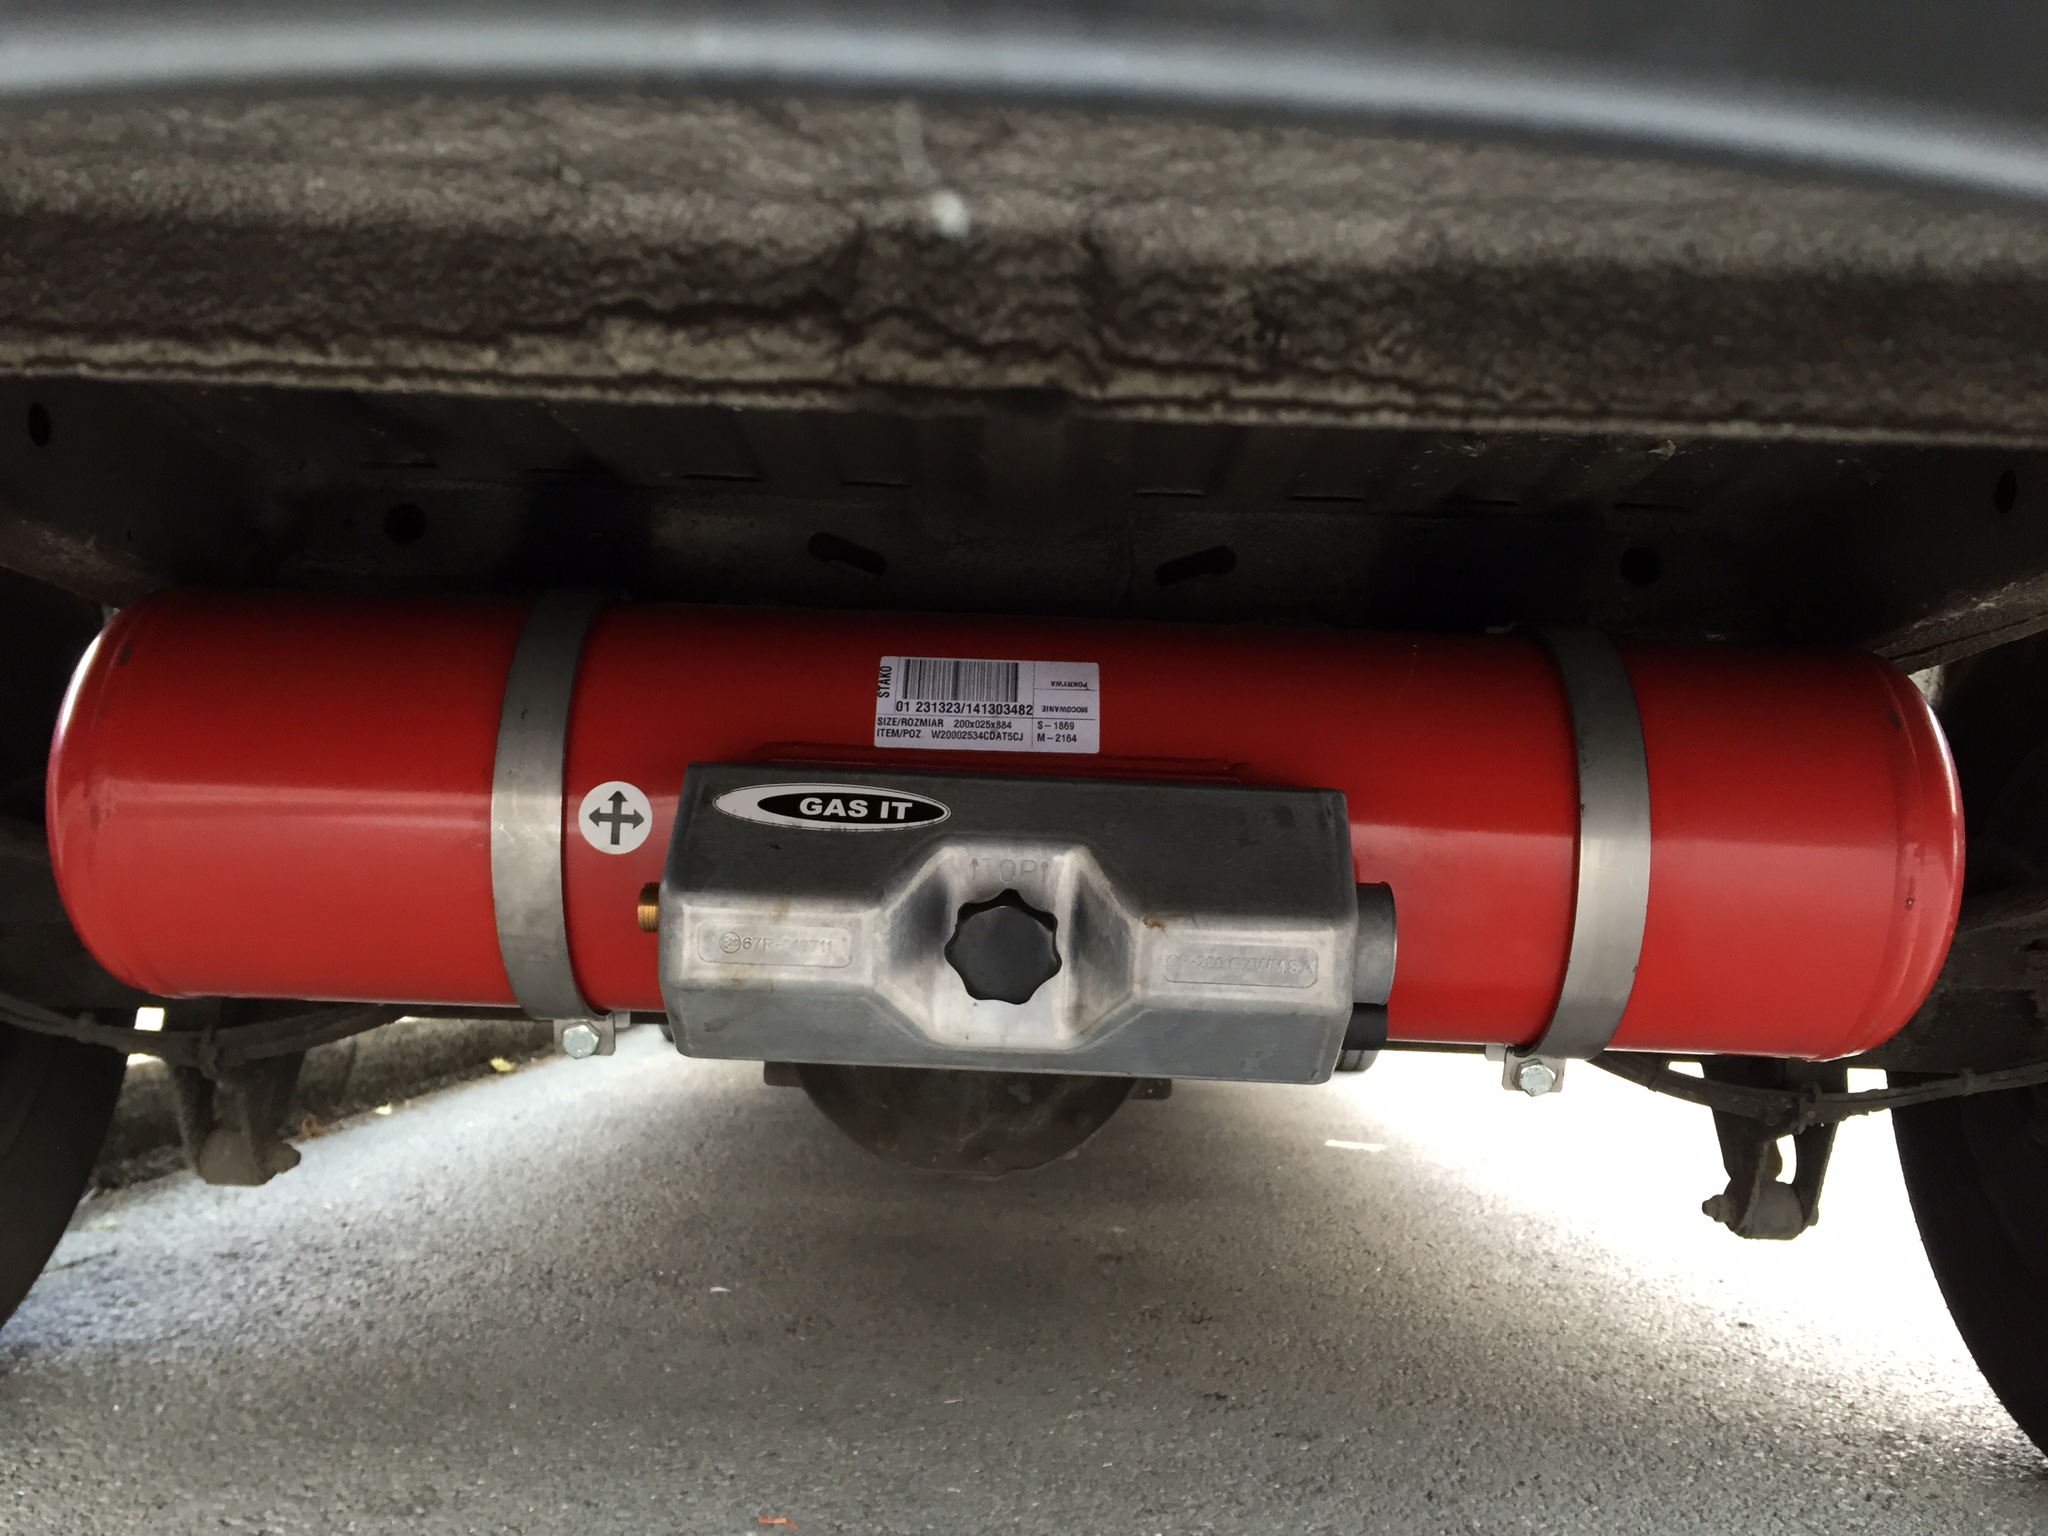
I drove the van down to Propex Heating and Leisure Ltd in Ringwood, to get the tank fitted and got them to bolt it using their custom stainless steel brackets to the spare tyre posts. I was always planning to move the spare and use the space for fresh water tank. I guess the tanks will have to learn how to share..
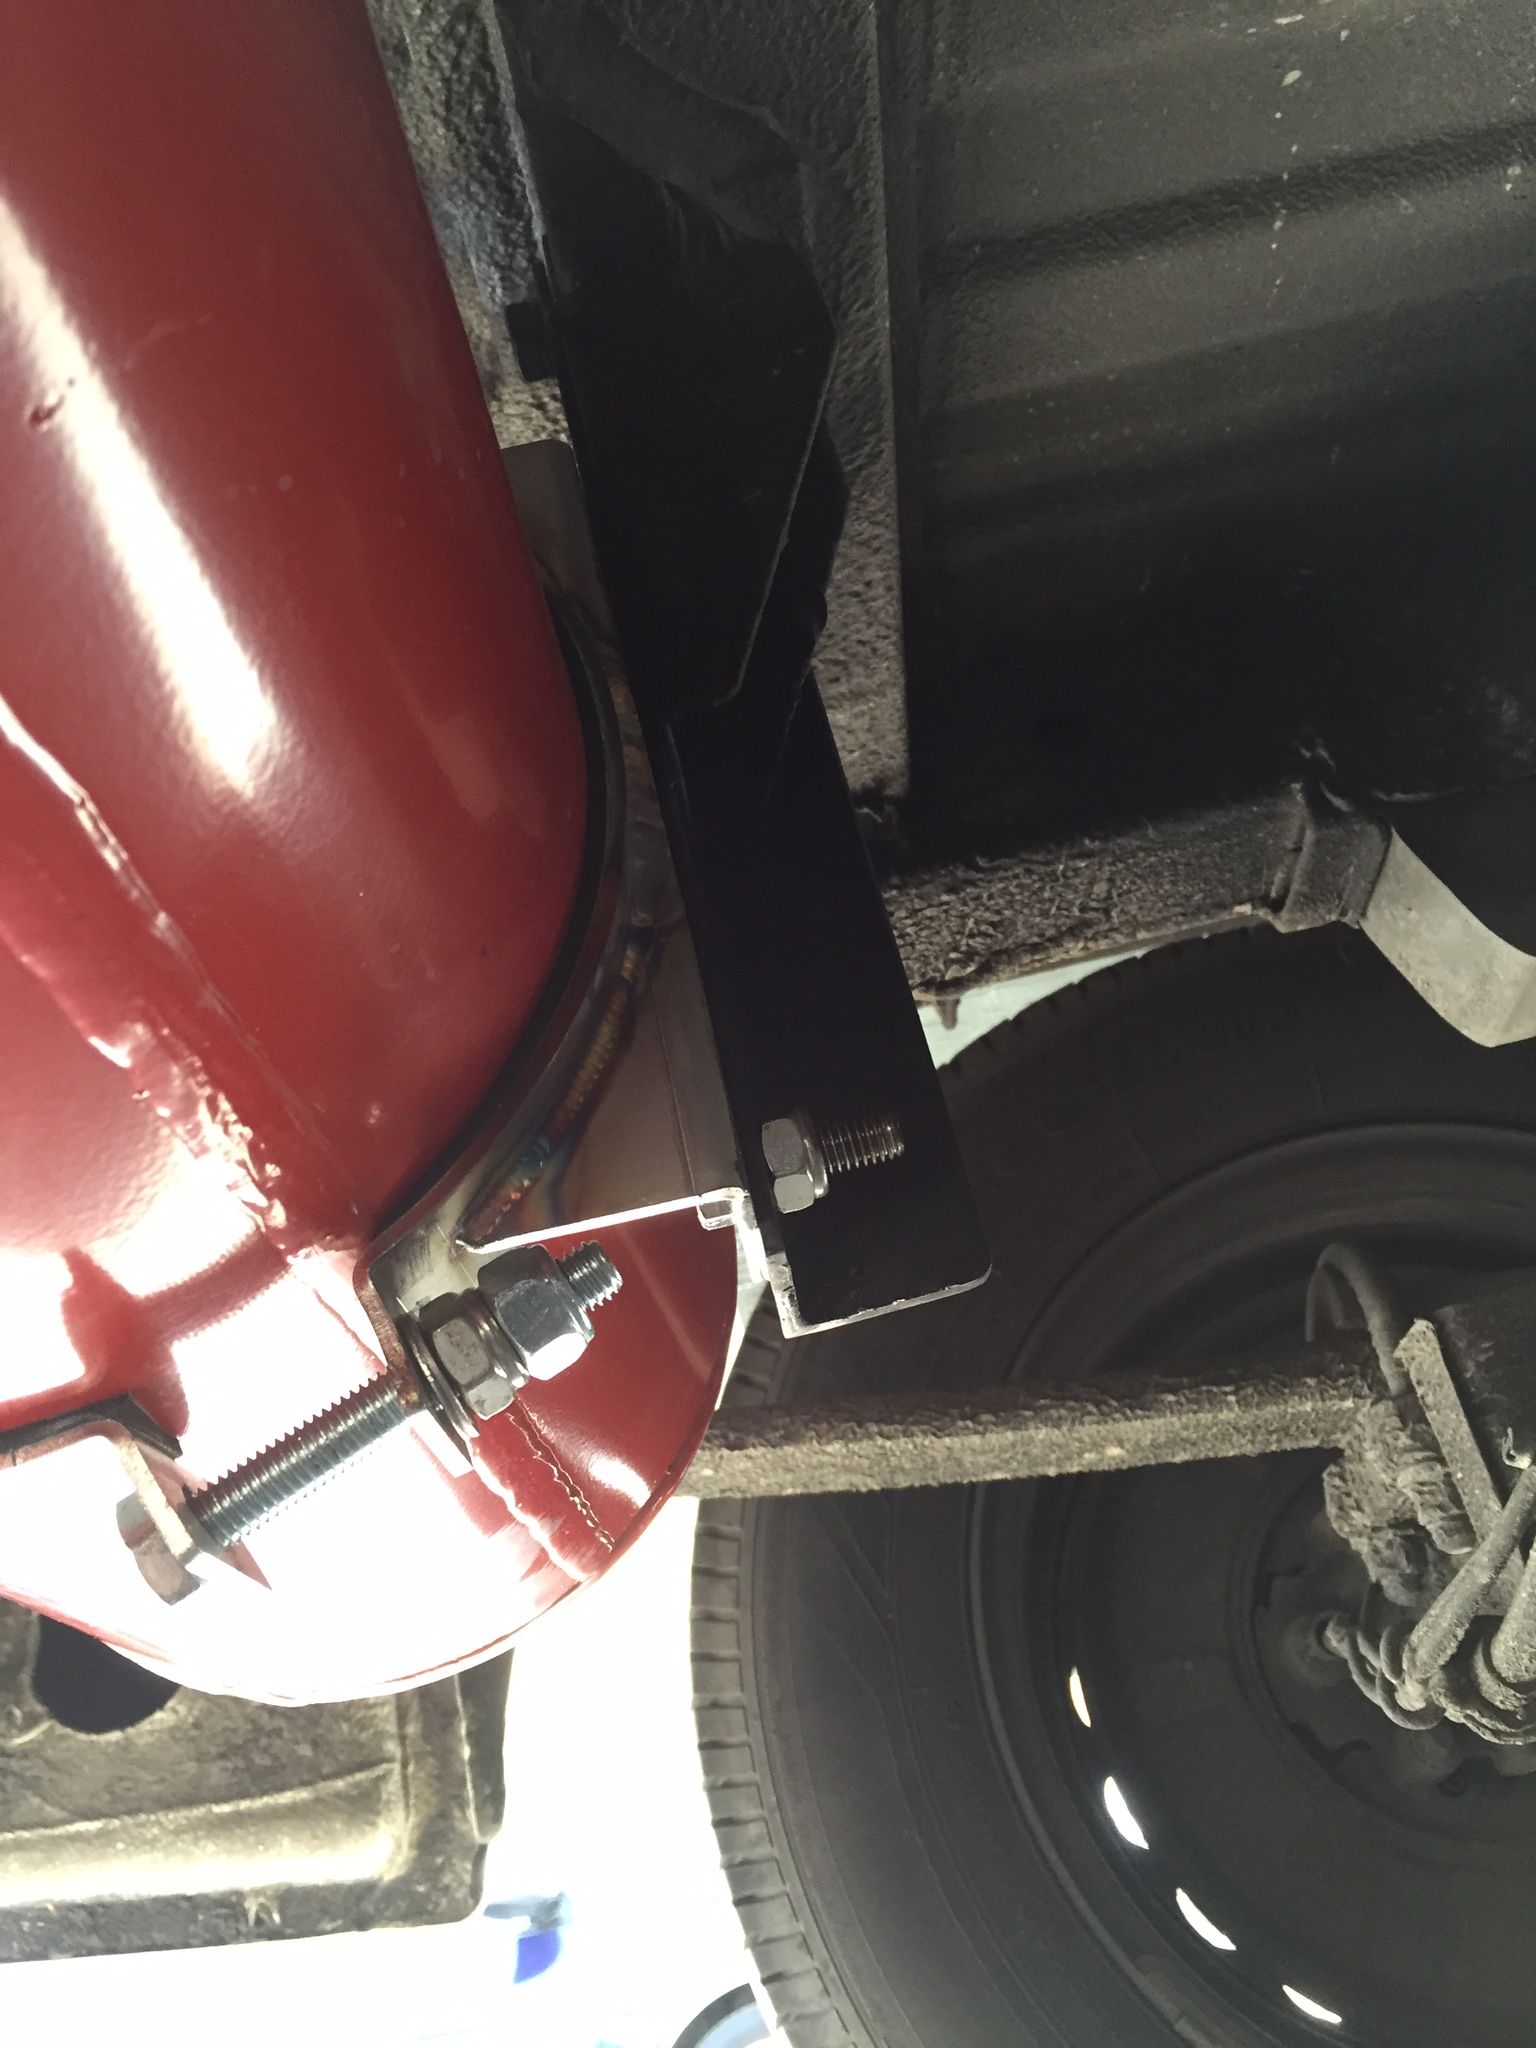
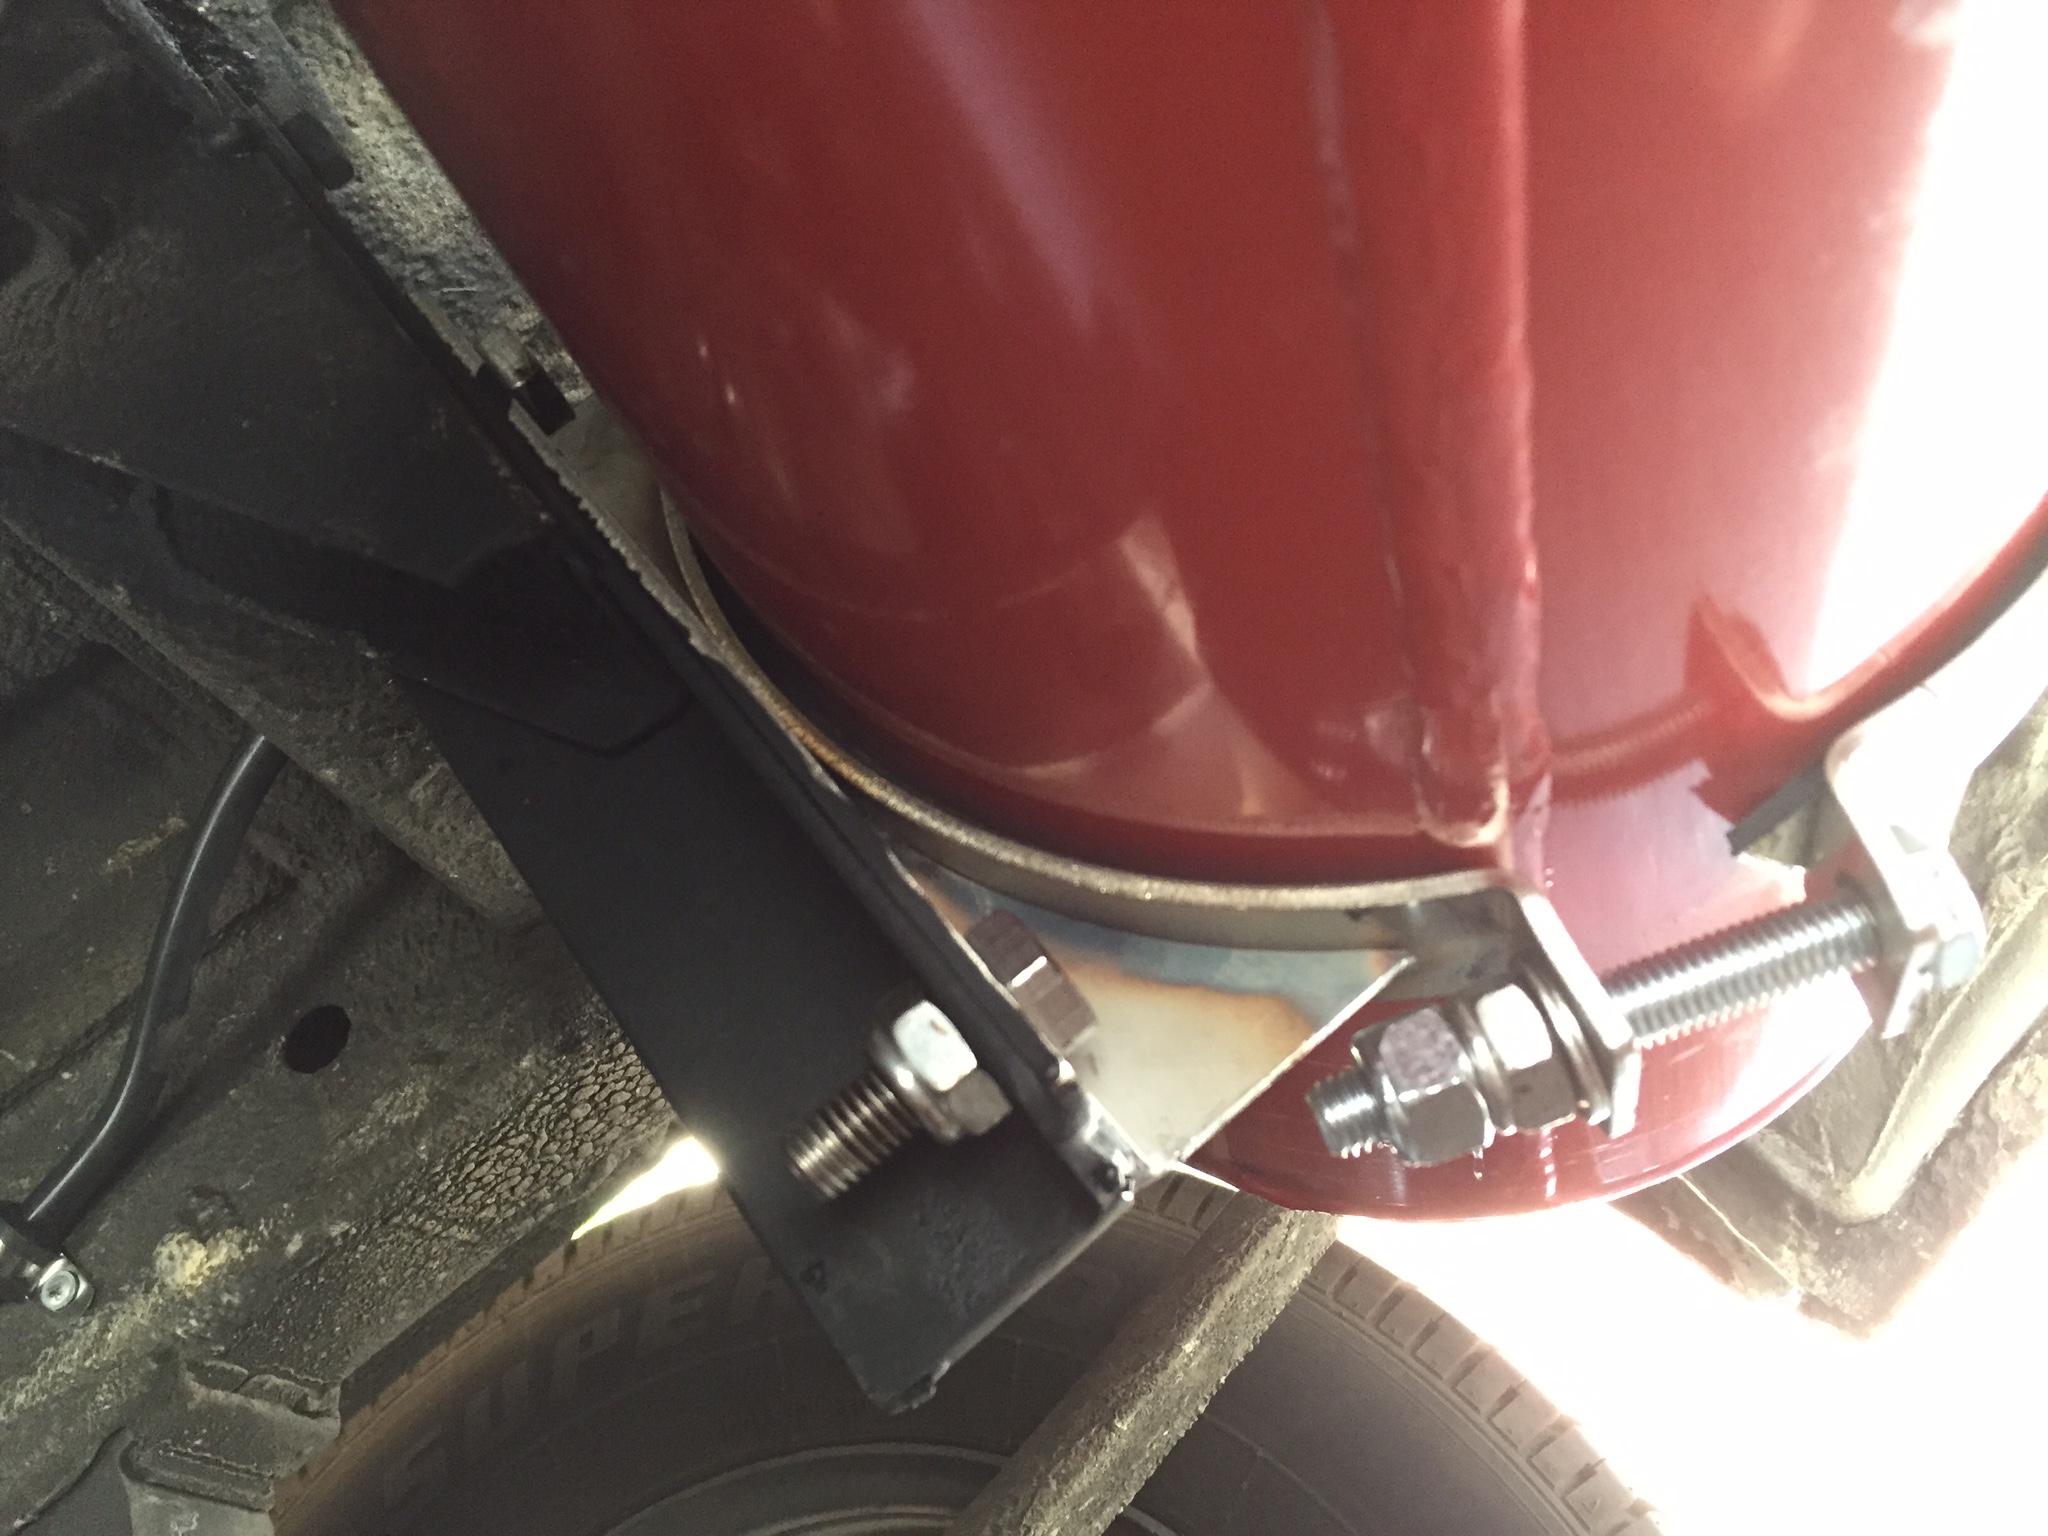
Propex didn't use the existing Stako frame and straps I bought, because apparently the straps rust through and the tanks fall off. Fair enough I guess. Annoyingly, I am left with this frame and strap, which is of no use to me. If anyone wants it, let me know..
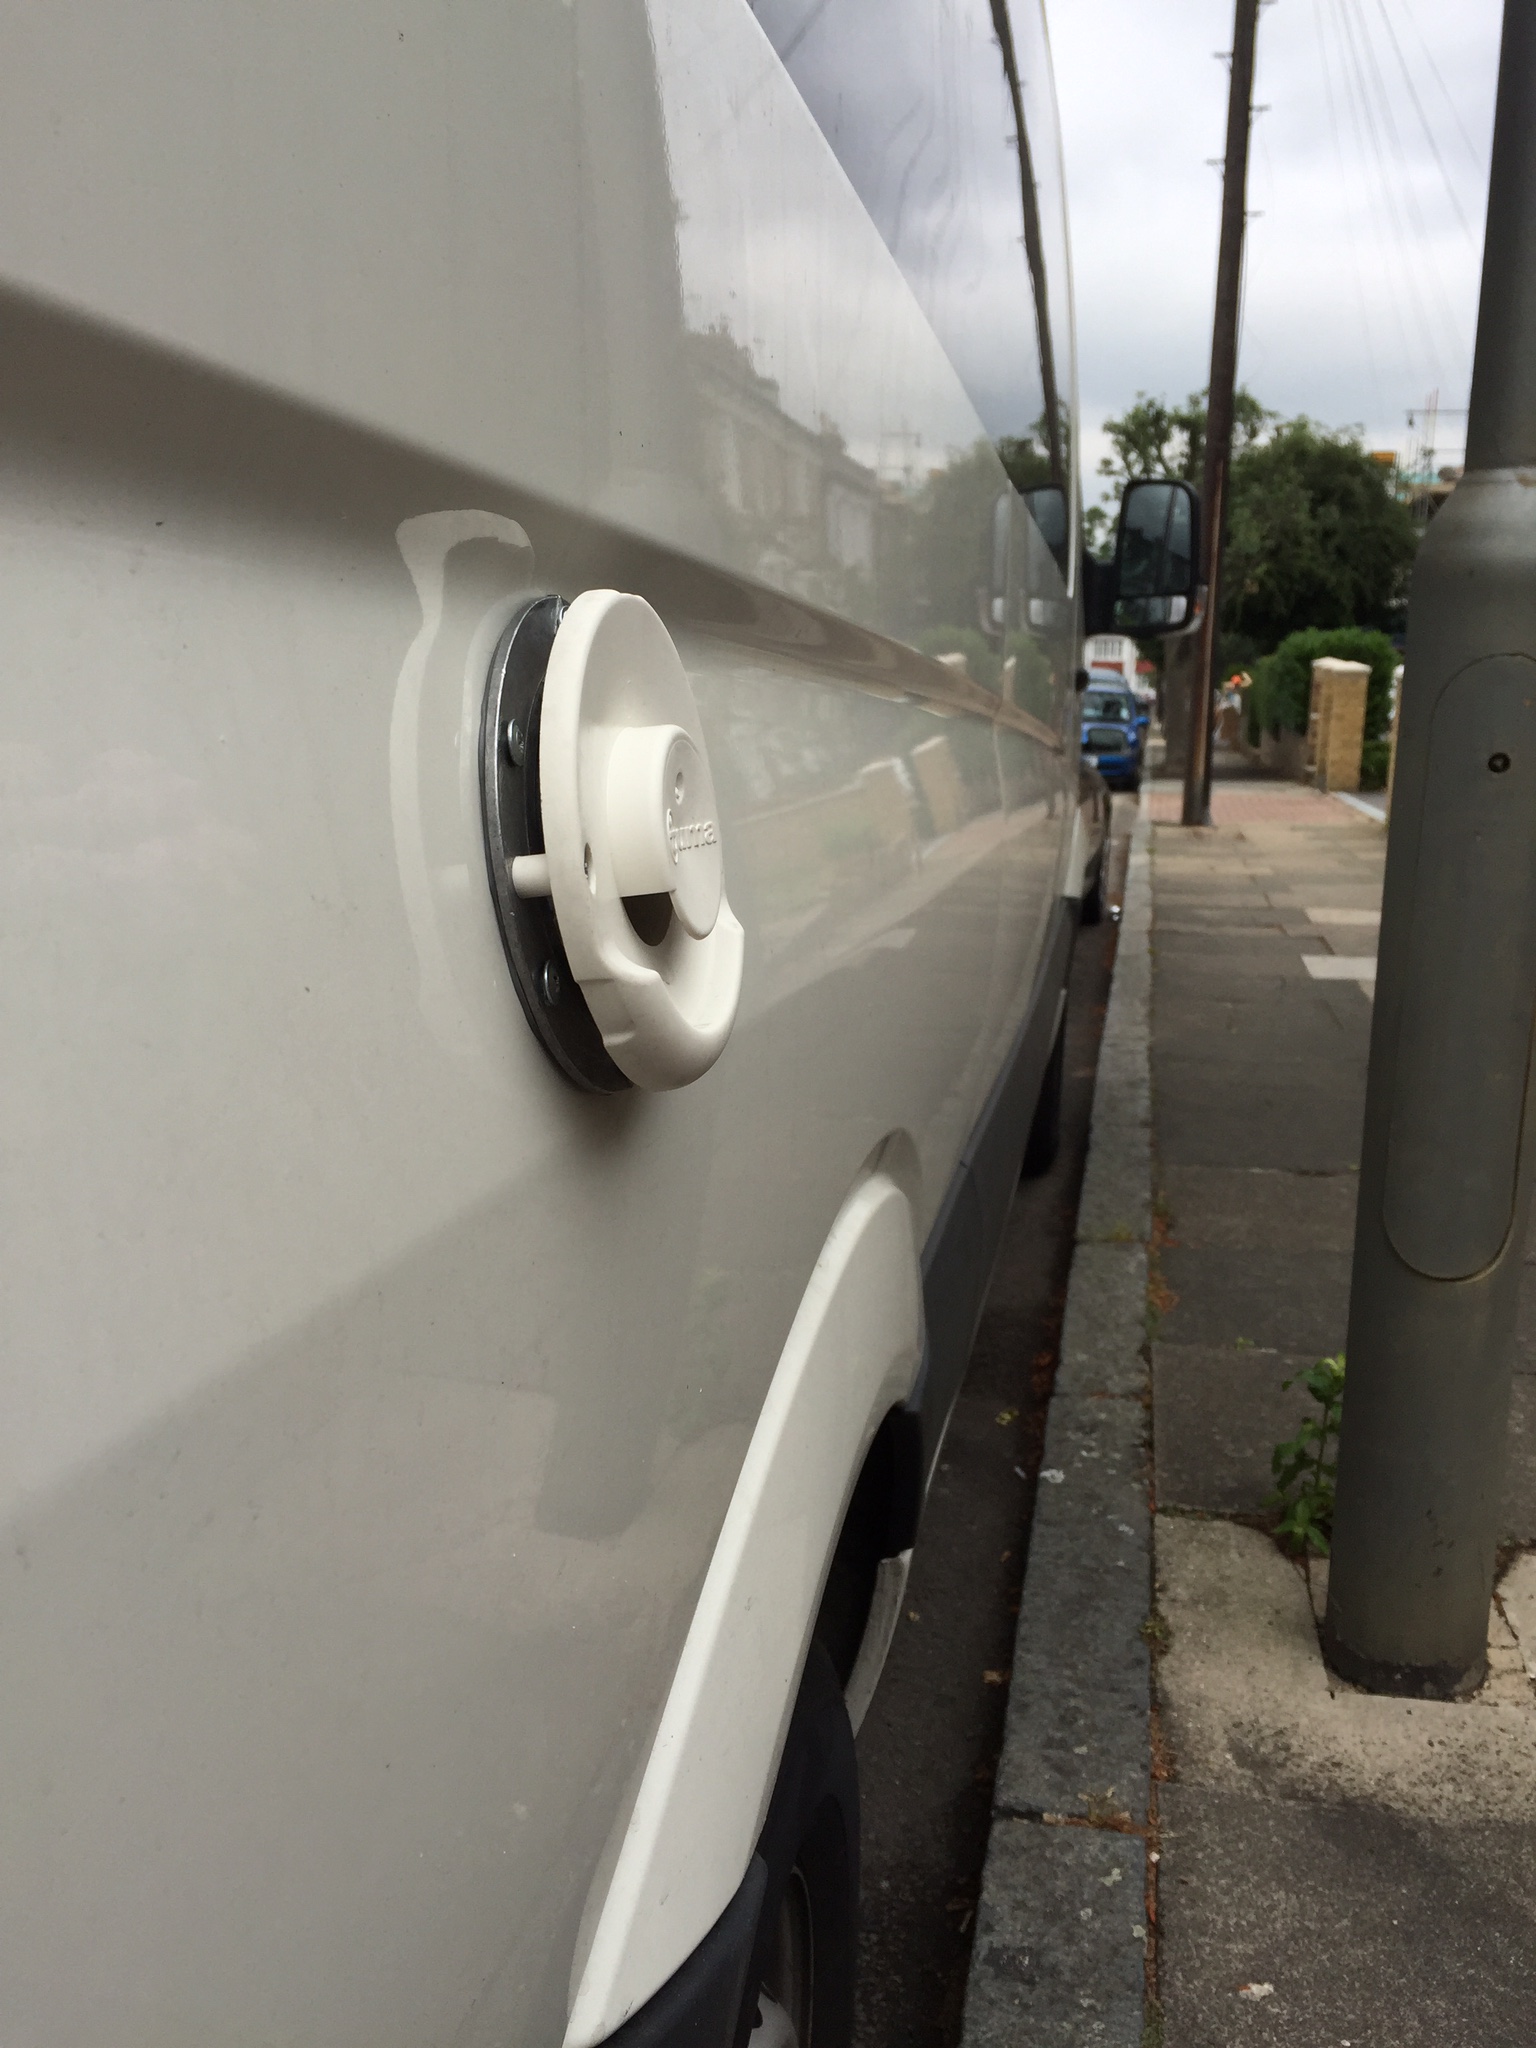
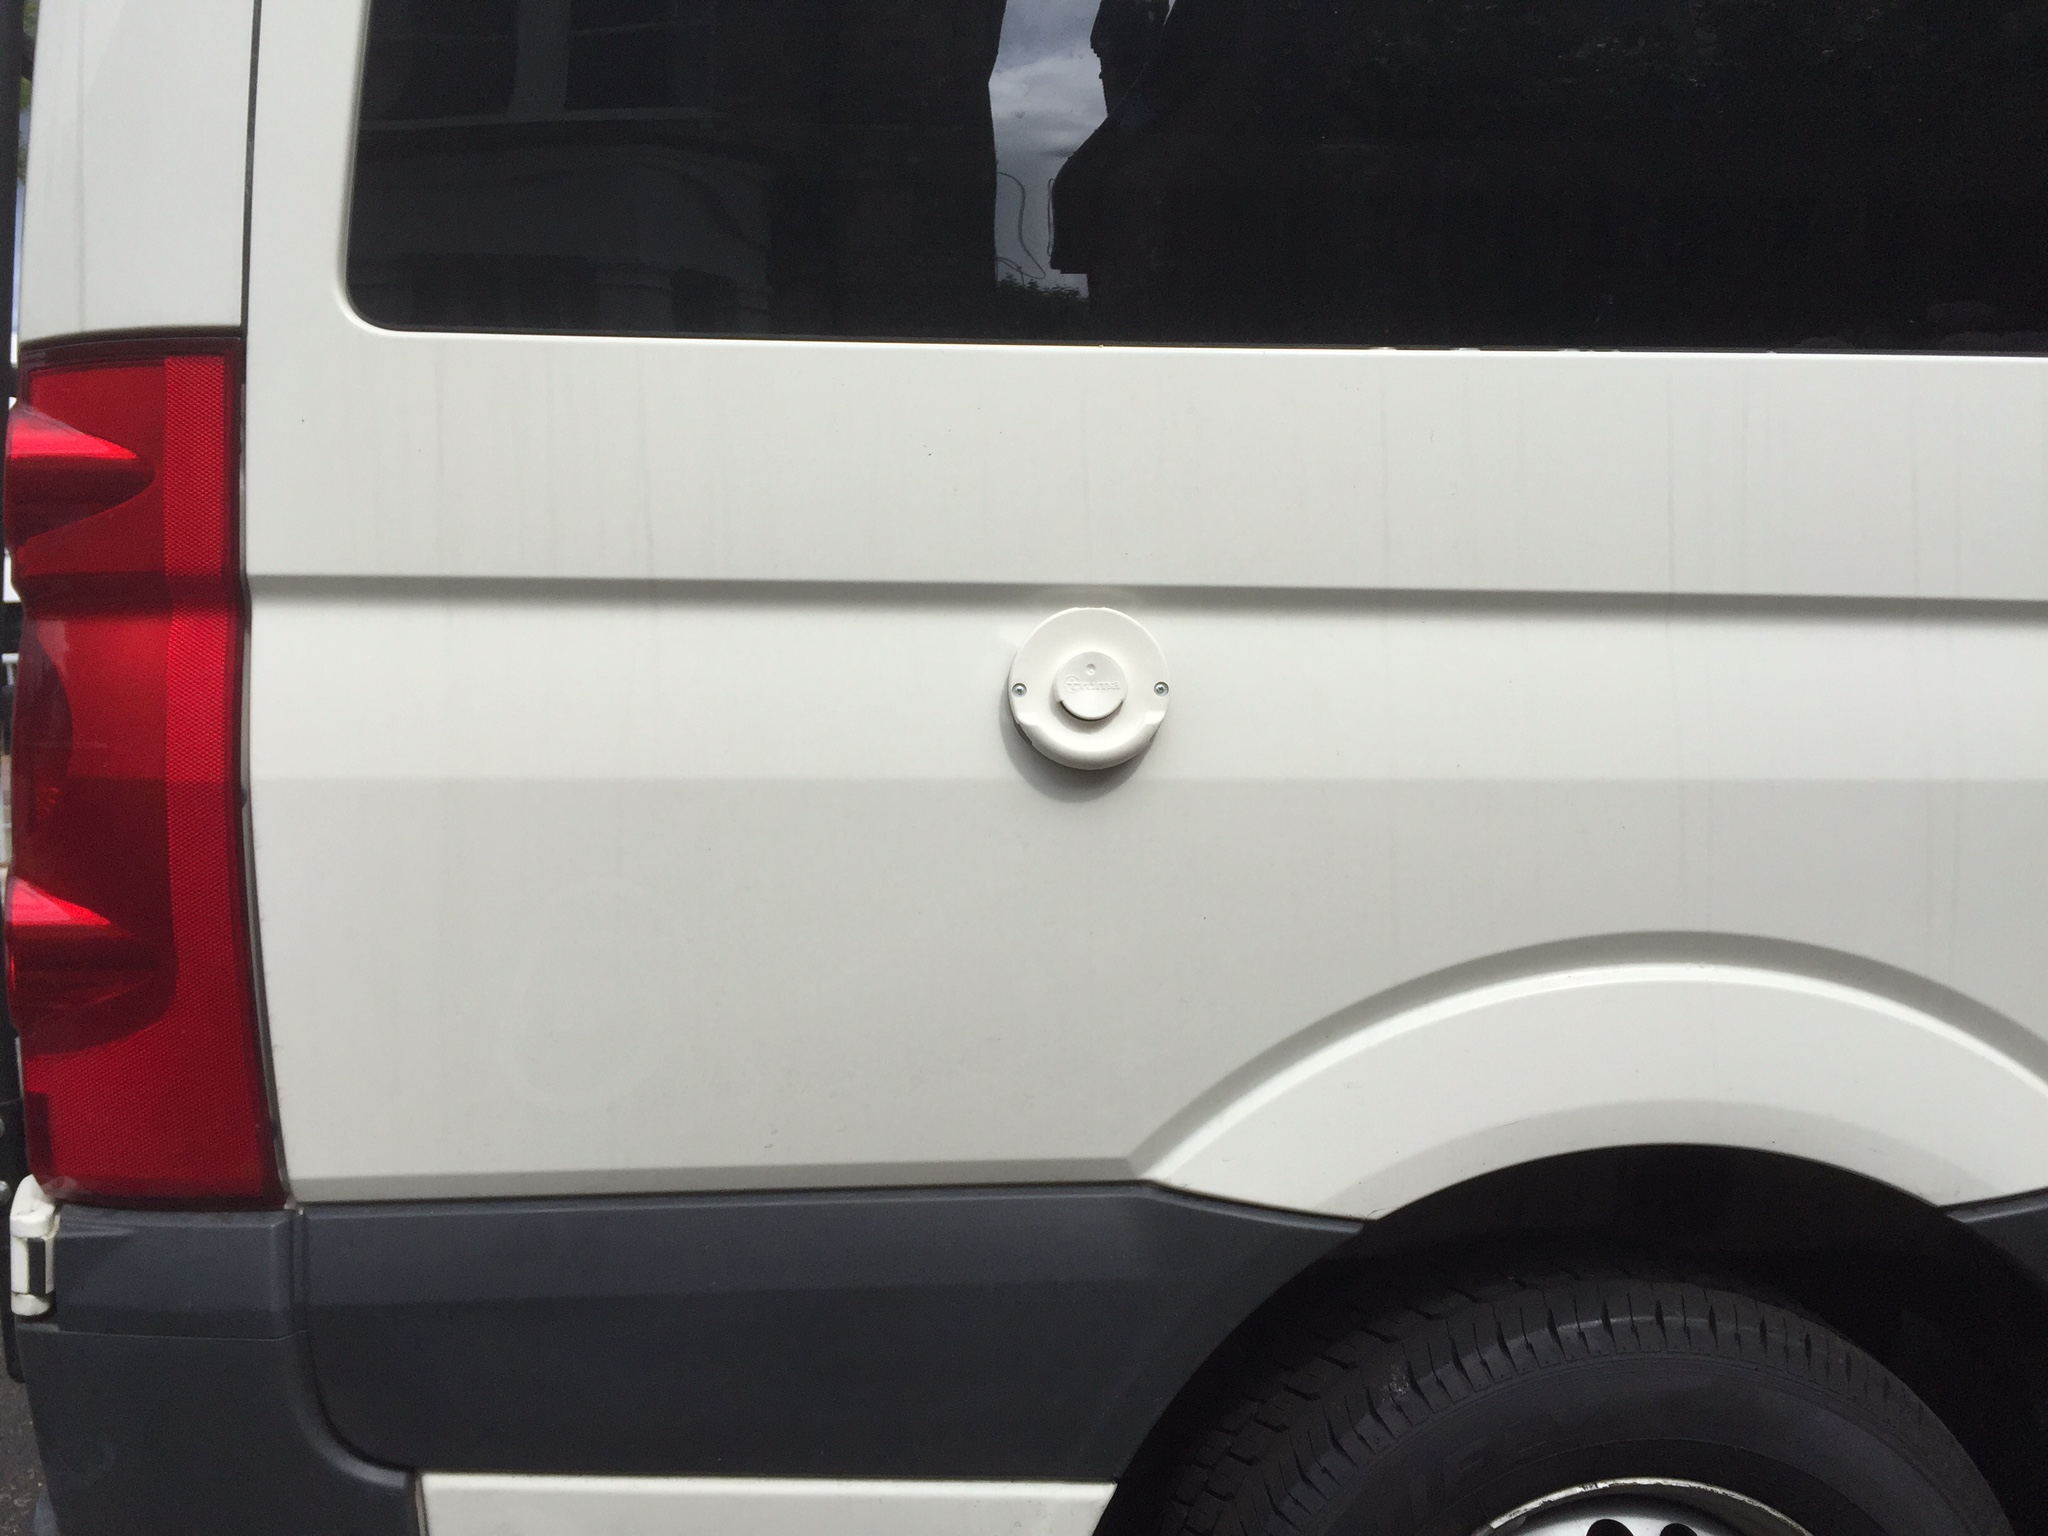
Fill Point
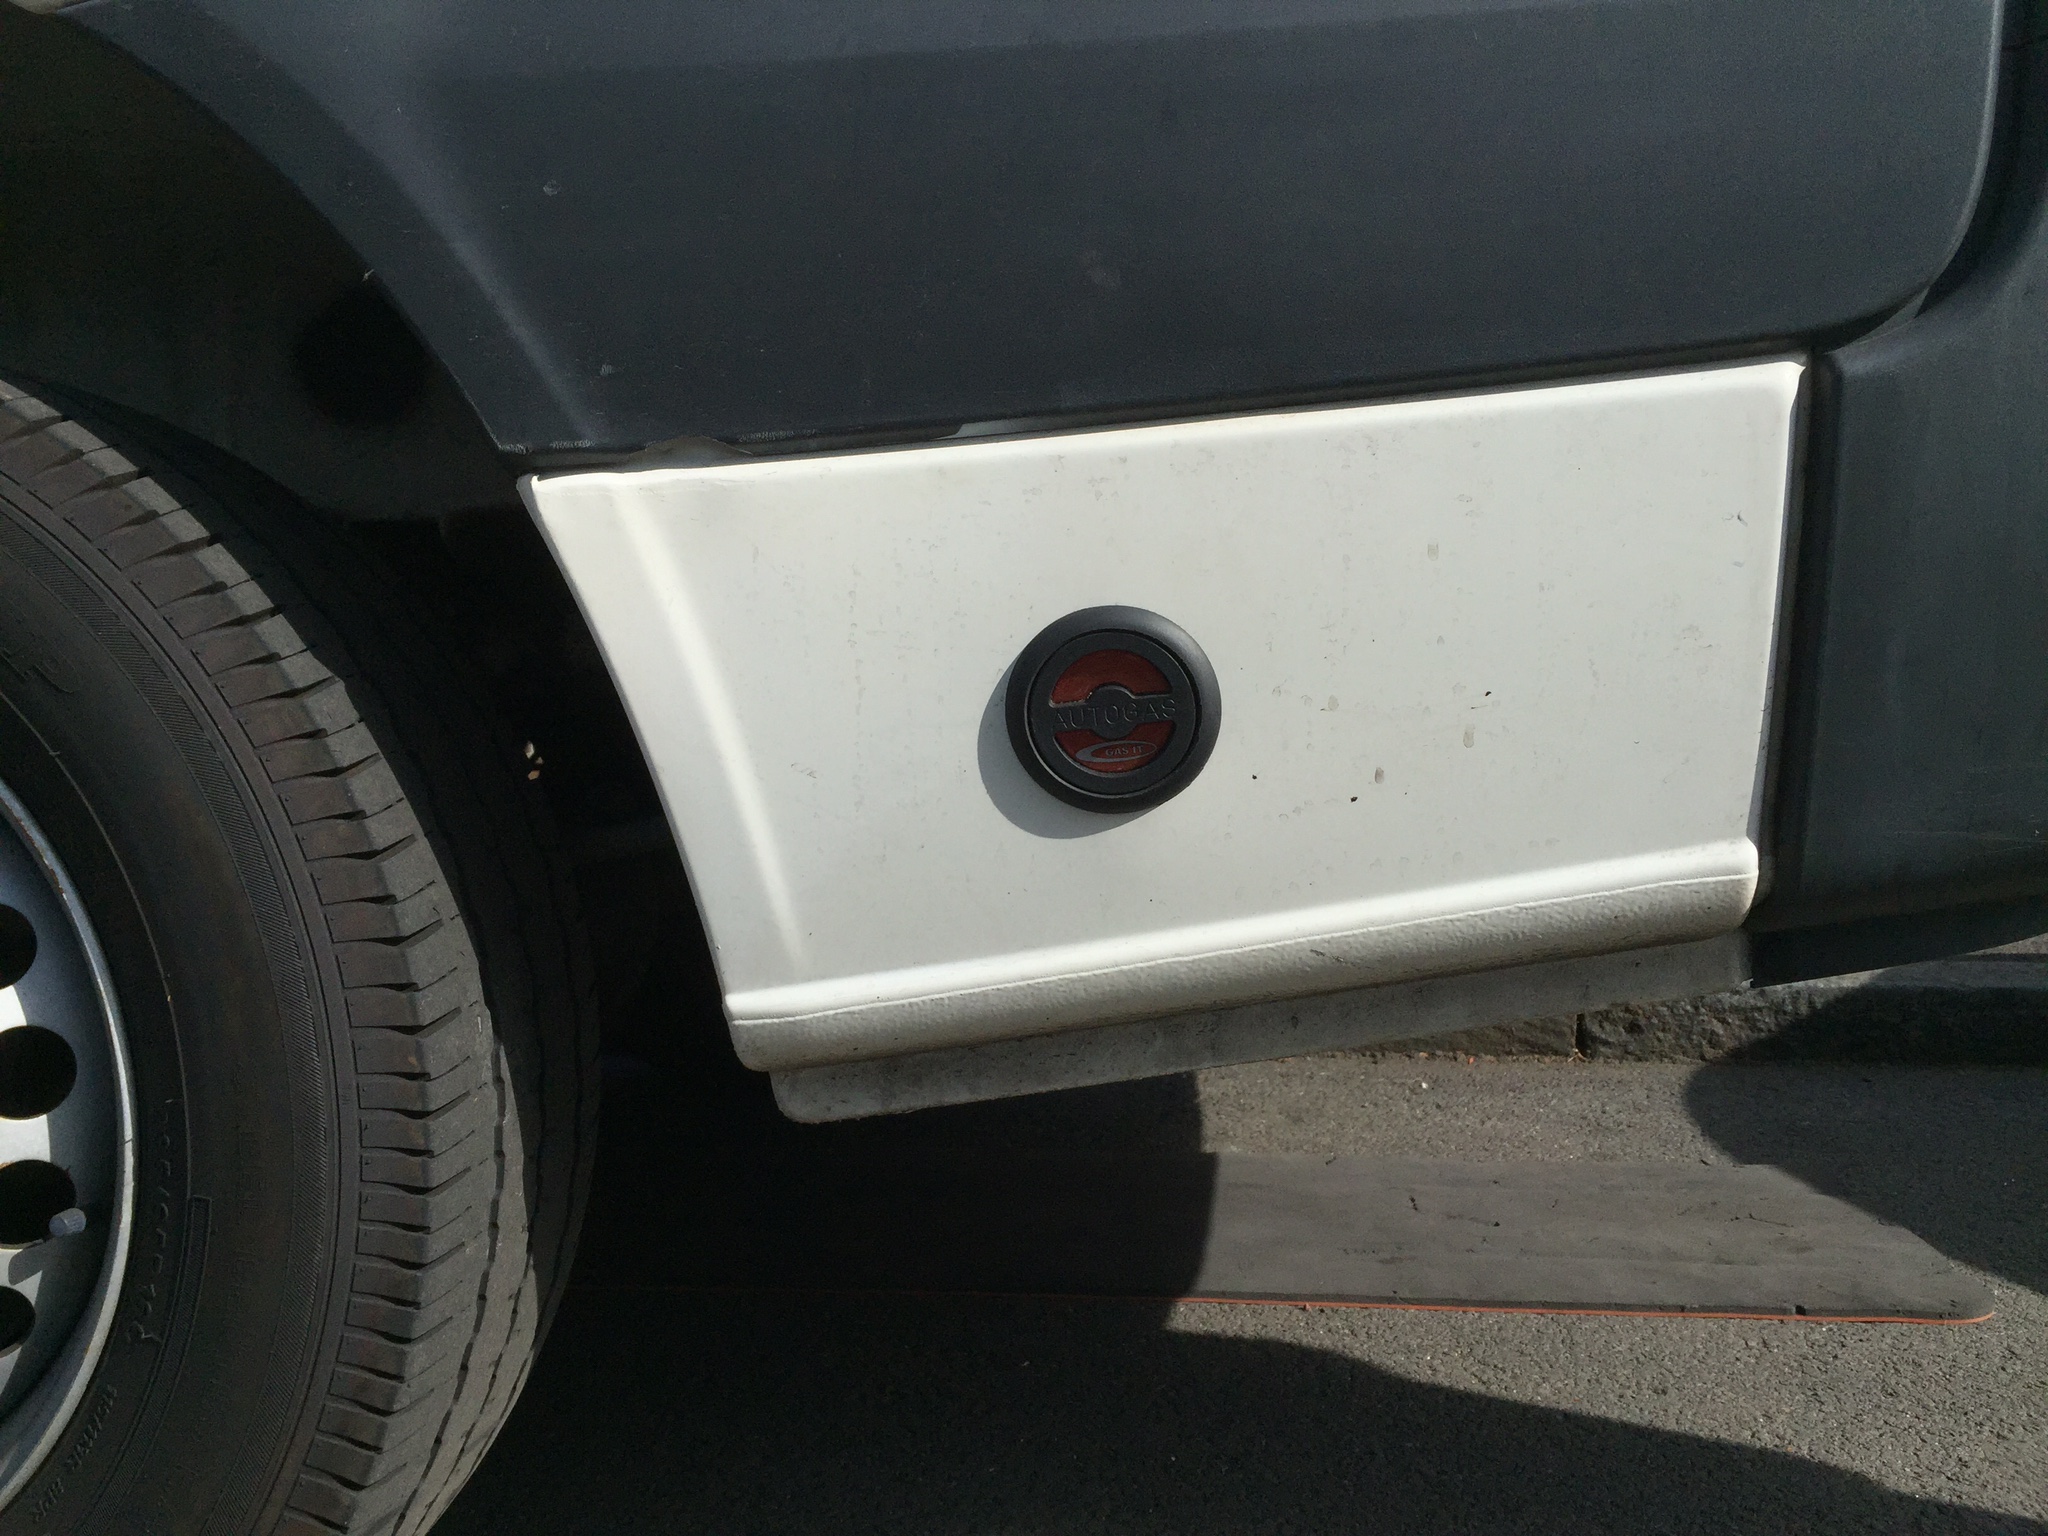
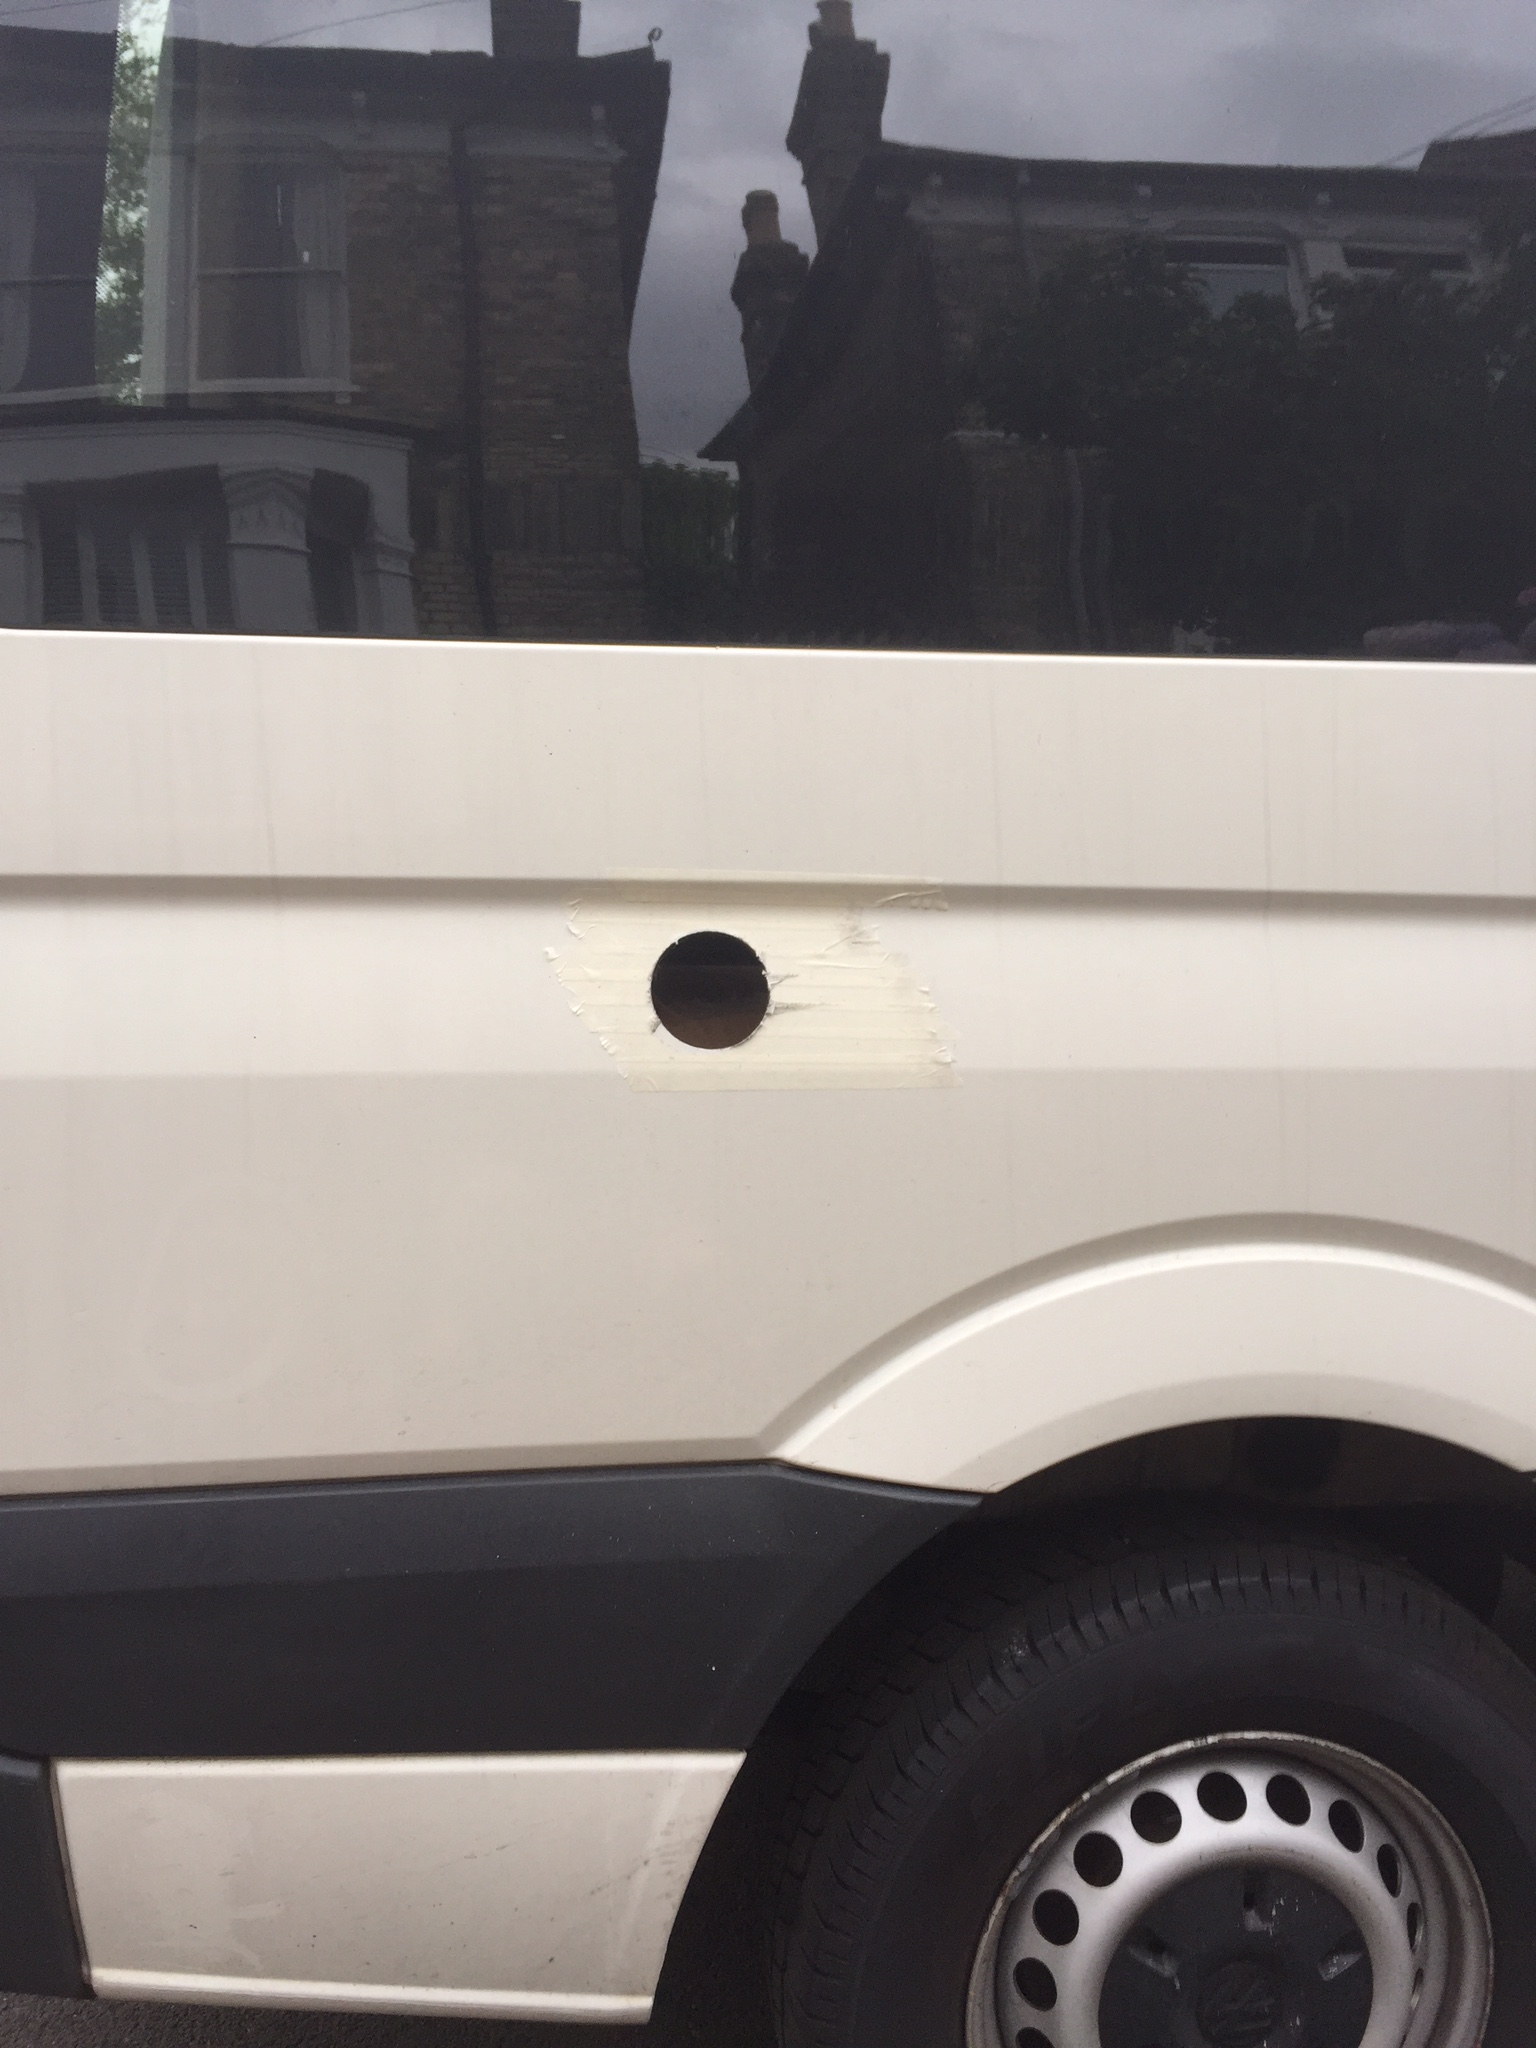
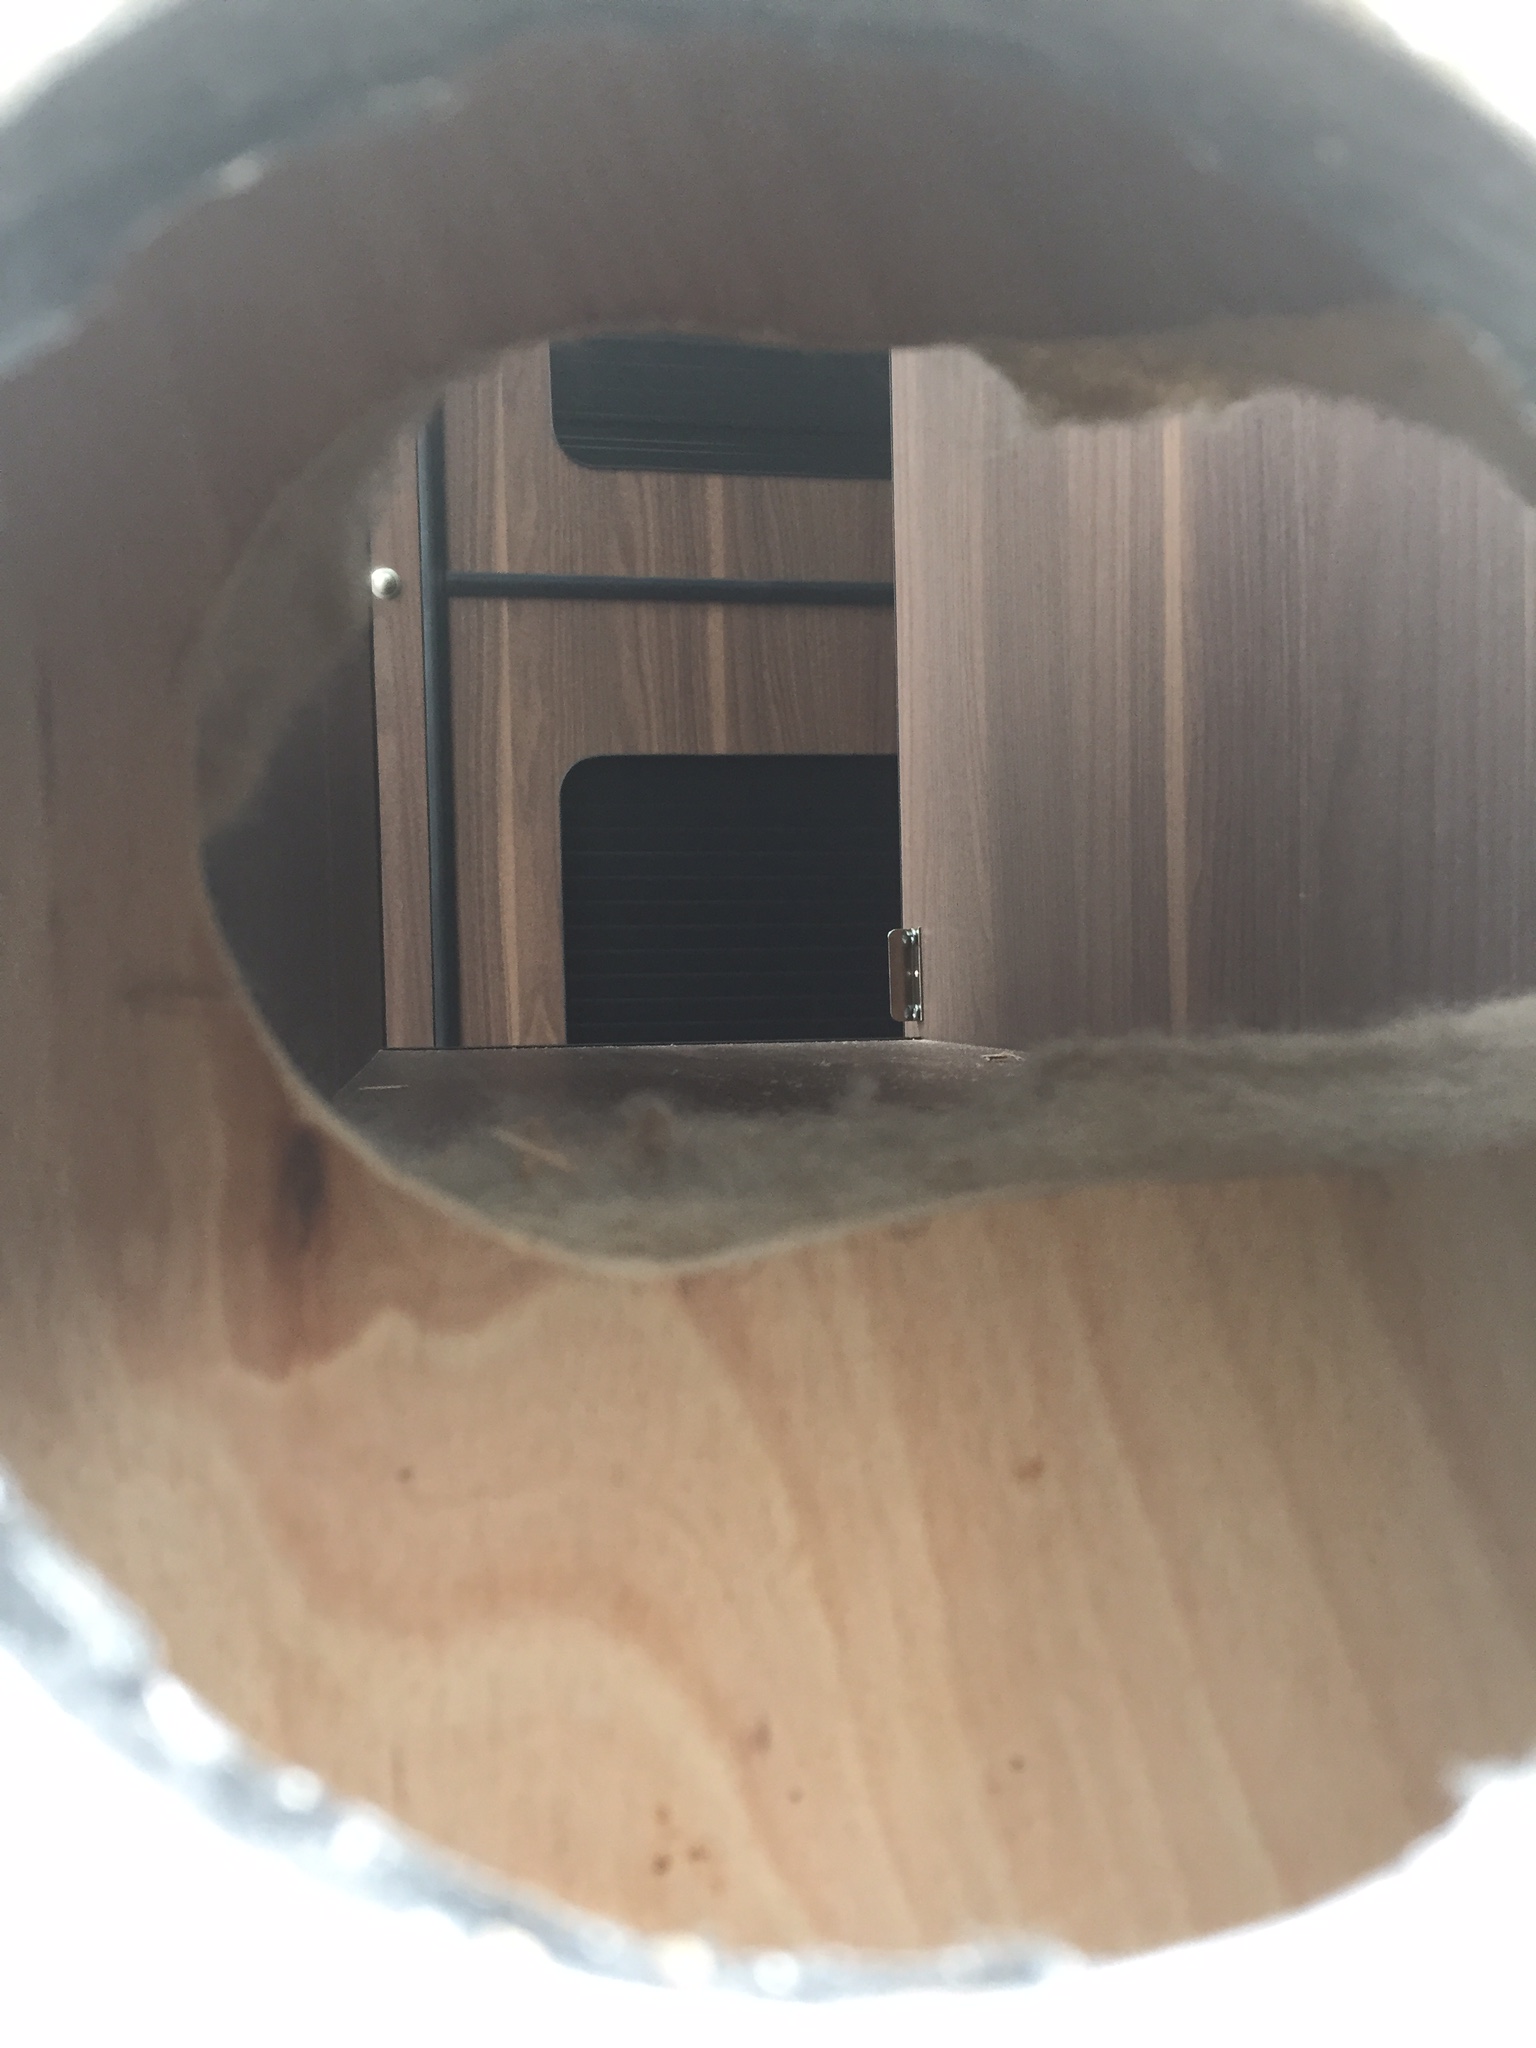
Once the tank was installed, I cut an smaller outer hole in the lower panel N/S behind the rear wheel for the filling point.
I cut a bigger hole (83mm) on the inside panel so that I could get my hand in there to fit the box, hose and tighten all the connections.
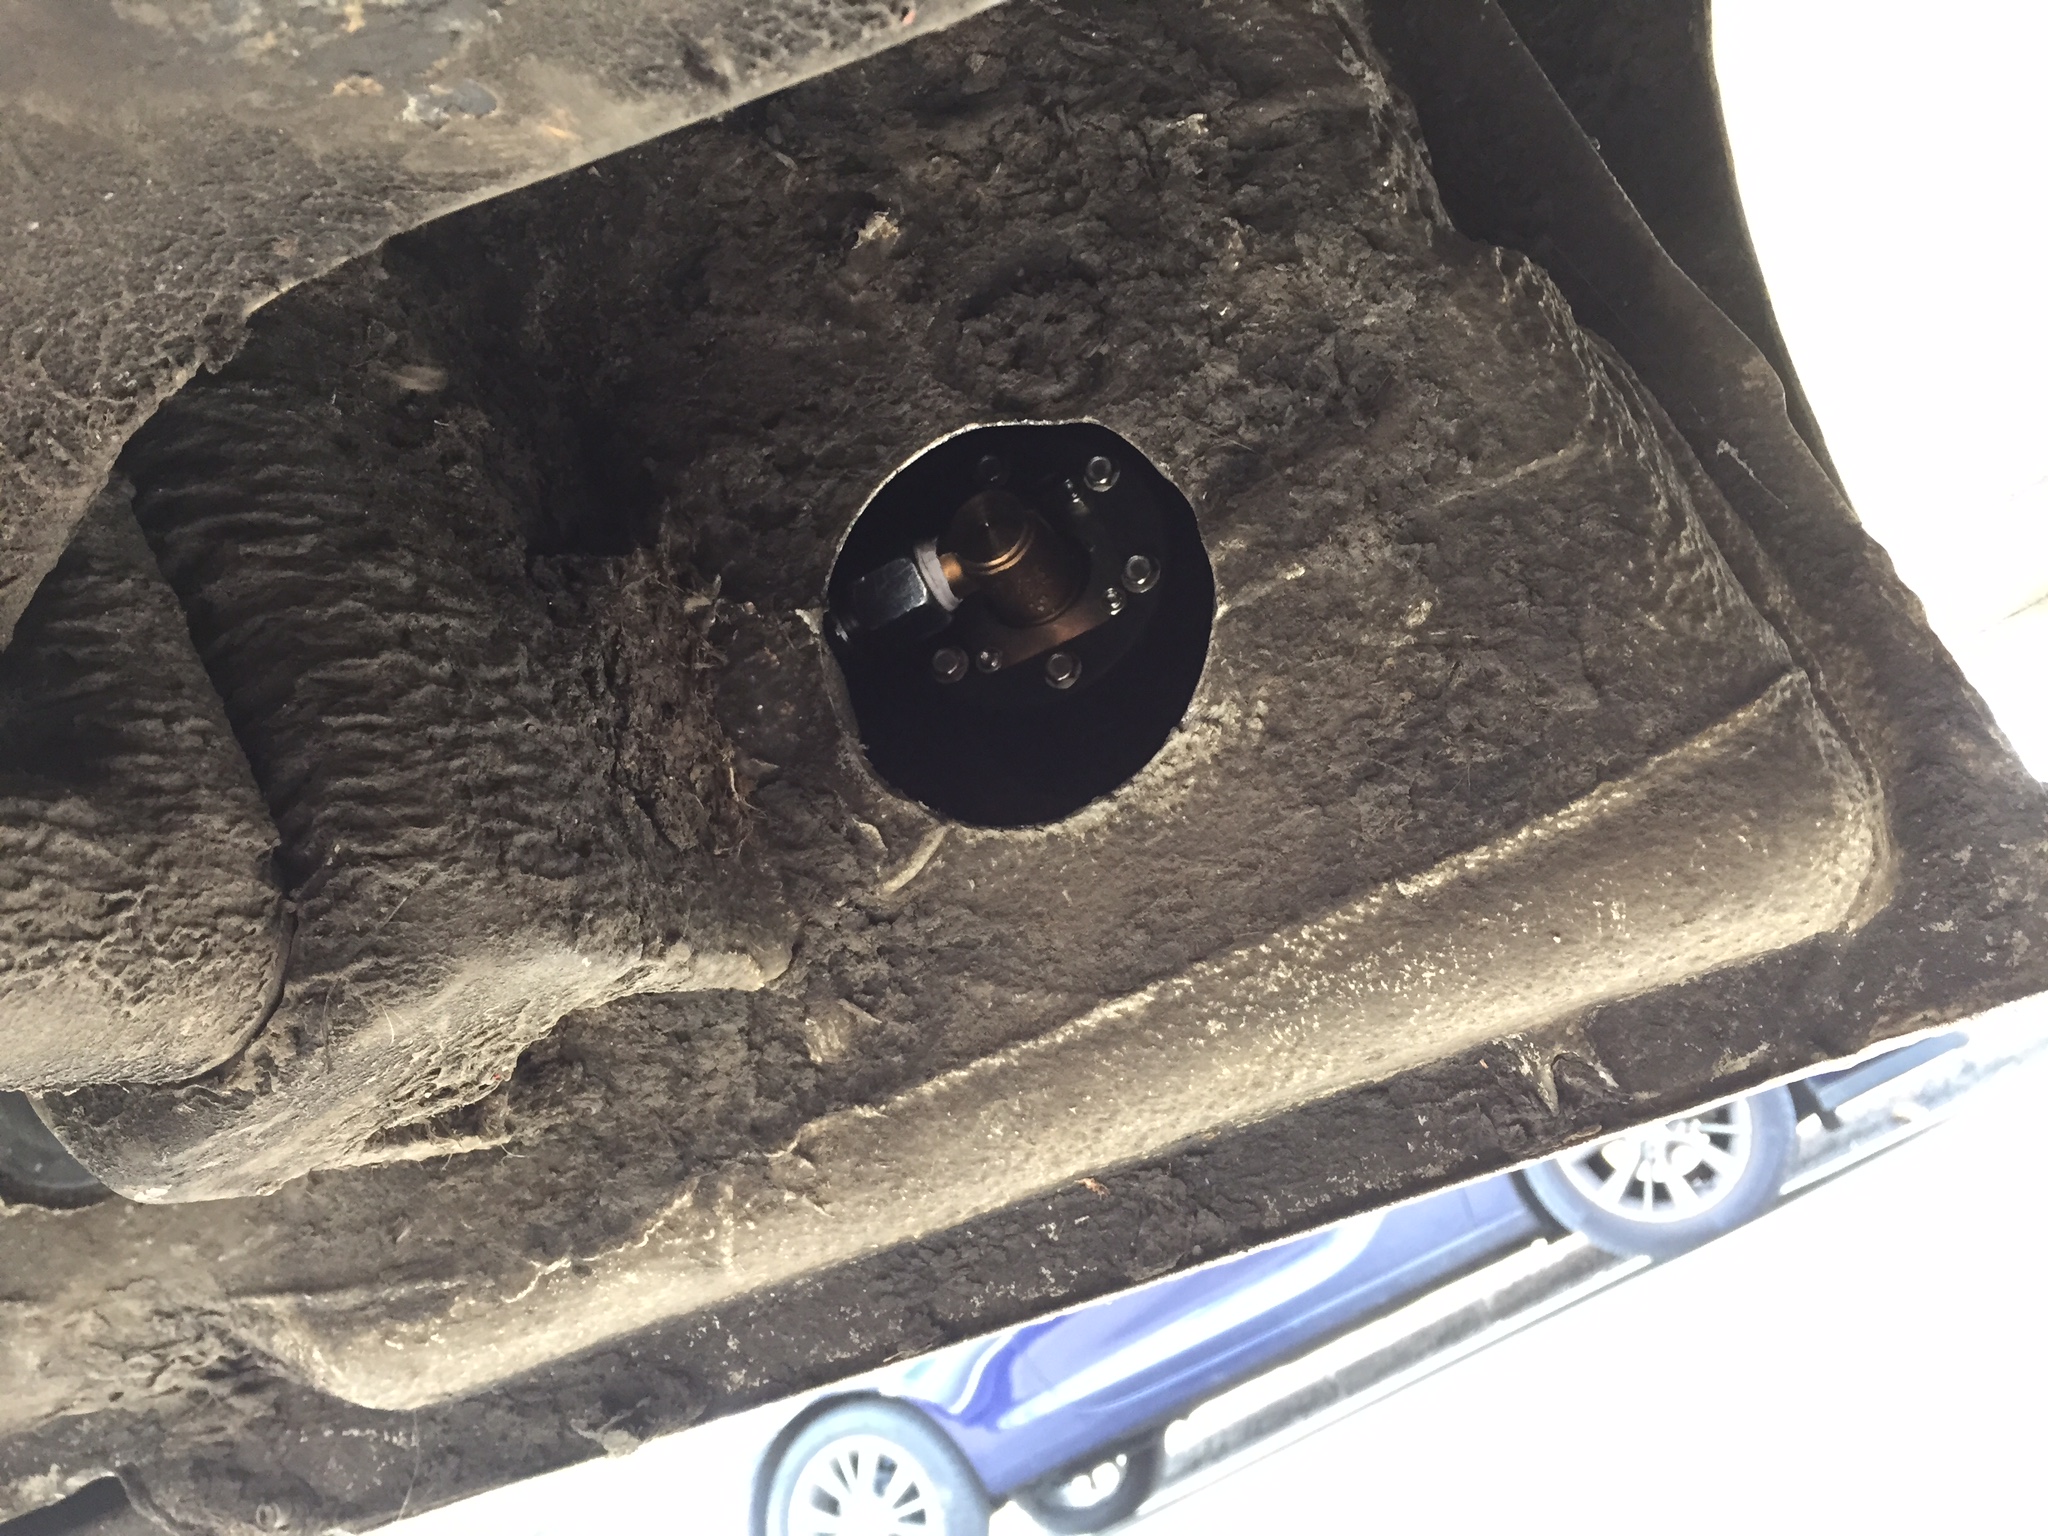
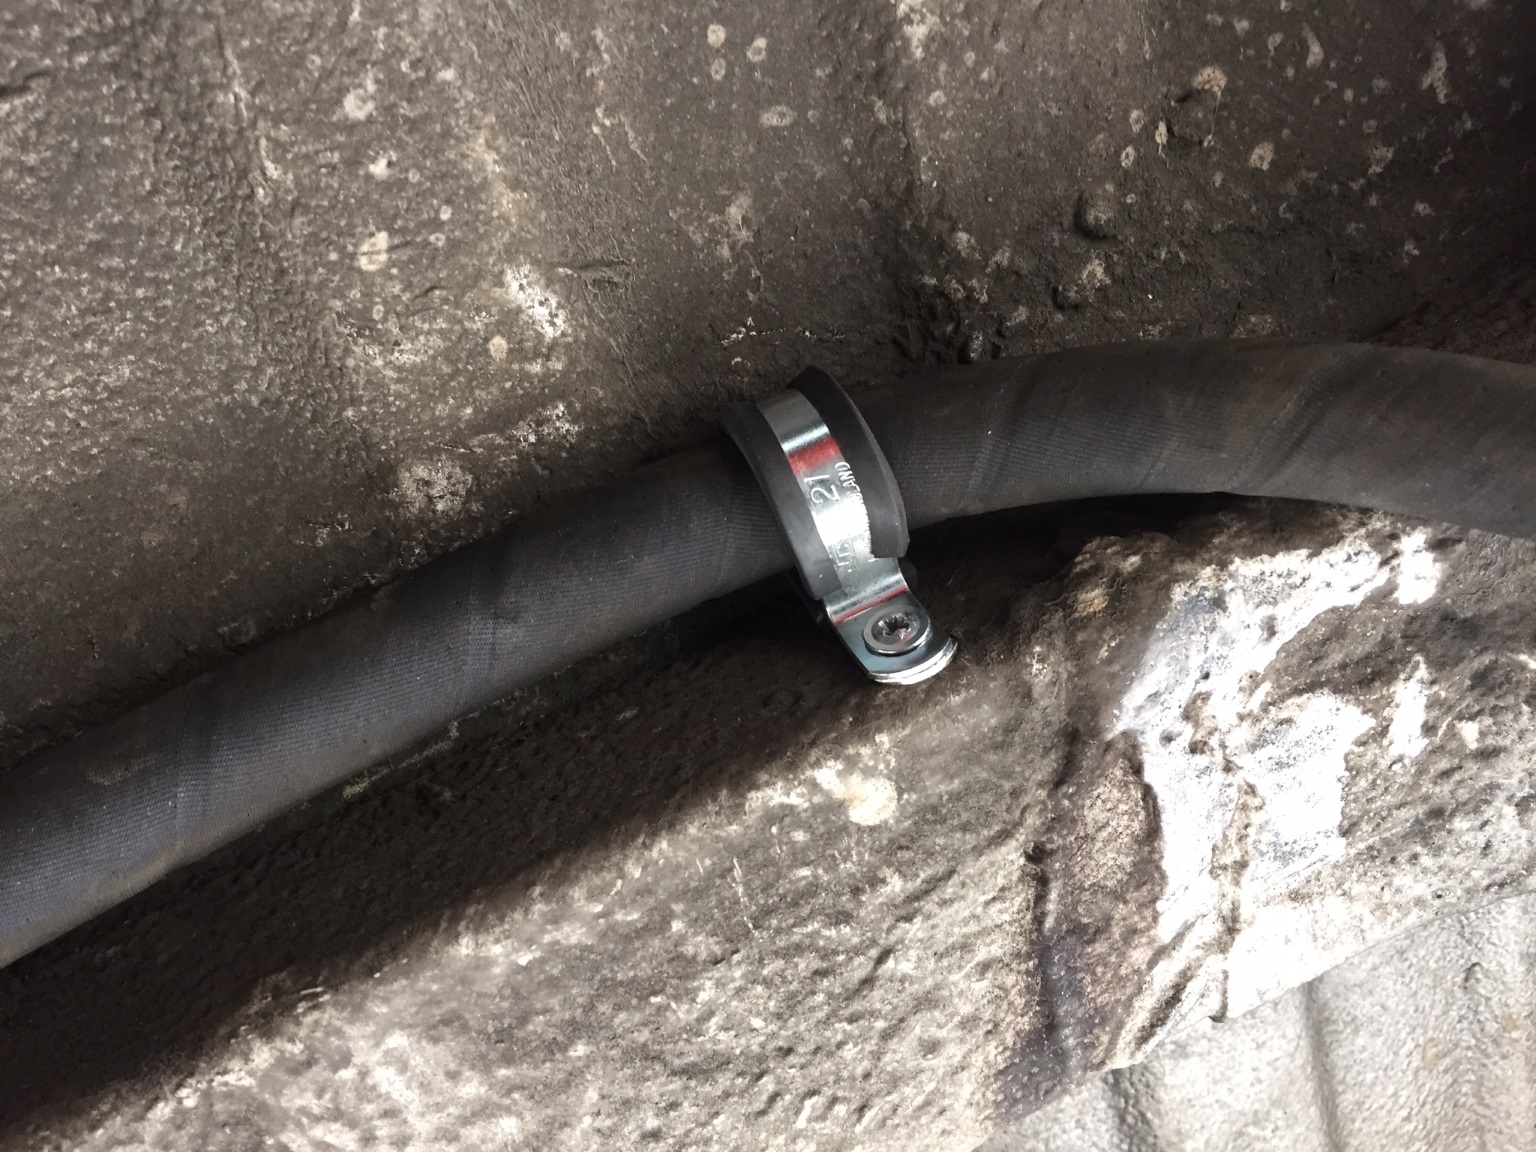
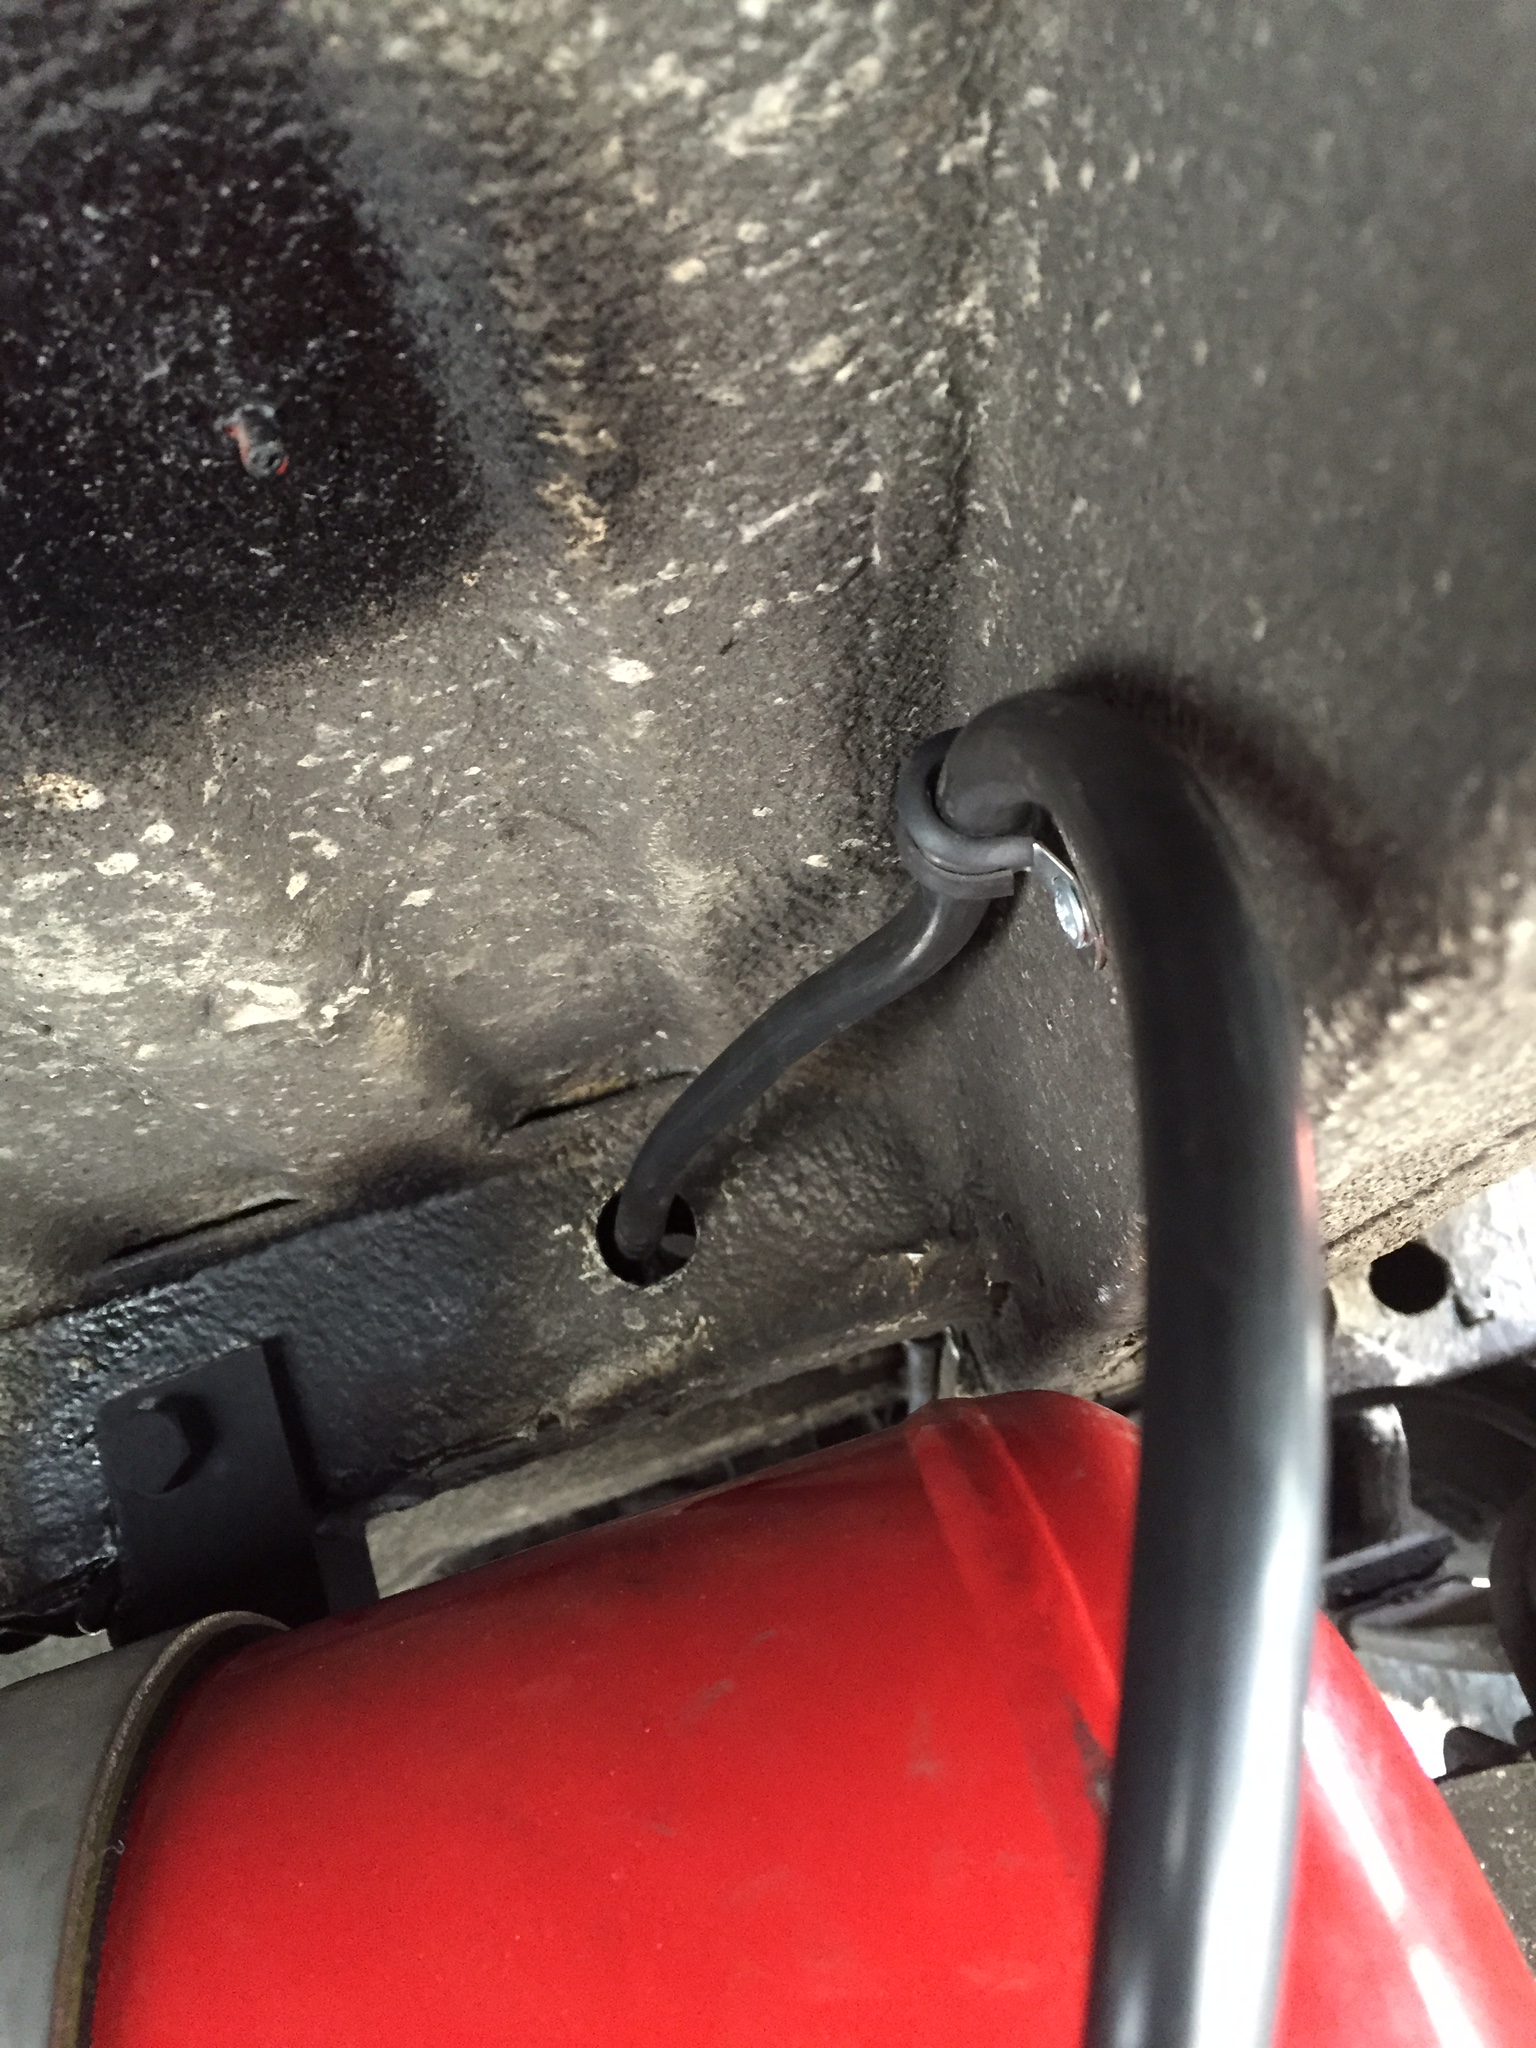
There was already an access hole/grommet right at the rear of the panel, which I've used to feed the hose through to the fill point.
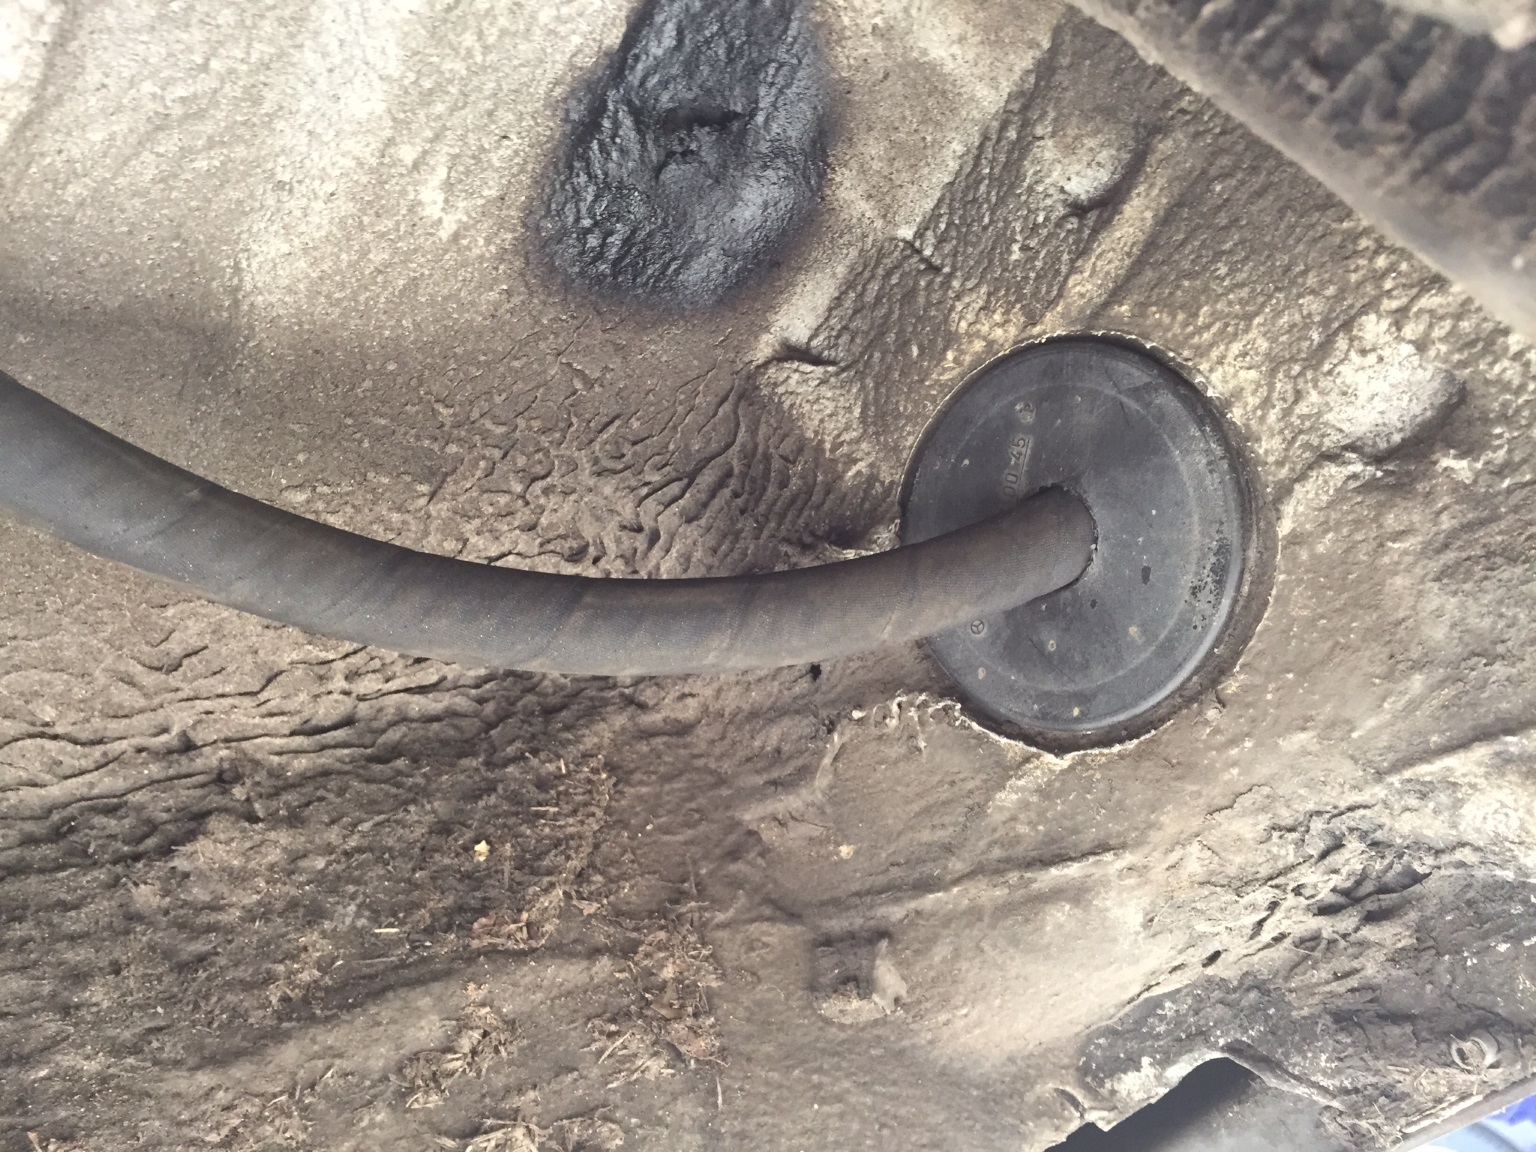
I've secured the hose using stainless steel P-clips, cut small pieces of automotive door trim from Priority Tools eBay shop to seal the metal edge and stuck a big 80mm rubber grommet from eBay to cover the hole. Once I've finished everything, I am going to clean the dirt off around all the holes I've made under the van and seal them properly with black Sikaflex 221.
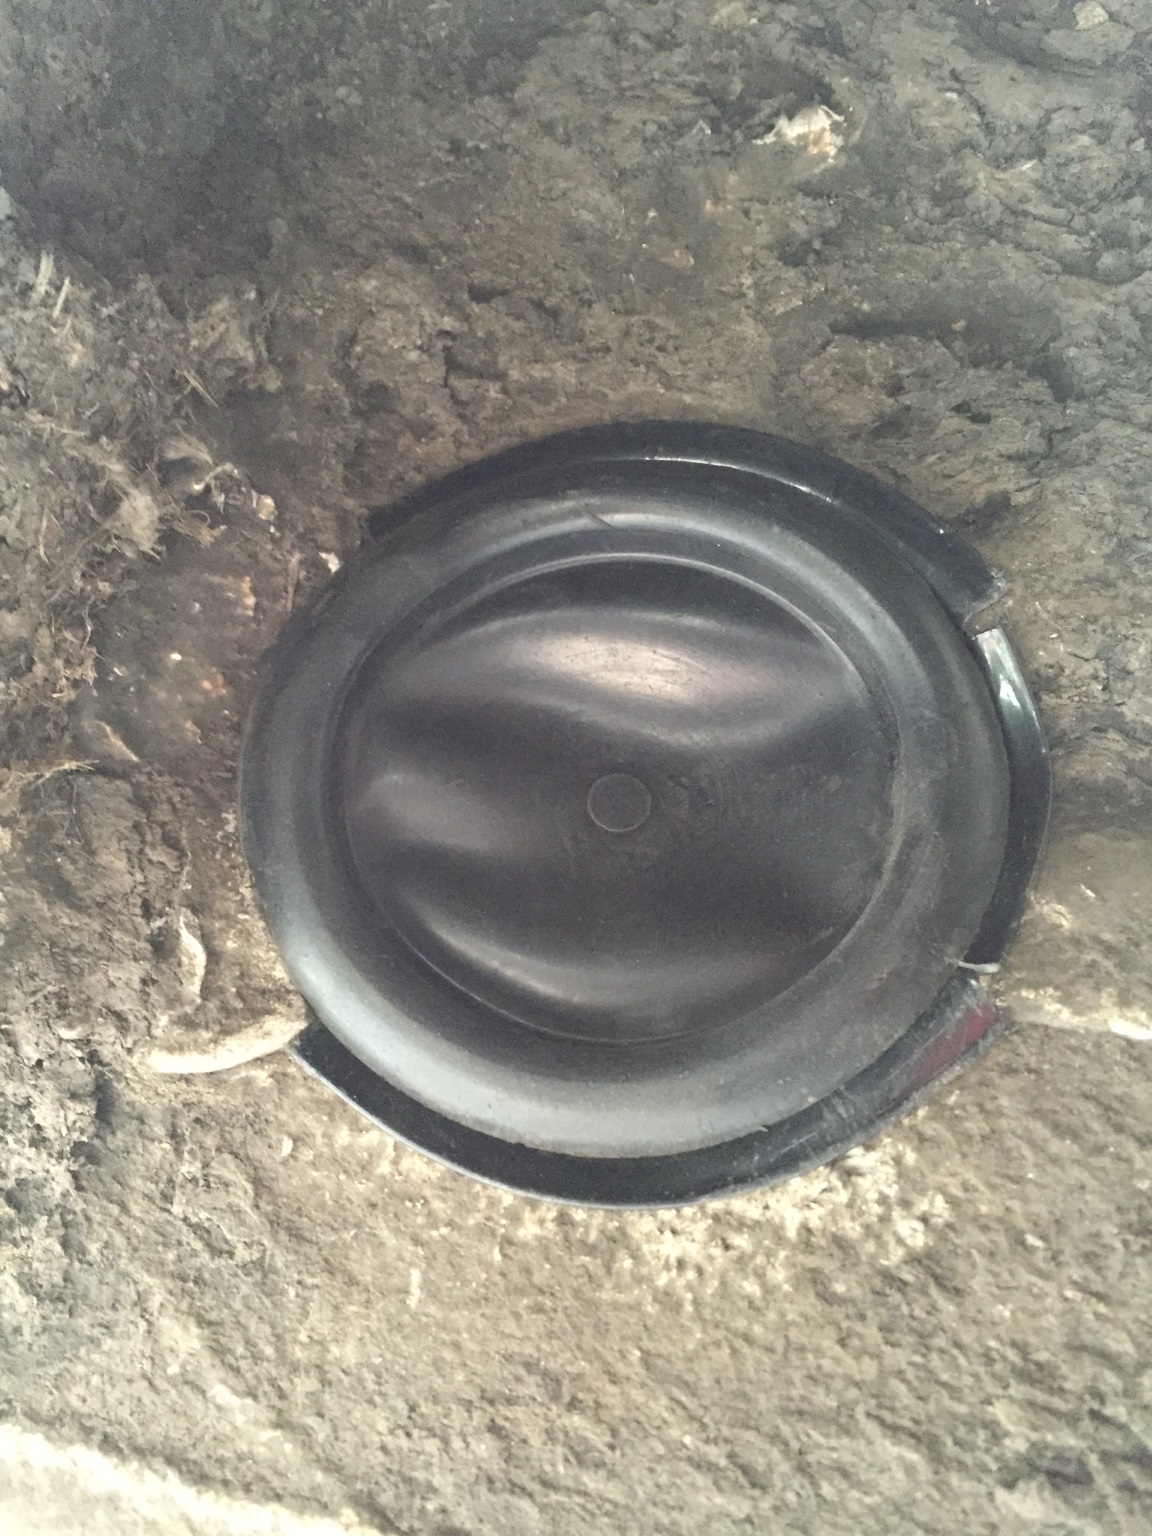
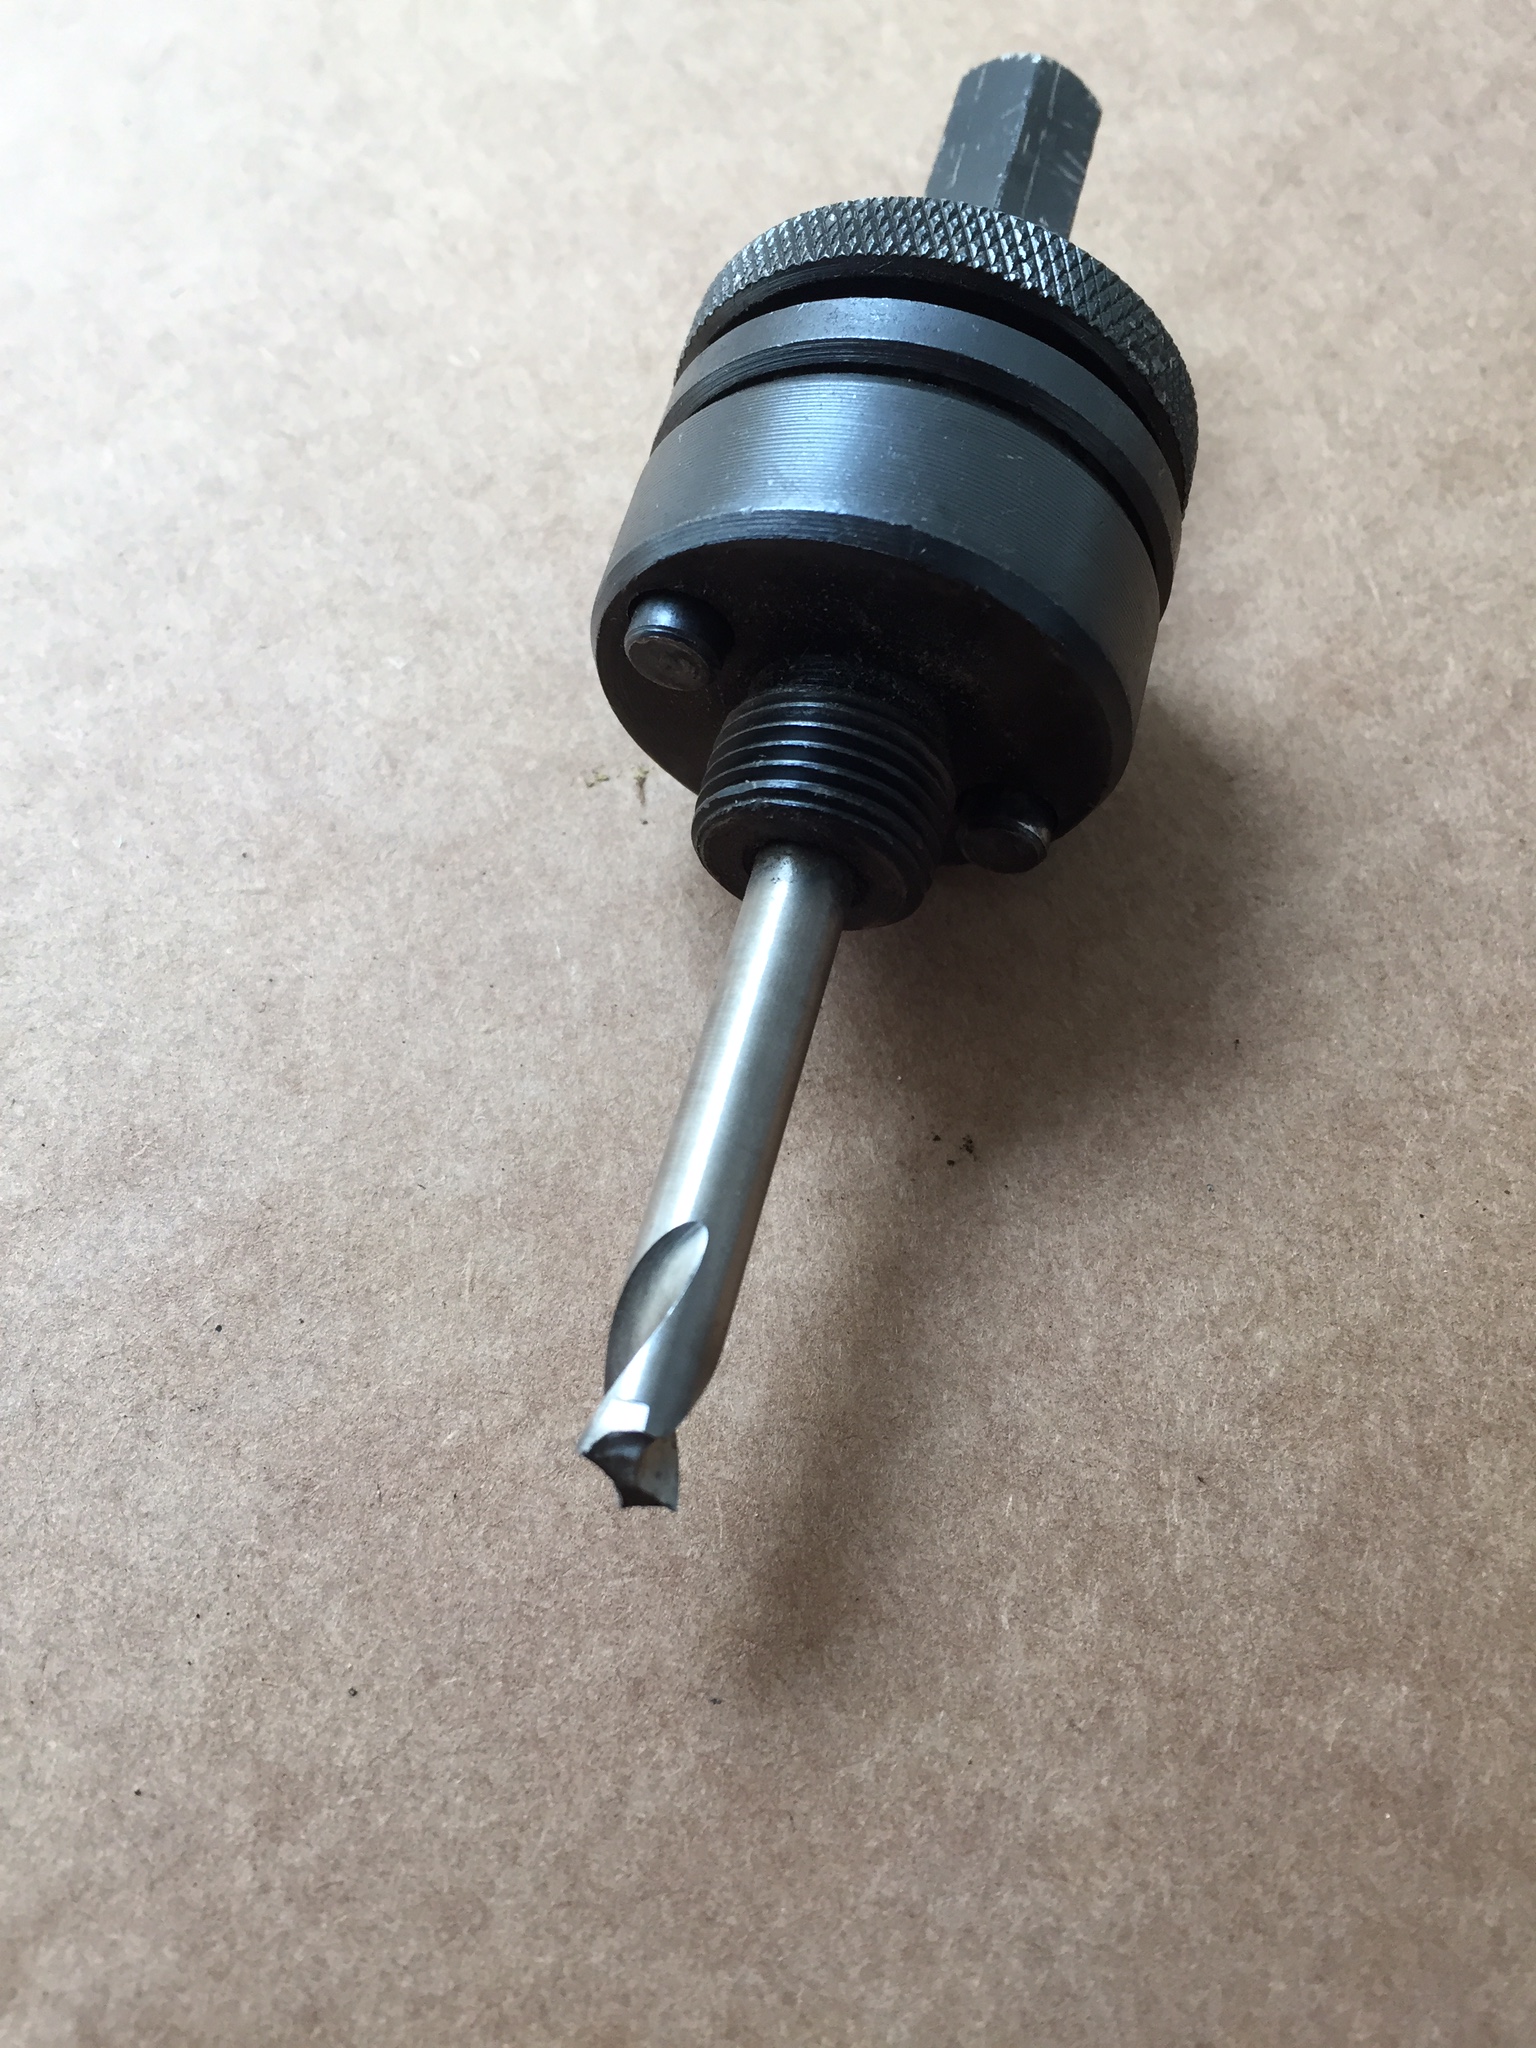
Somewhere behind the grommet is the final resting place for my holesaw pilot drill bit..
If I was to do this again, I would probably mount the fill point under the side of the vehicle instead of cutting holes in the panels, even though I think the flush fill point looks quite nice. It was quite difficult to work inside the panel with the limited space..
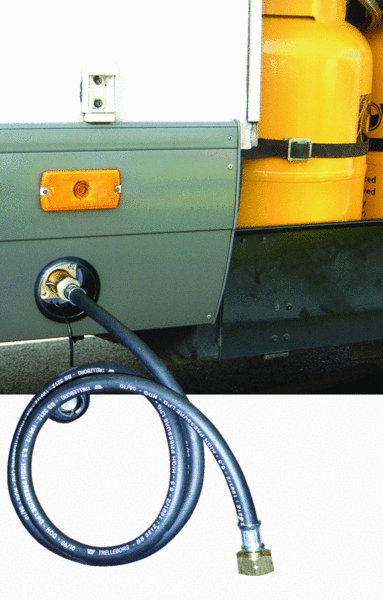
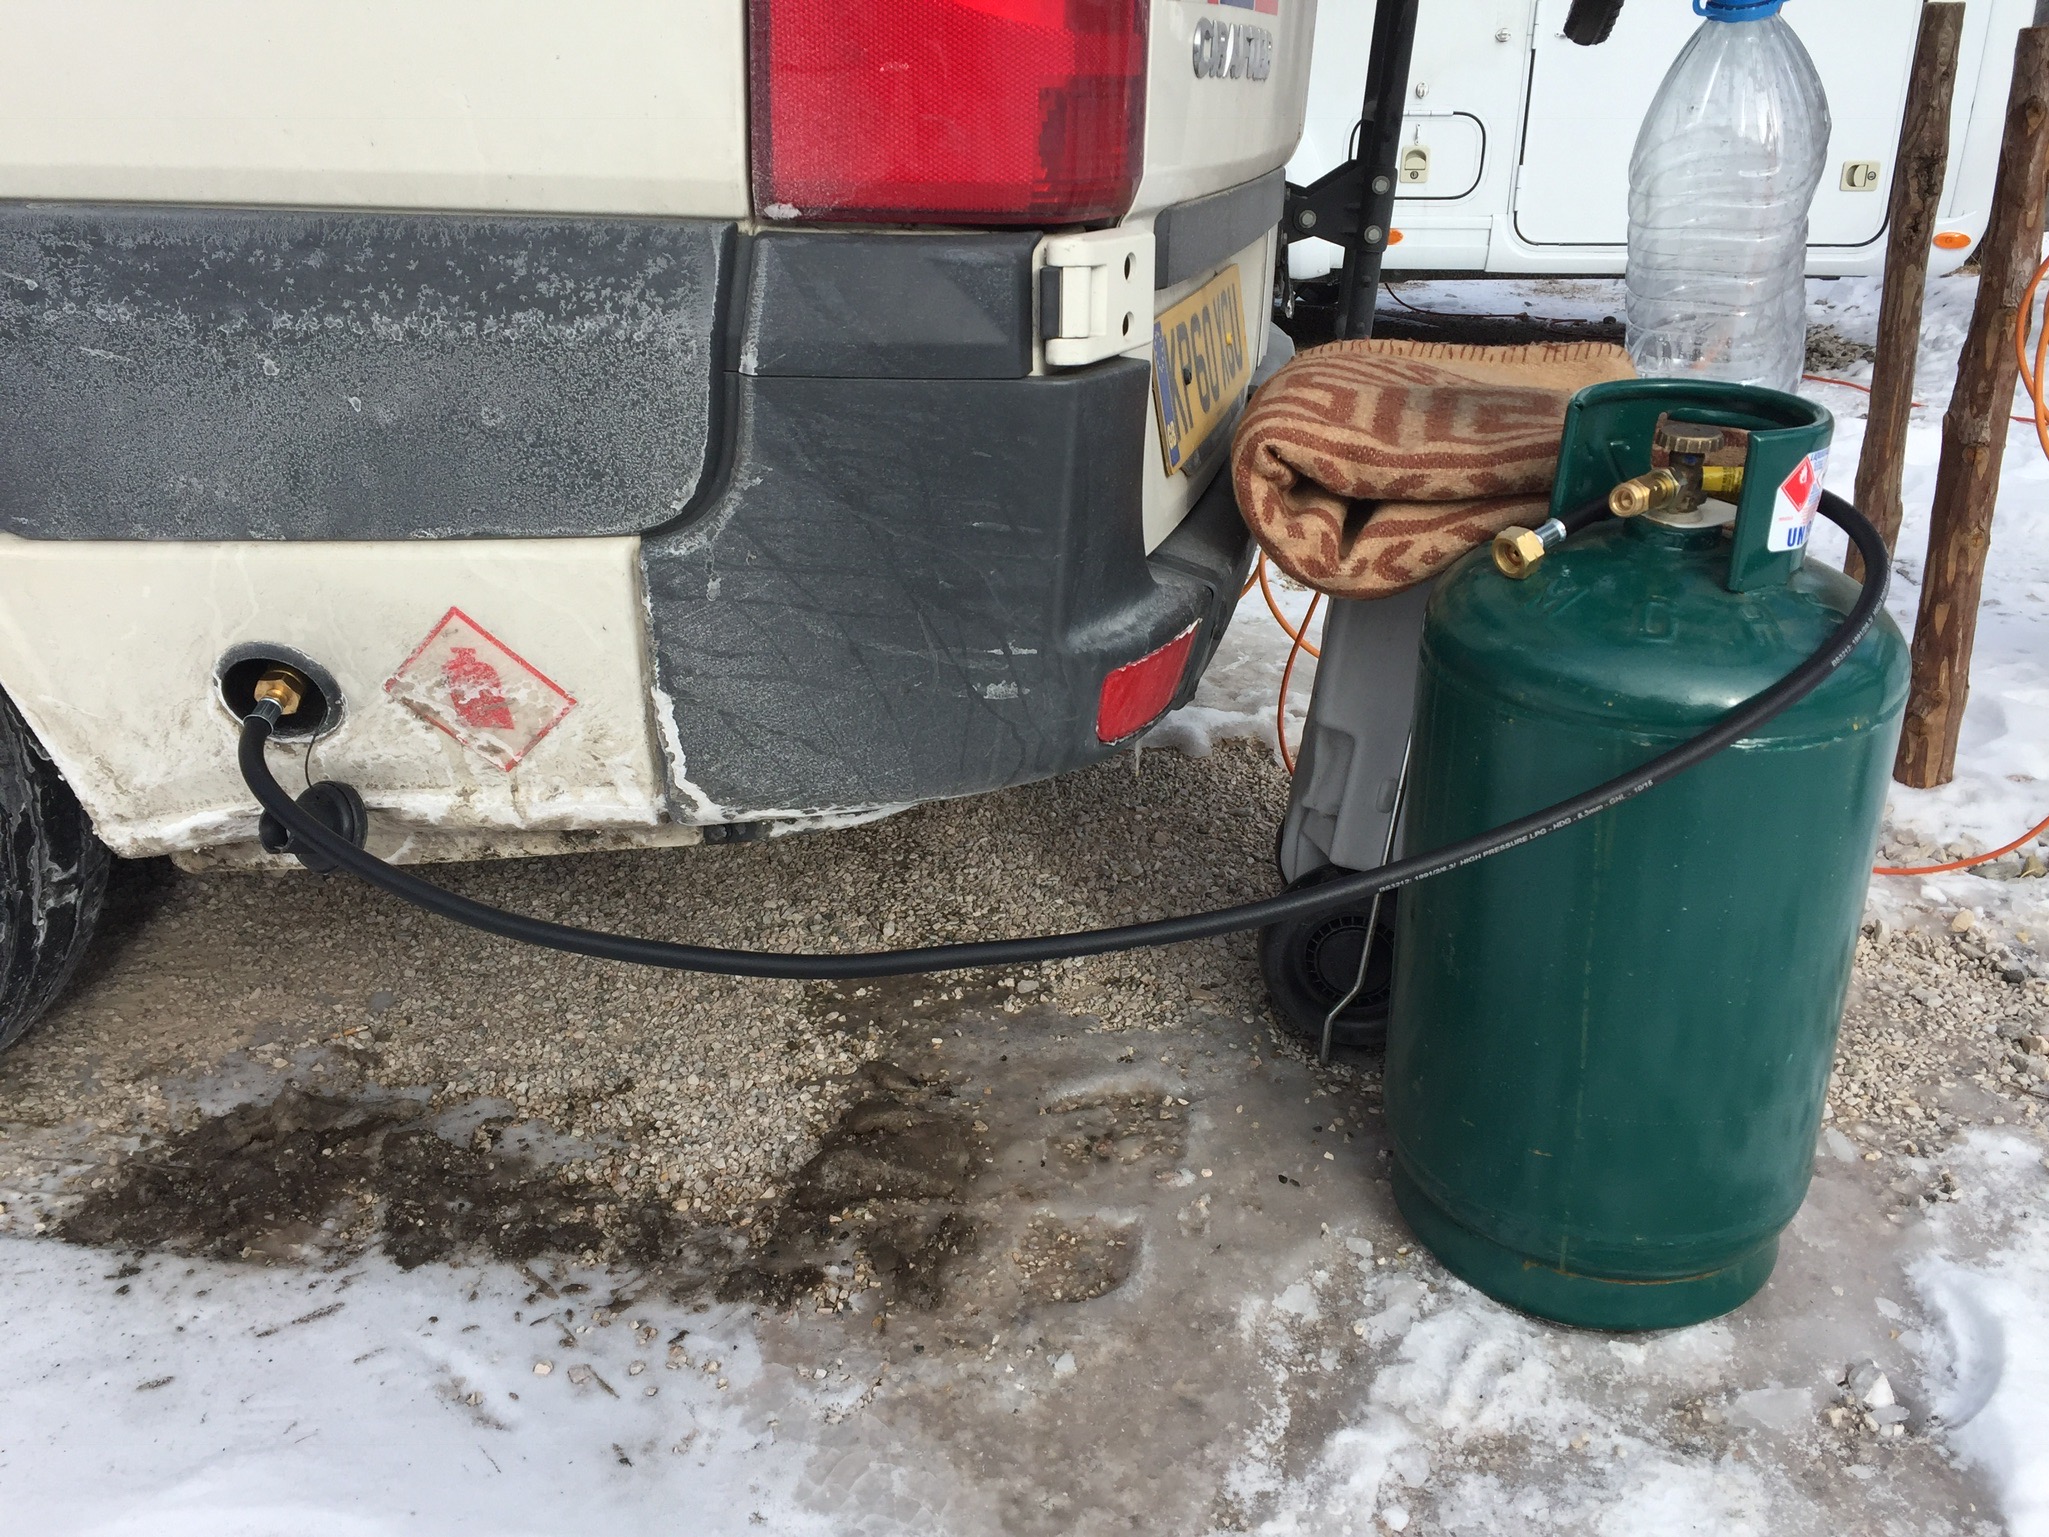
Update 01/2017: To fill your underslung gas tank from any LPG bottle, all you need is the Gaslow reserve cylinder connection hose and the necessary Gaslow 21.8LH adapters.
Pipes and Wires
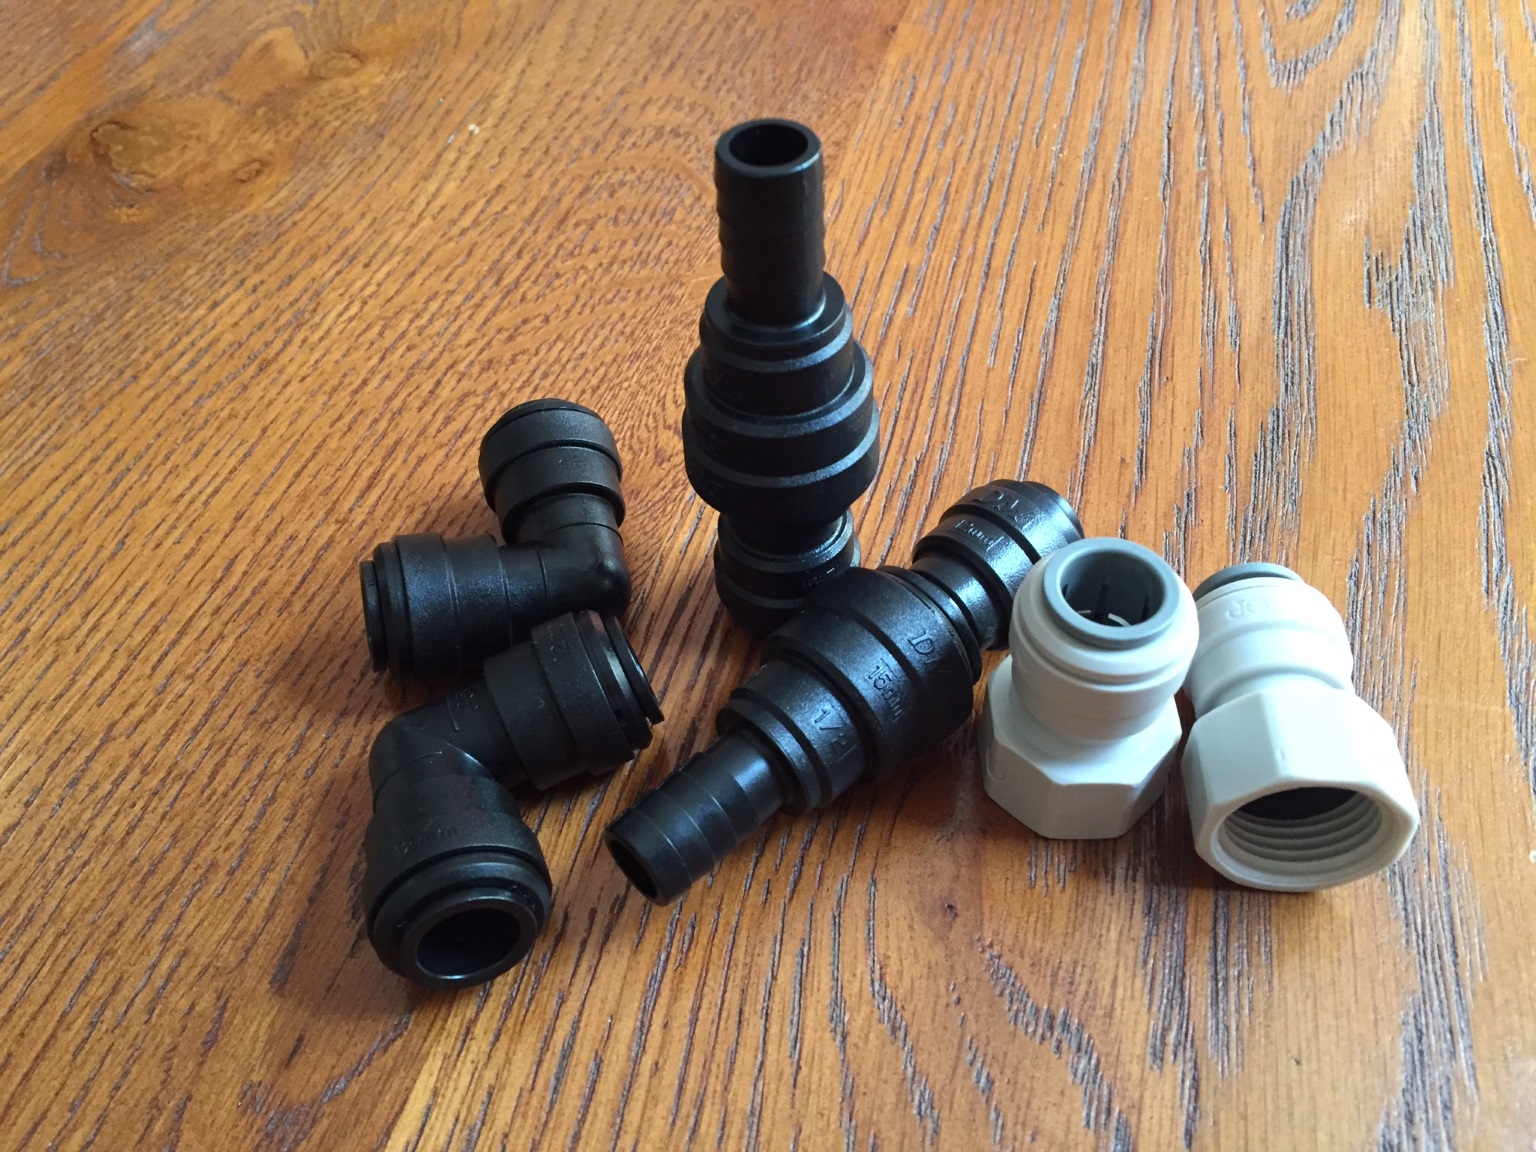
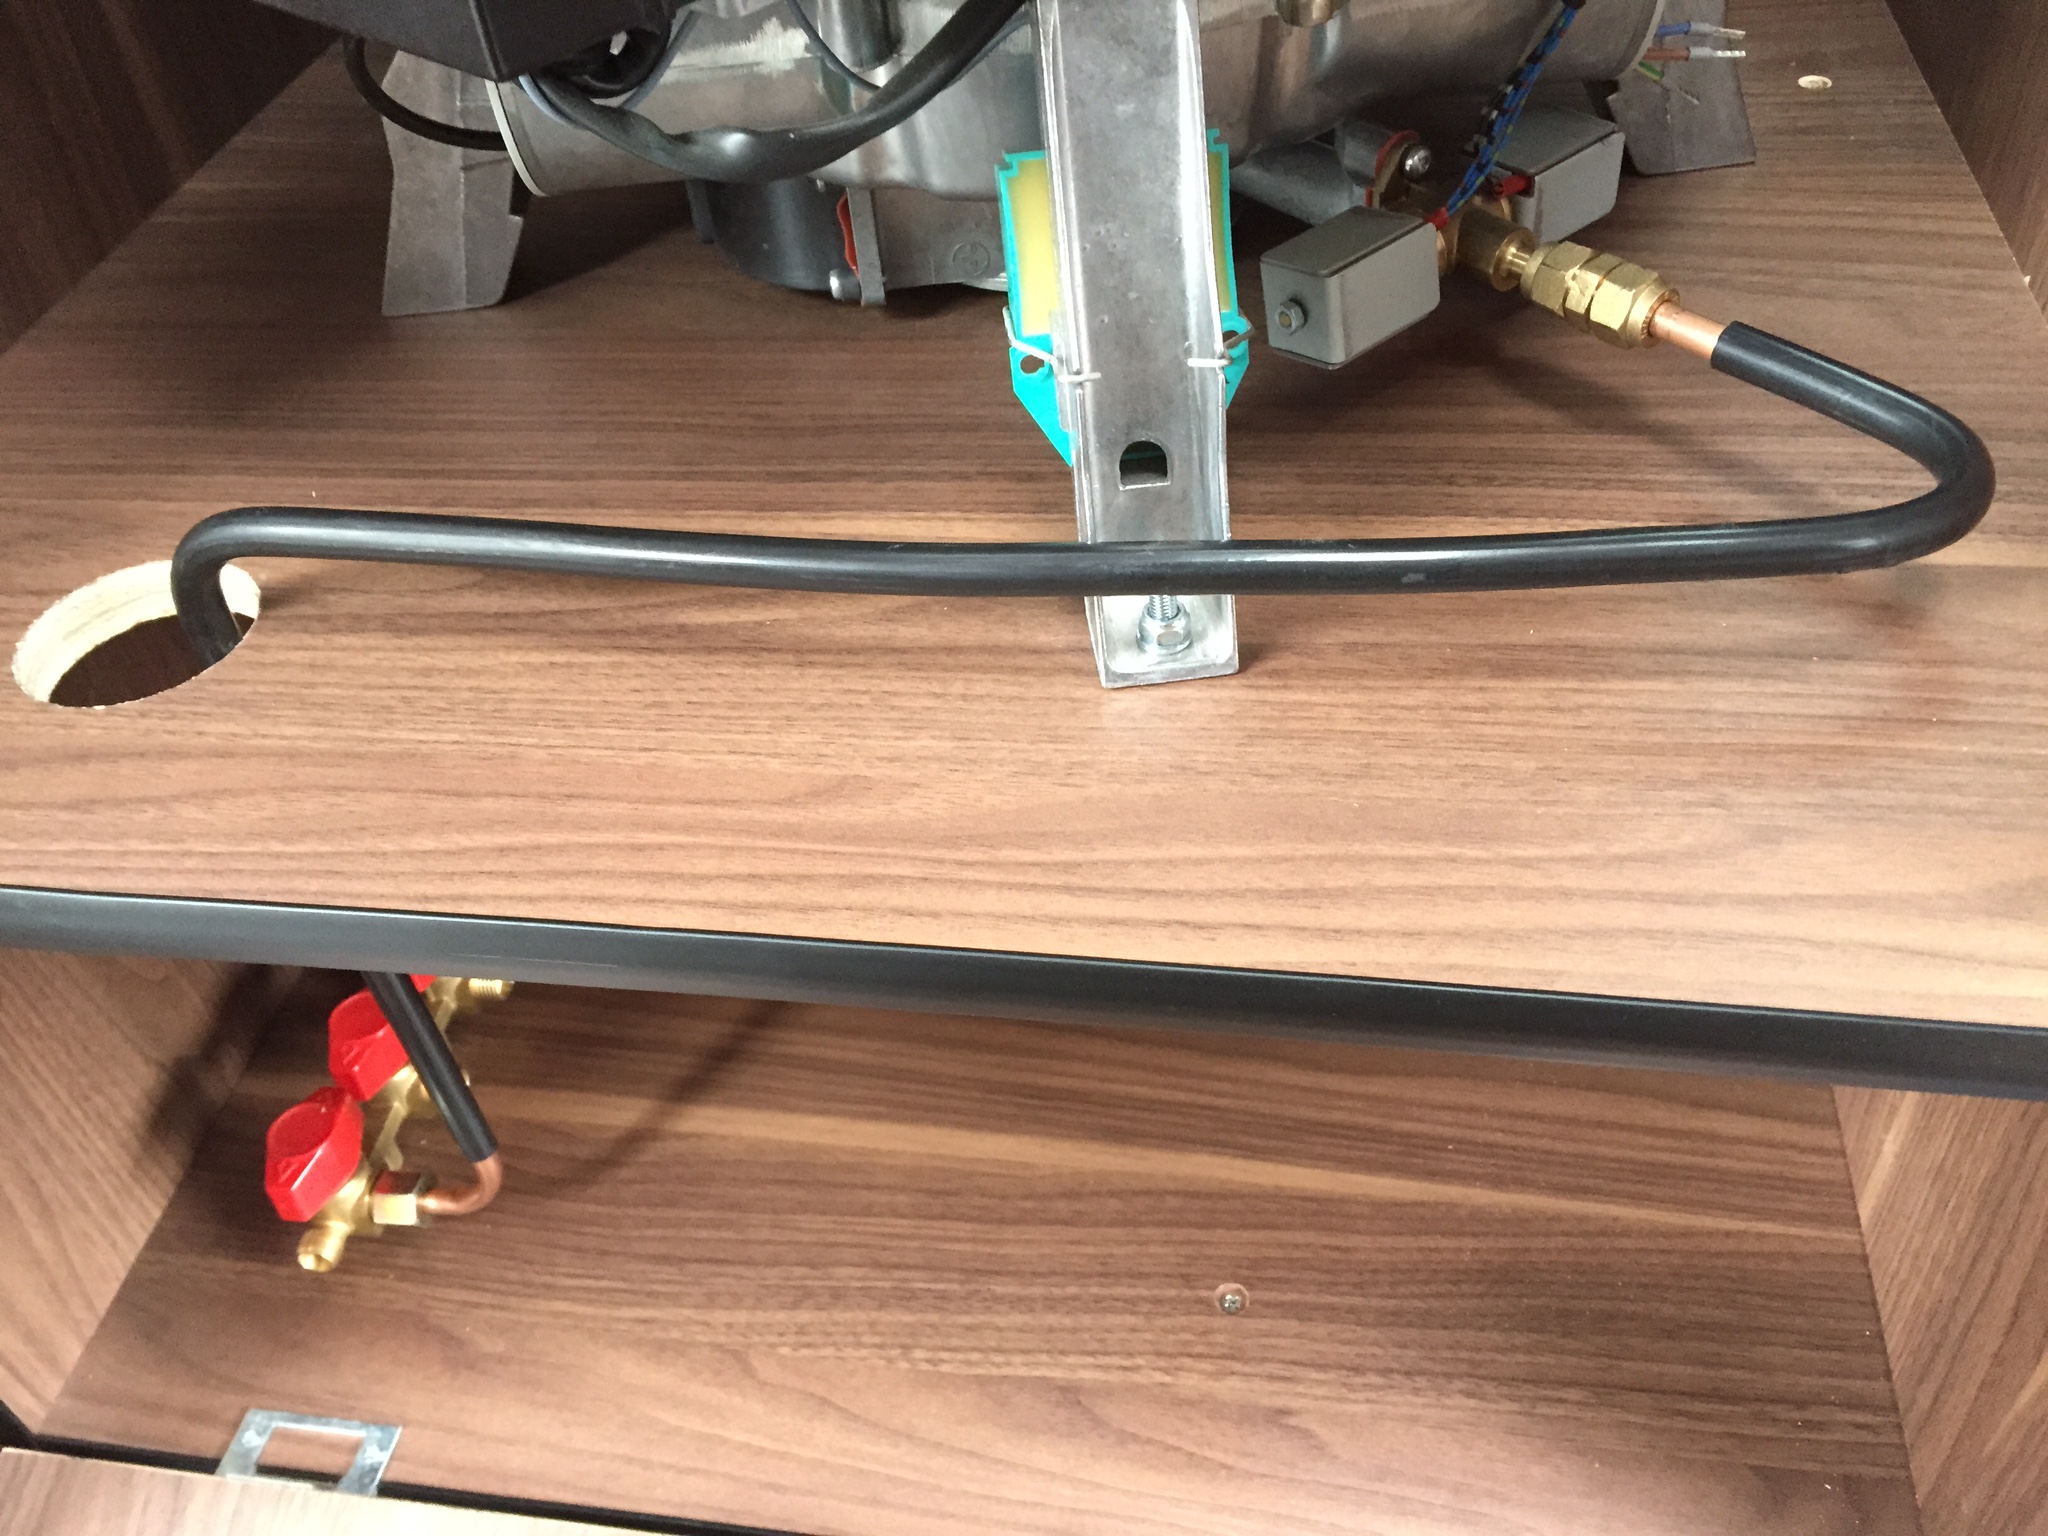
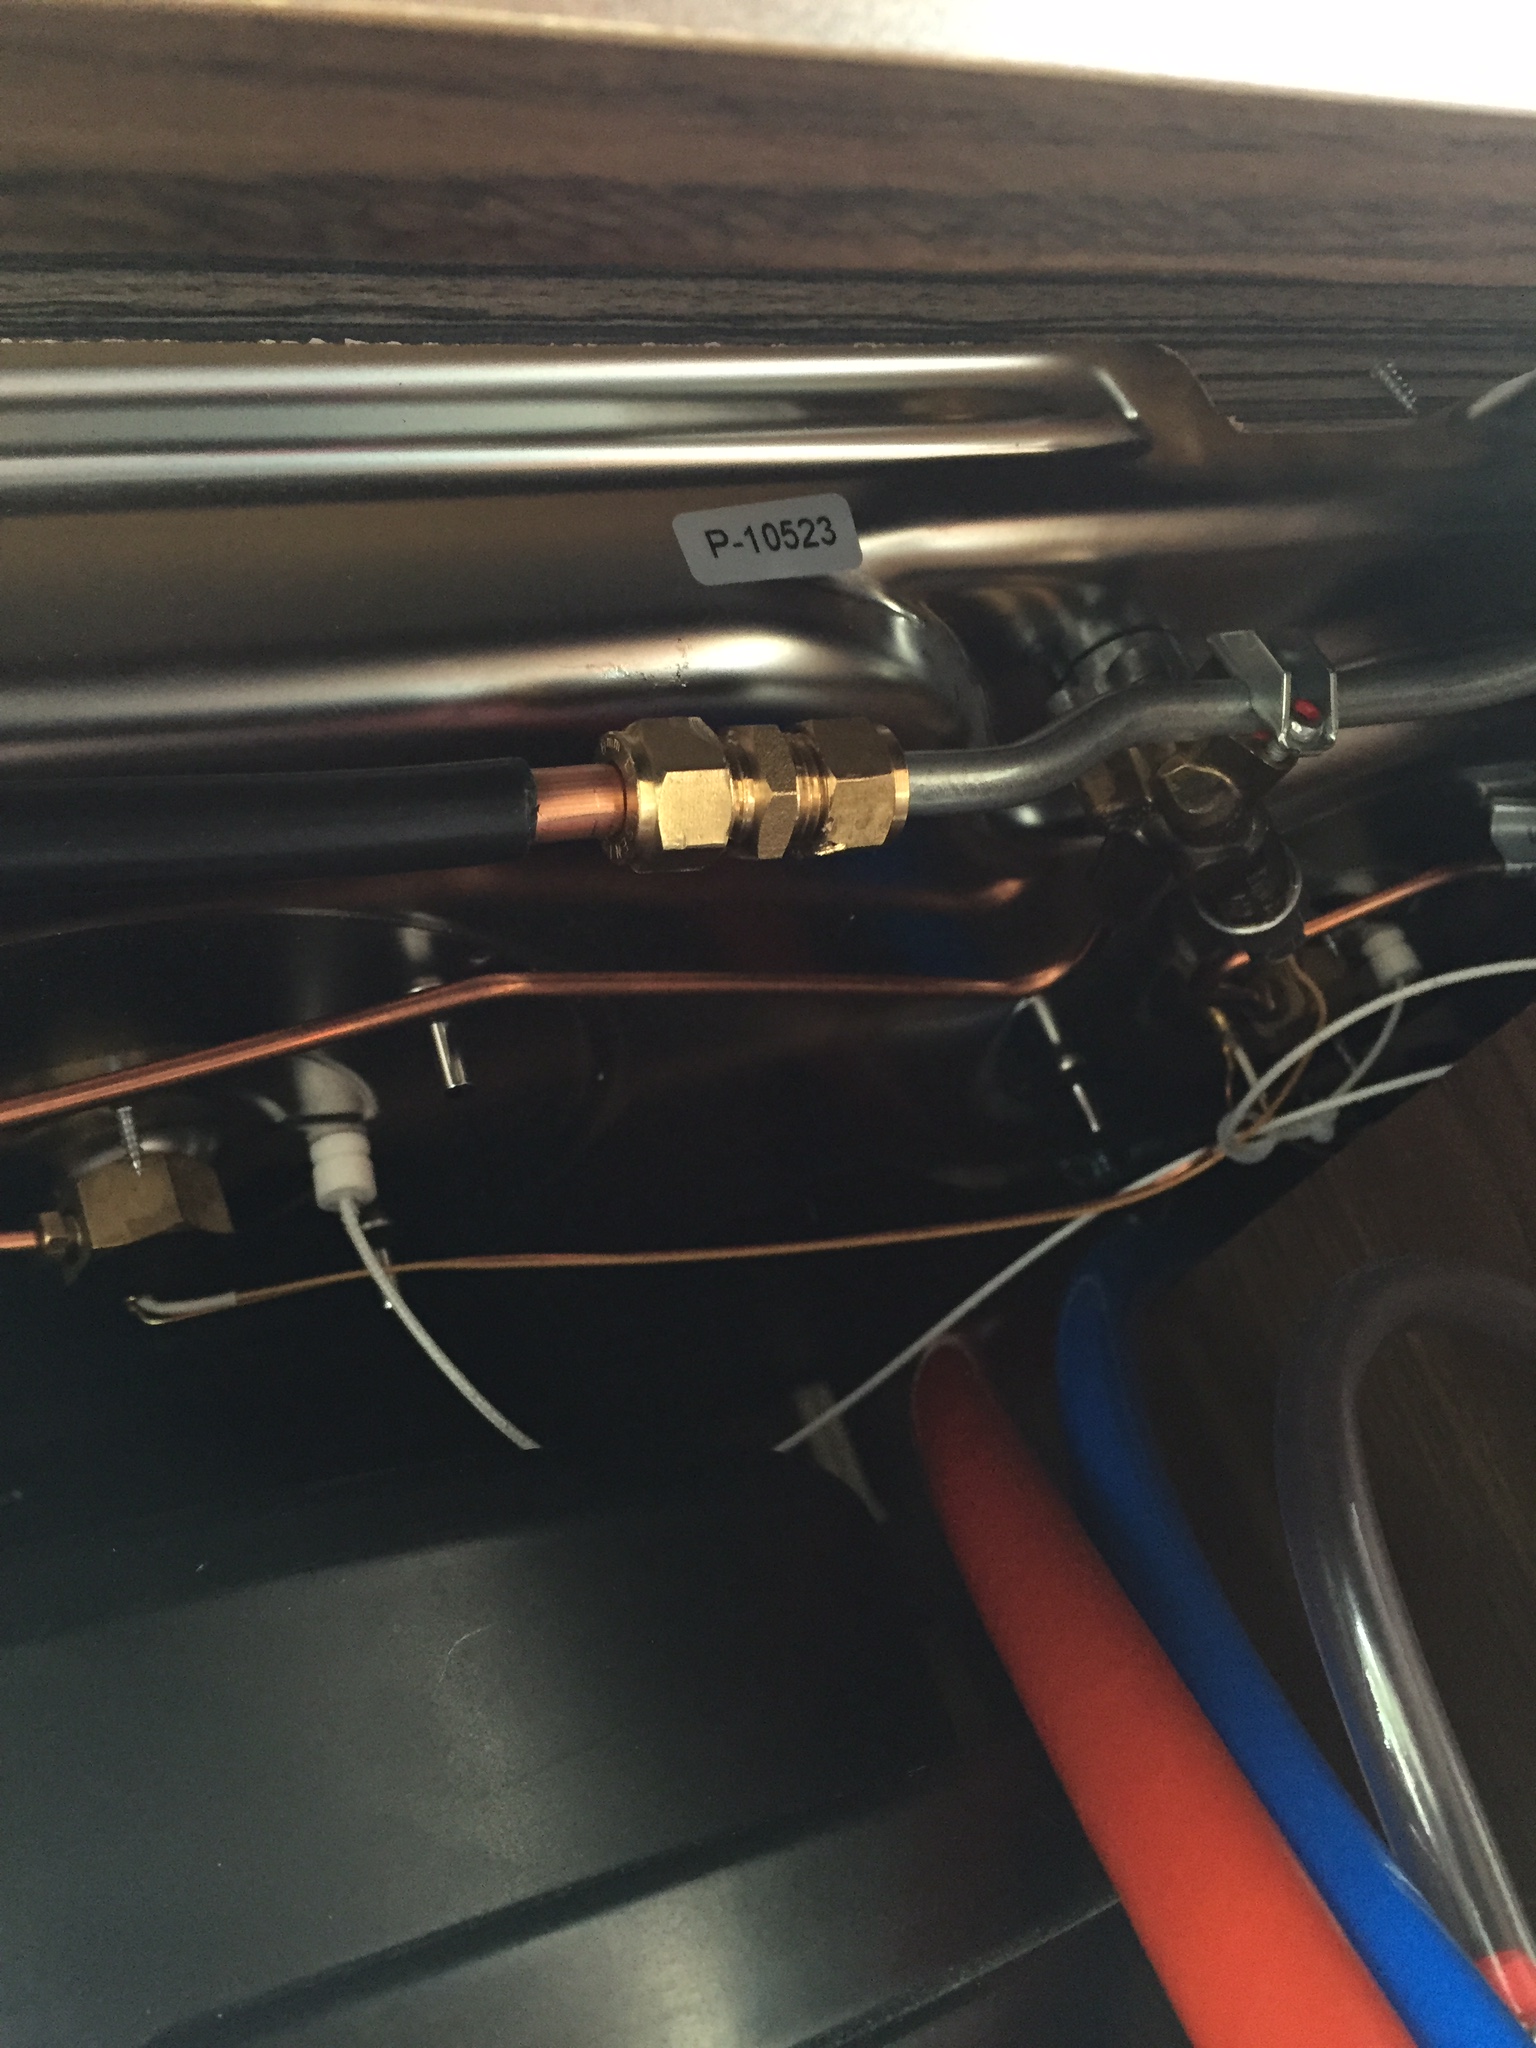
Running 8mm copper pipe in its plastic jacket turned out a bit of a nightmare. The pipe is very quite flexible, but also kinks quite easily. Anyway, I measured the length of pipe and started working on it with with a pipe bender and feeding it through holes in the chassis members, towards the ingress points I cut just inside the wheel arch on the O/S. The pipe was secured using stainless steel P-clips.

Even though I tried (see below) I couldn't feed the pipe in one piece to the utility closet, so I've used an 8mm compression join fitting.
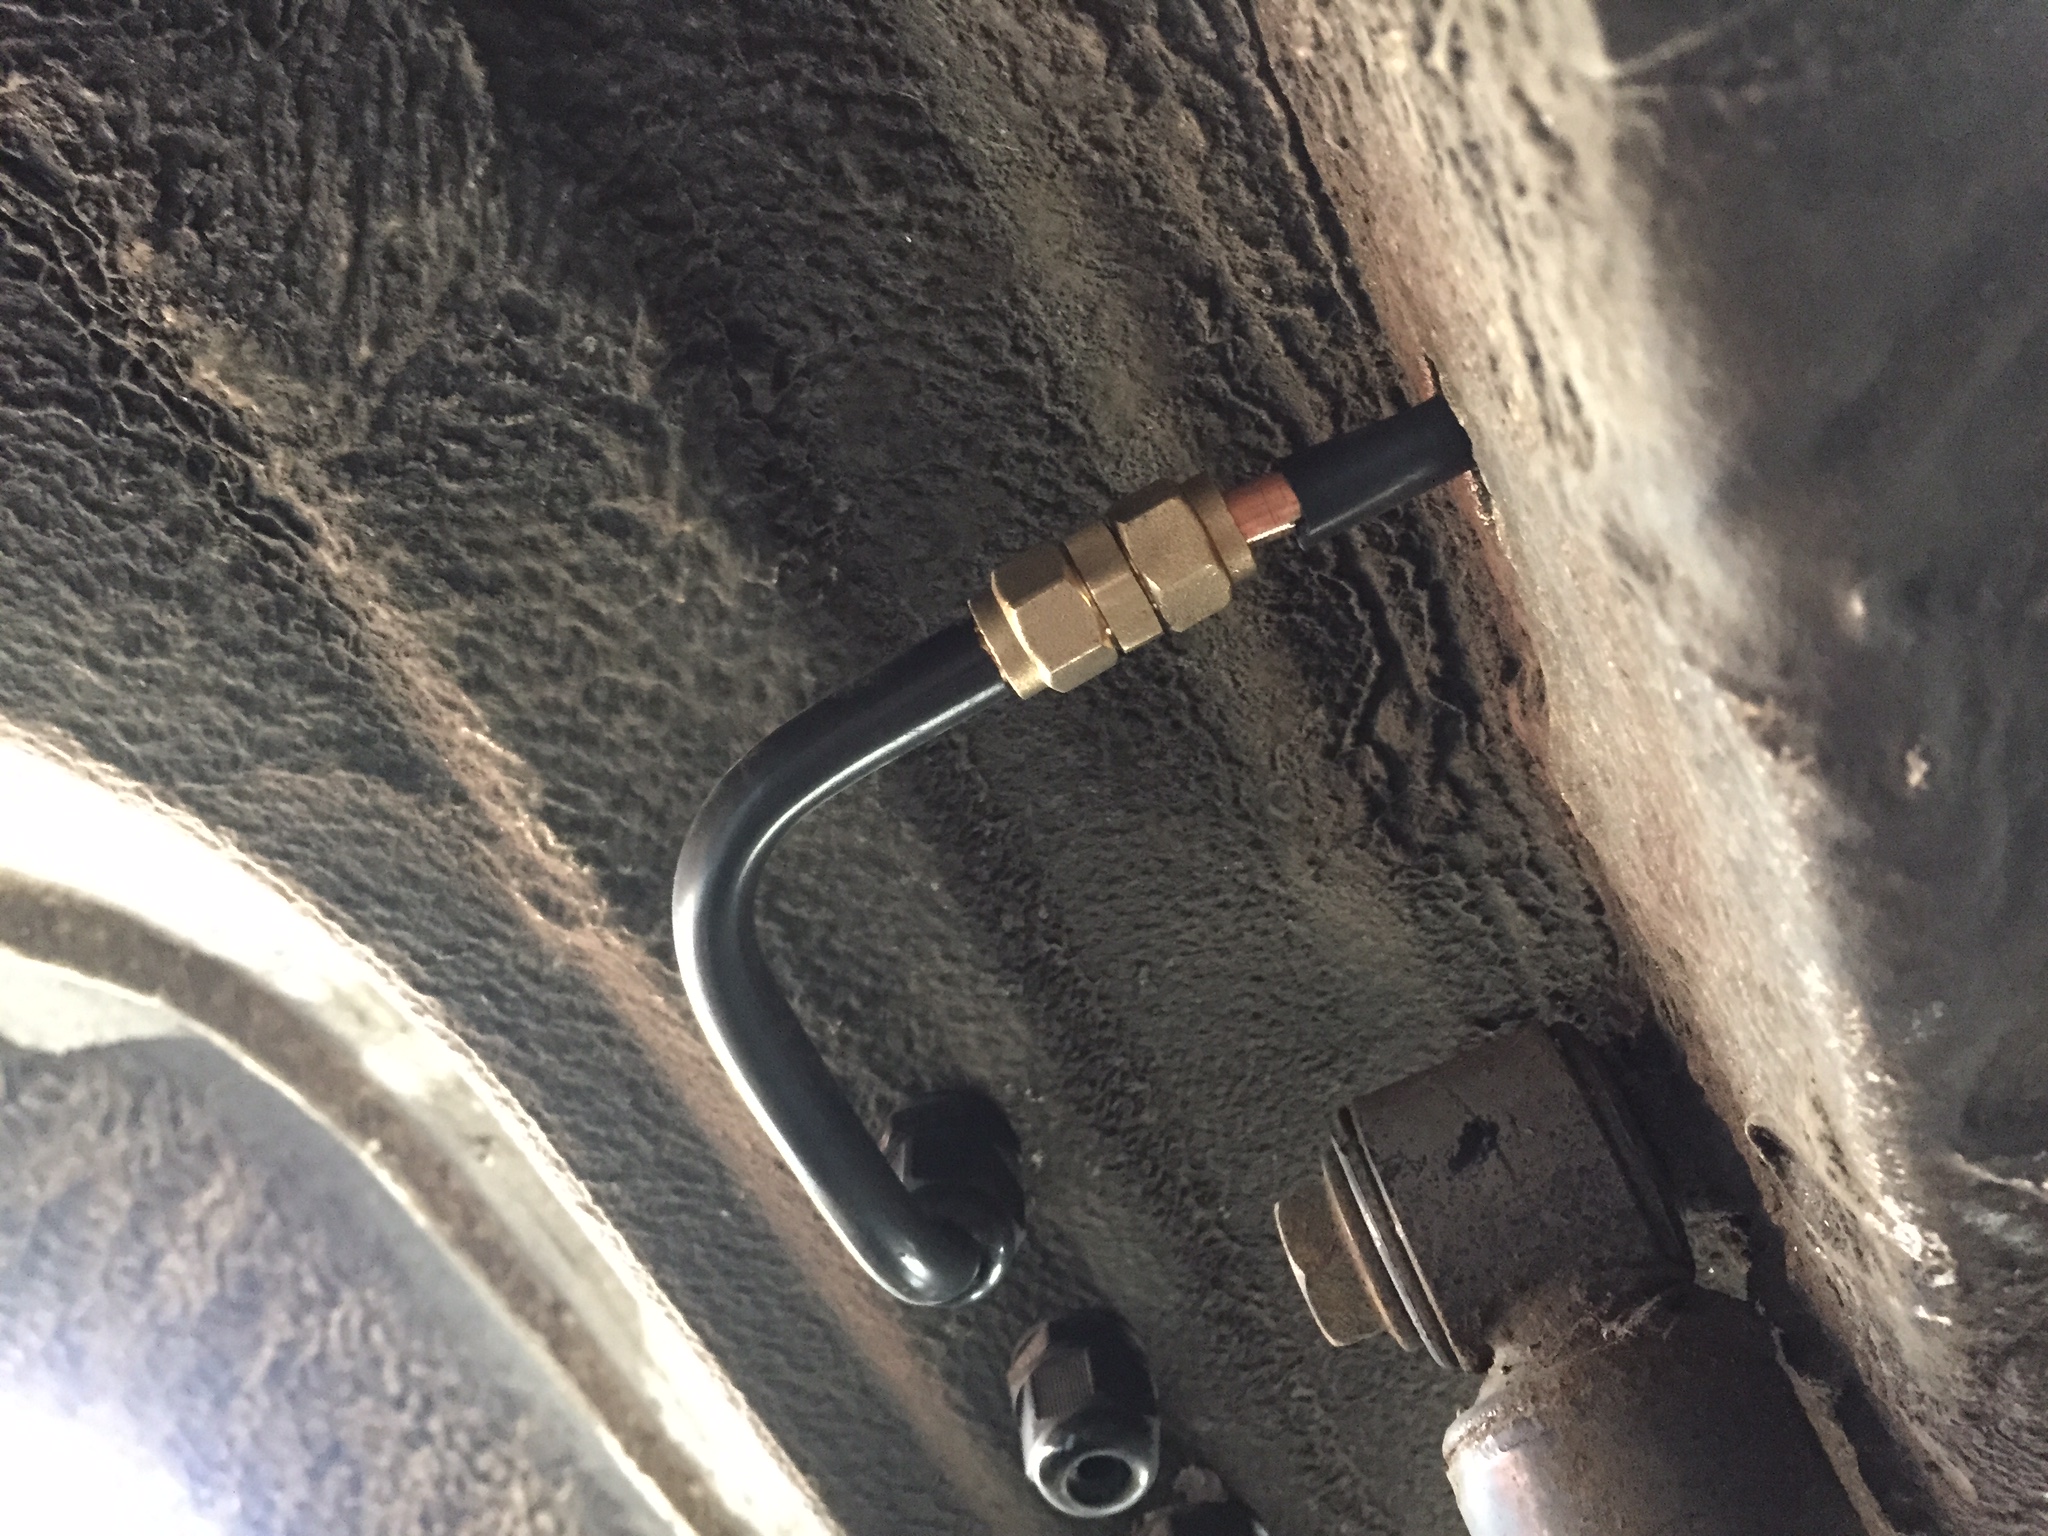
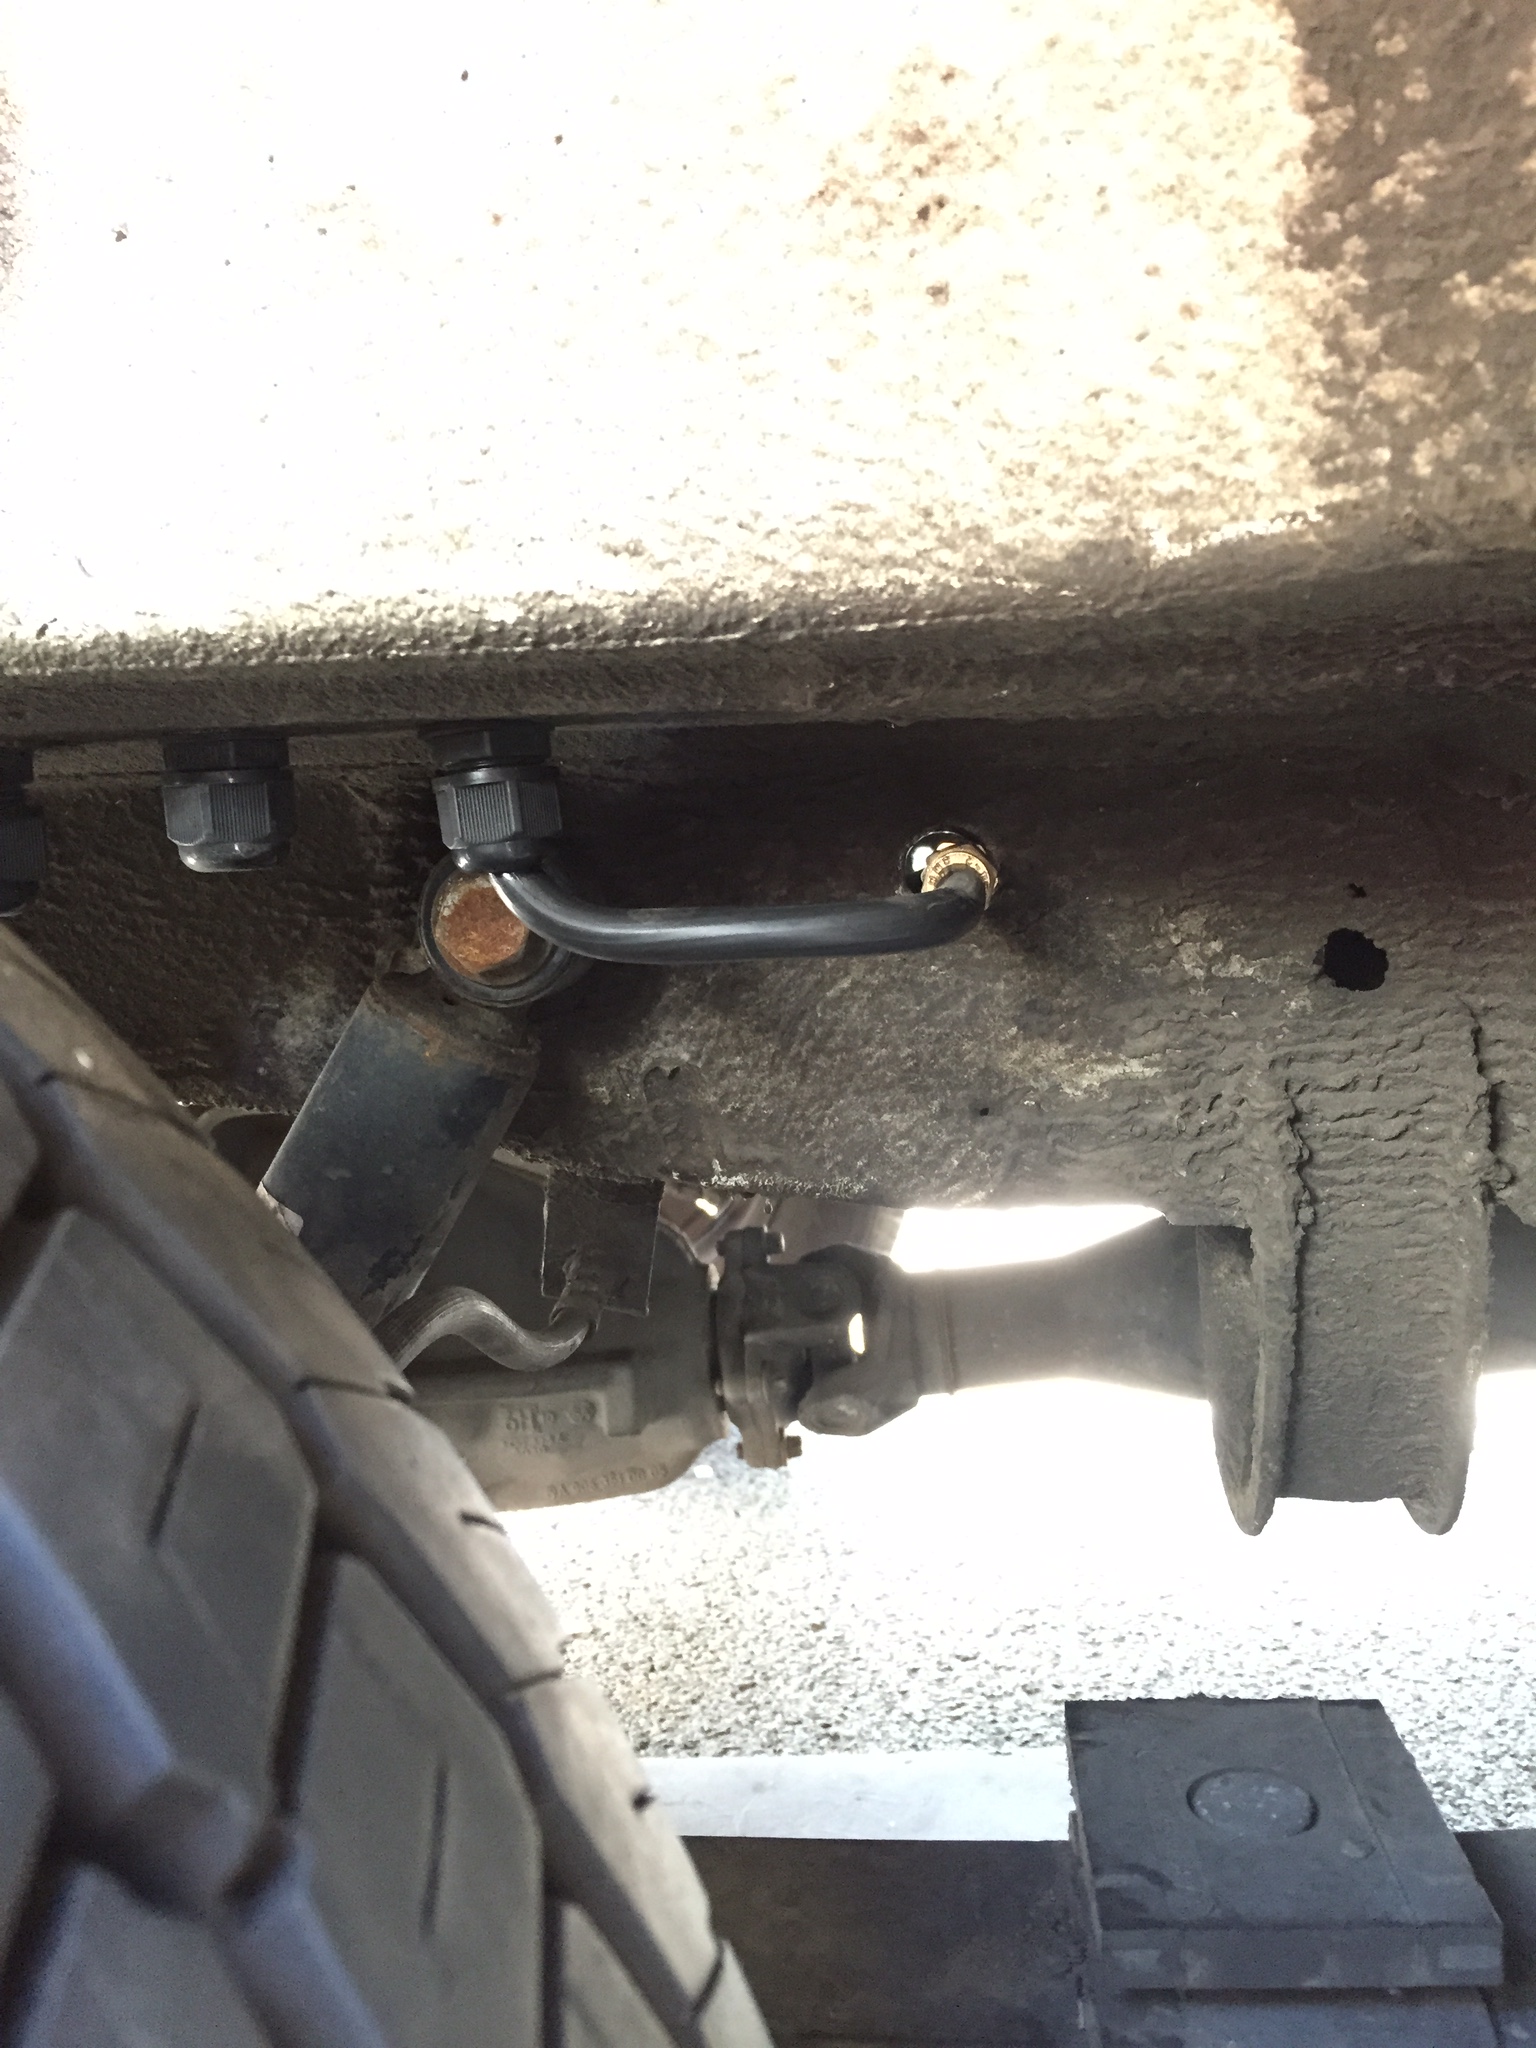
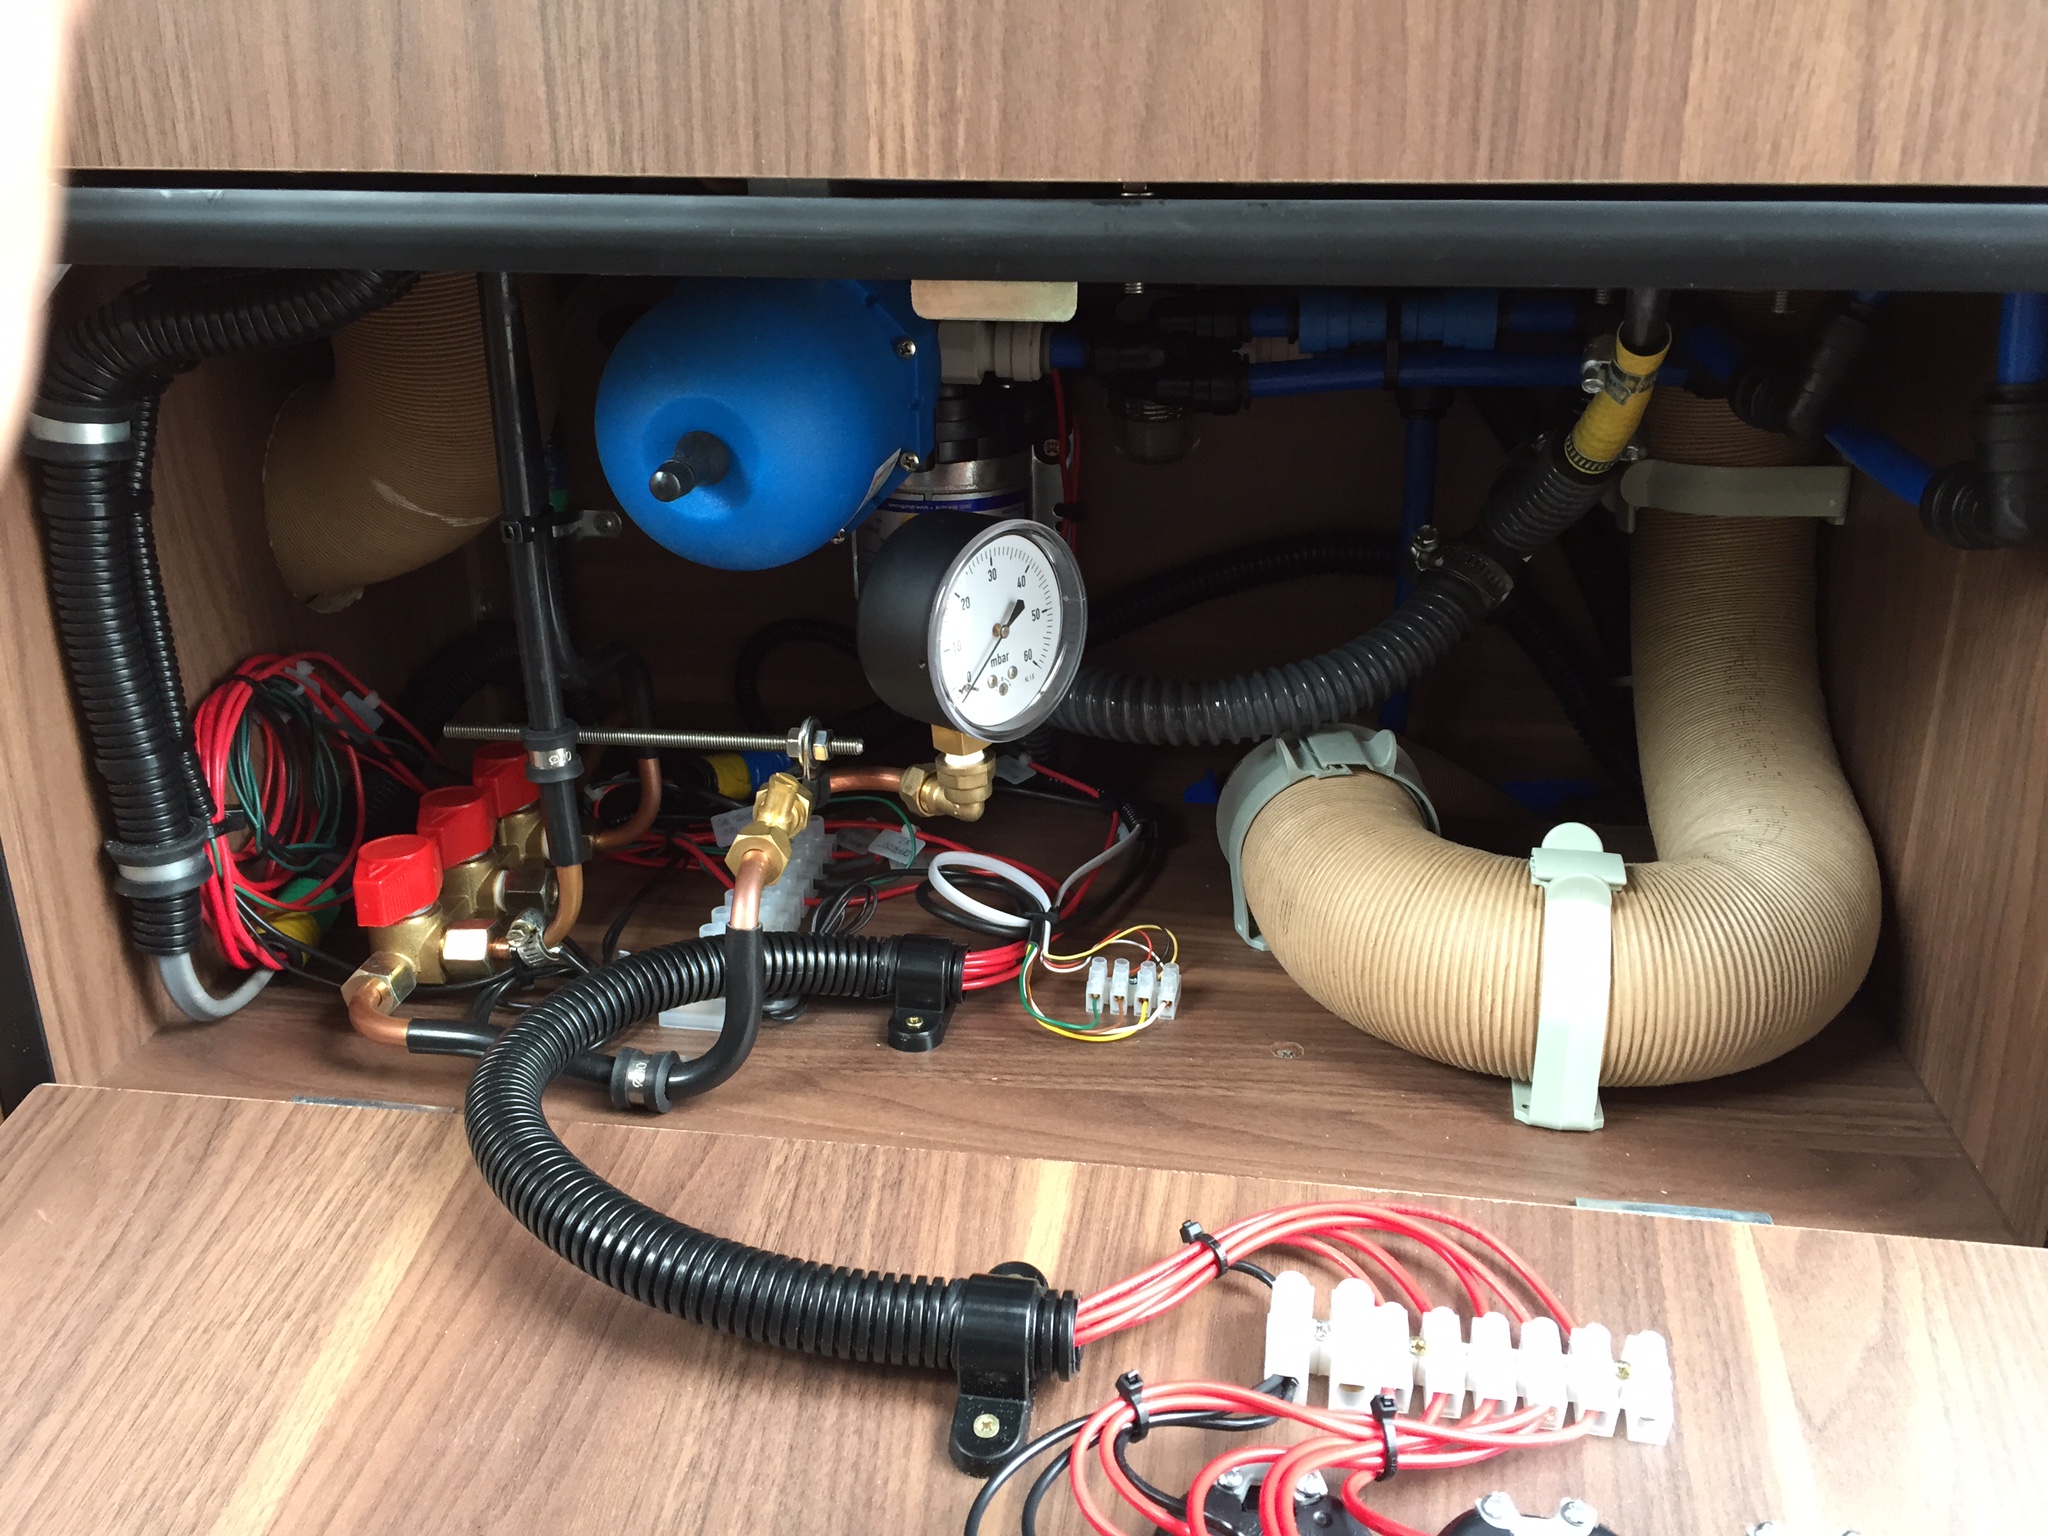
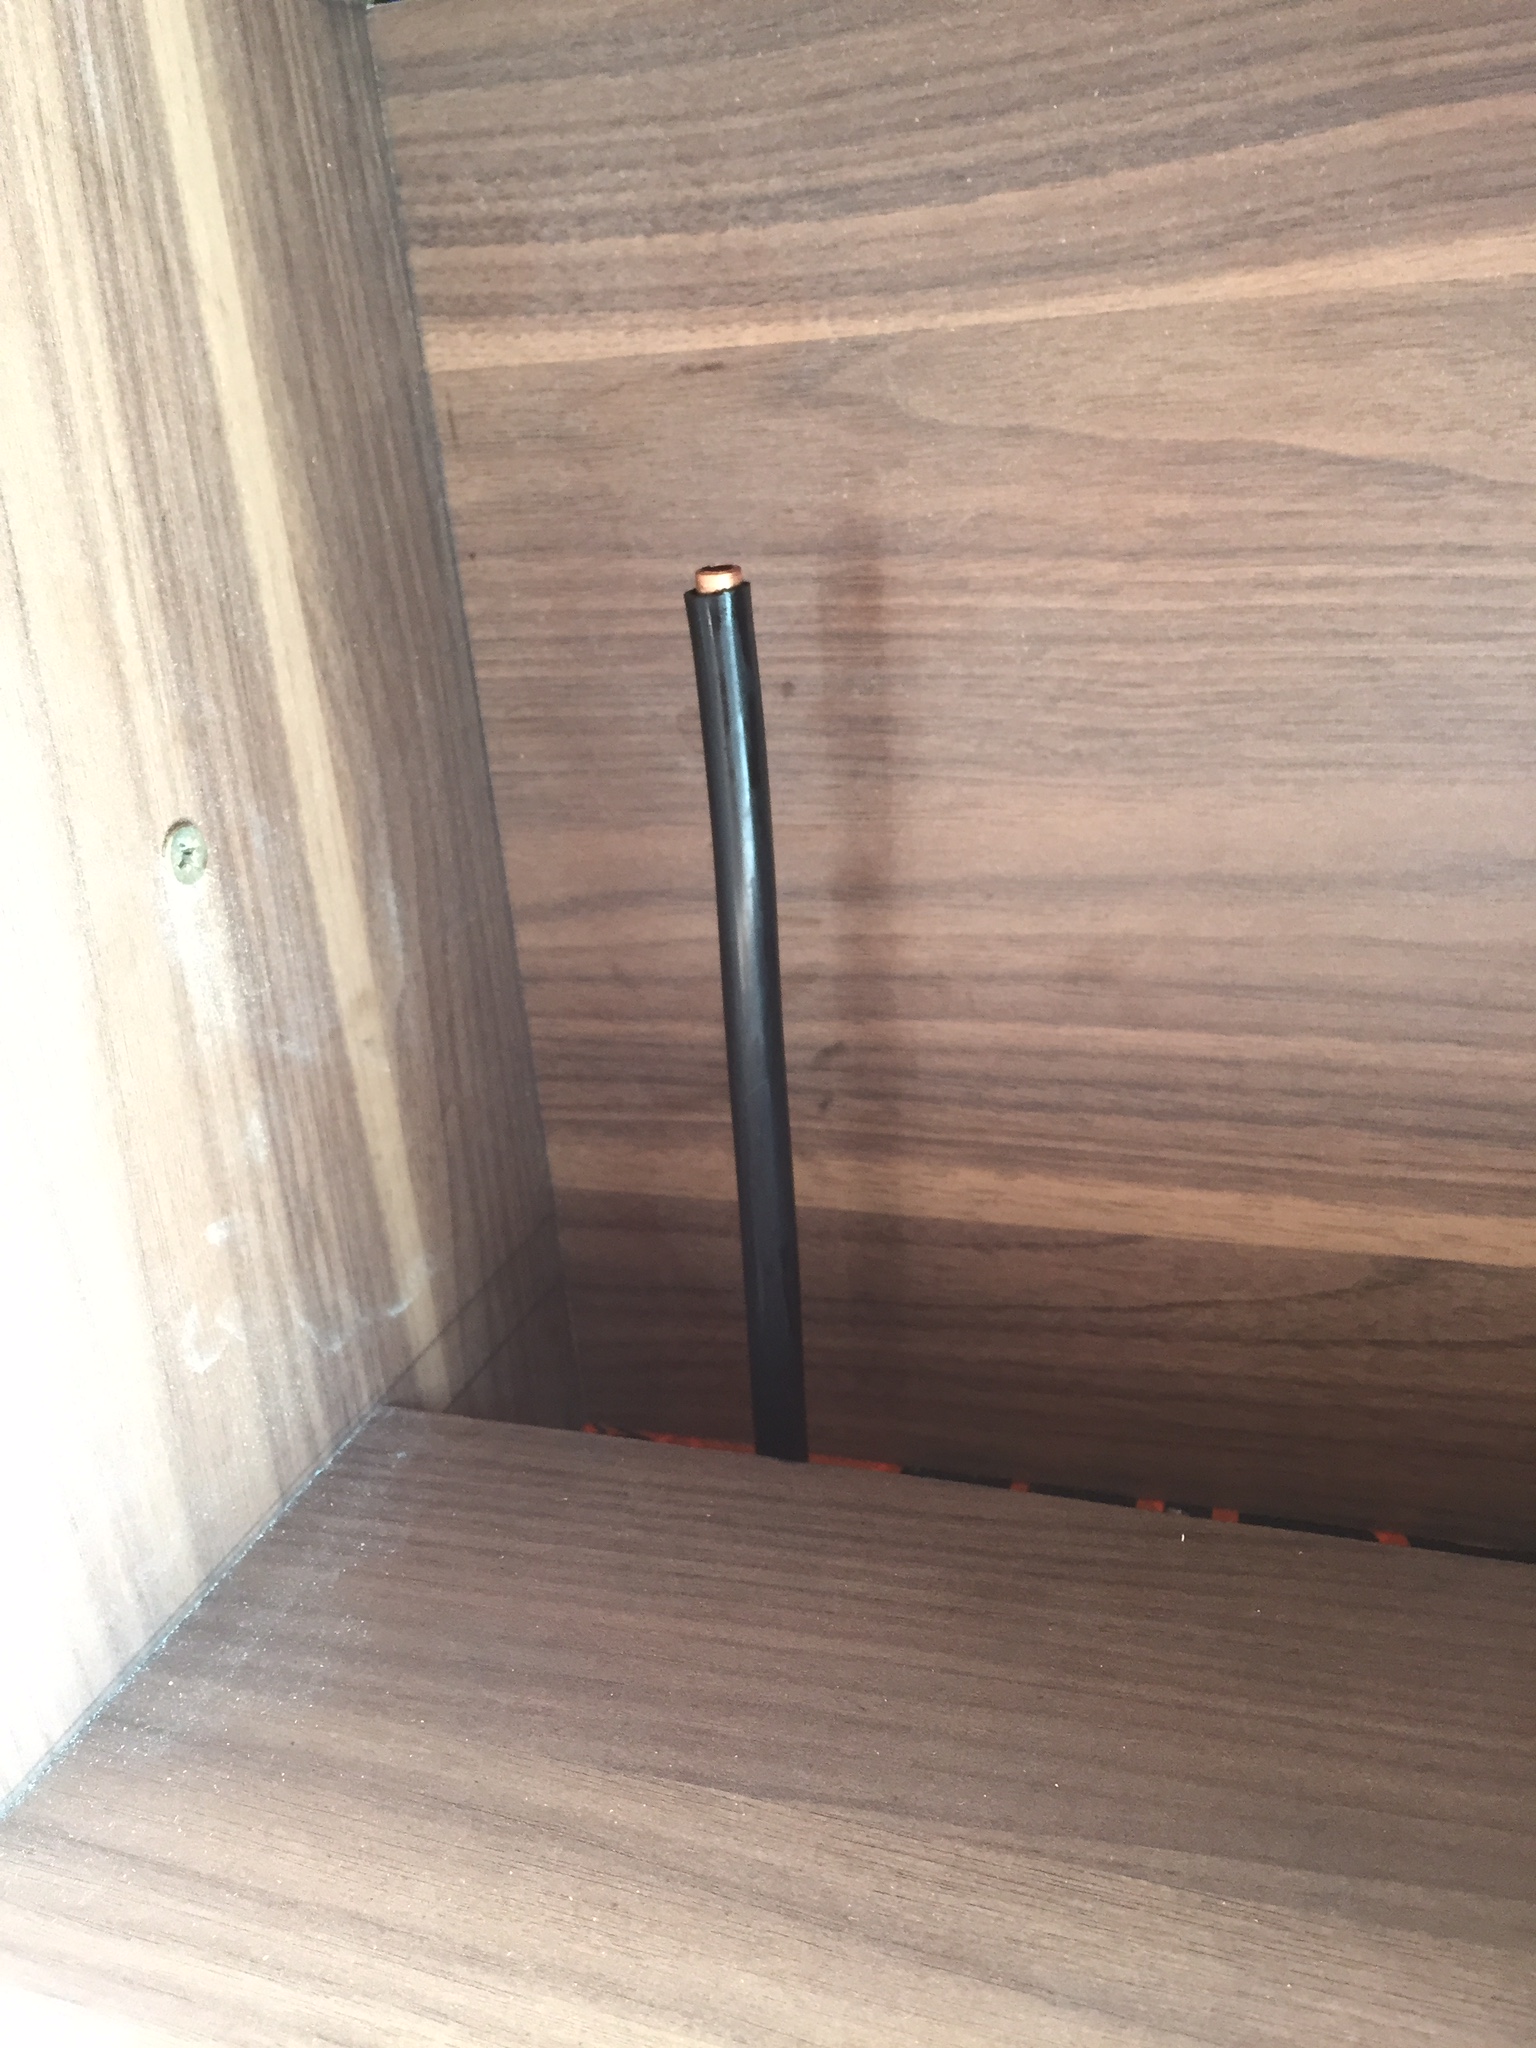
After fighting with the pipe for a solid day, we are in the utility closet..
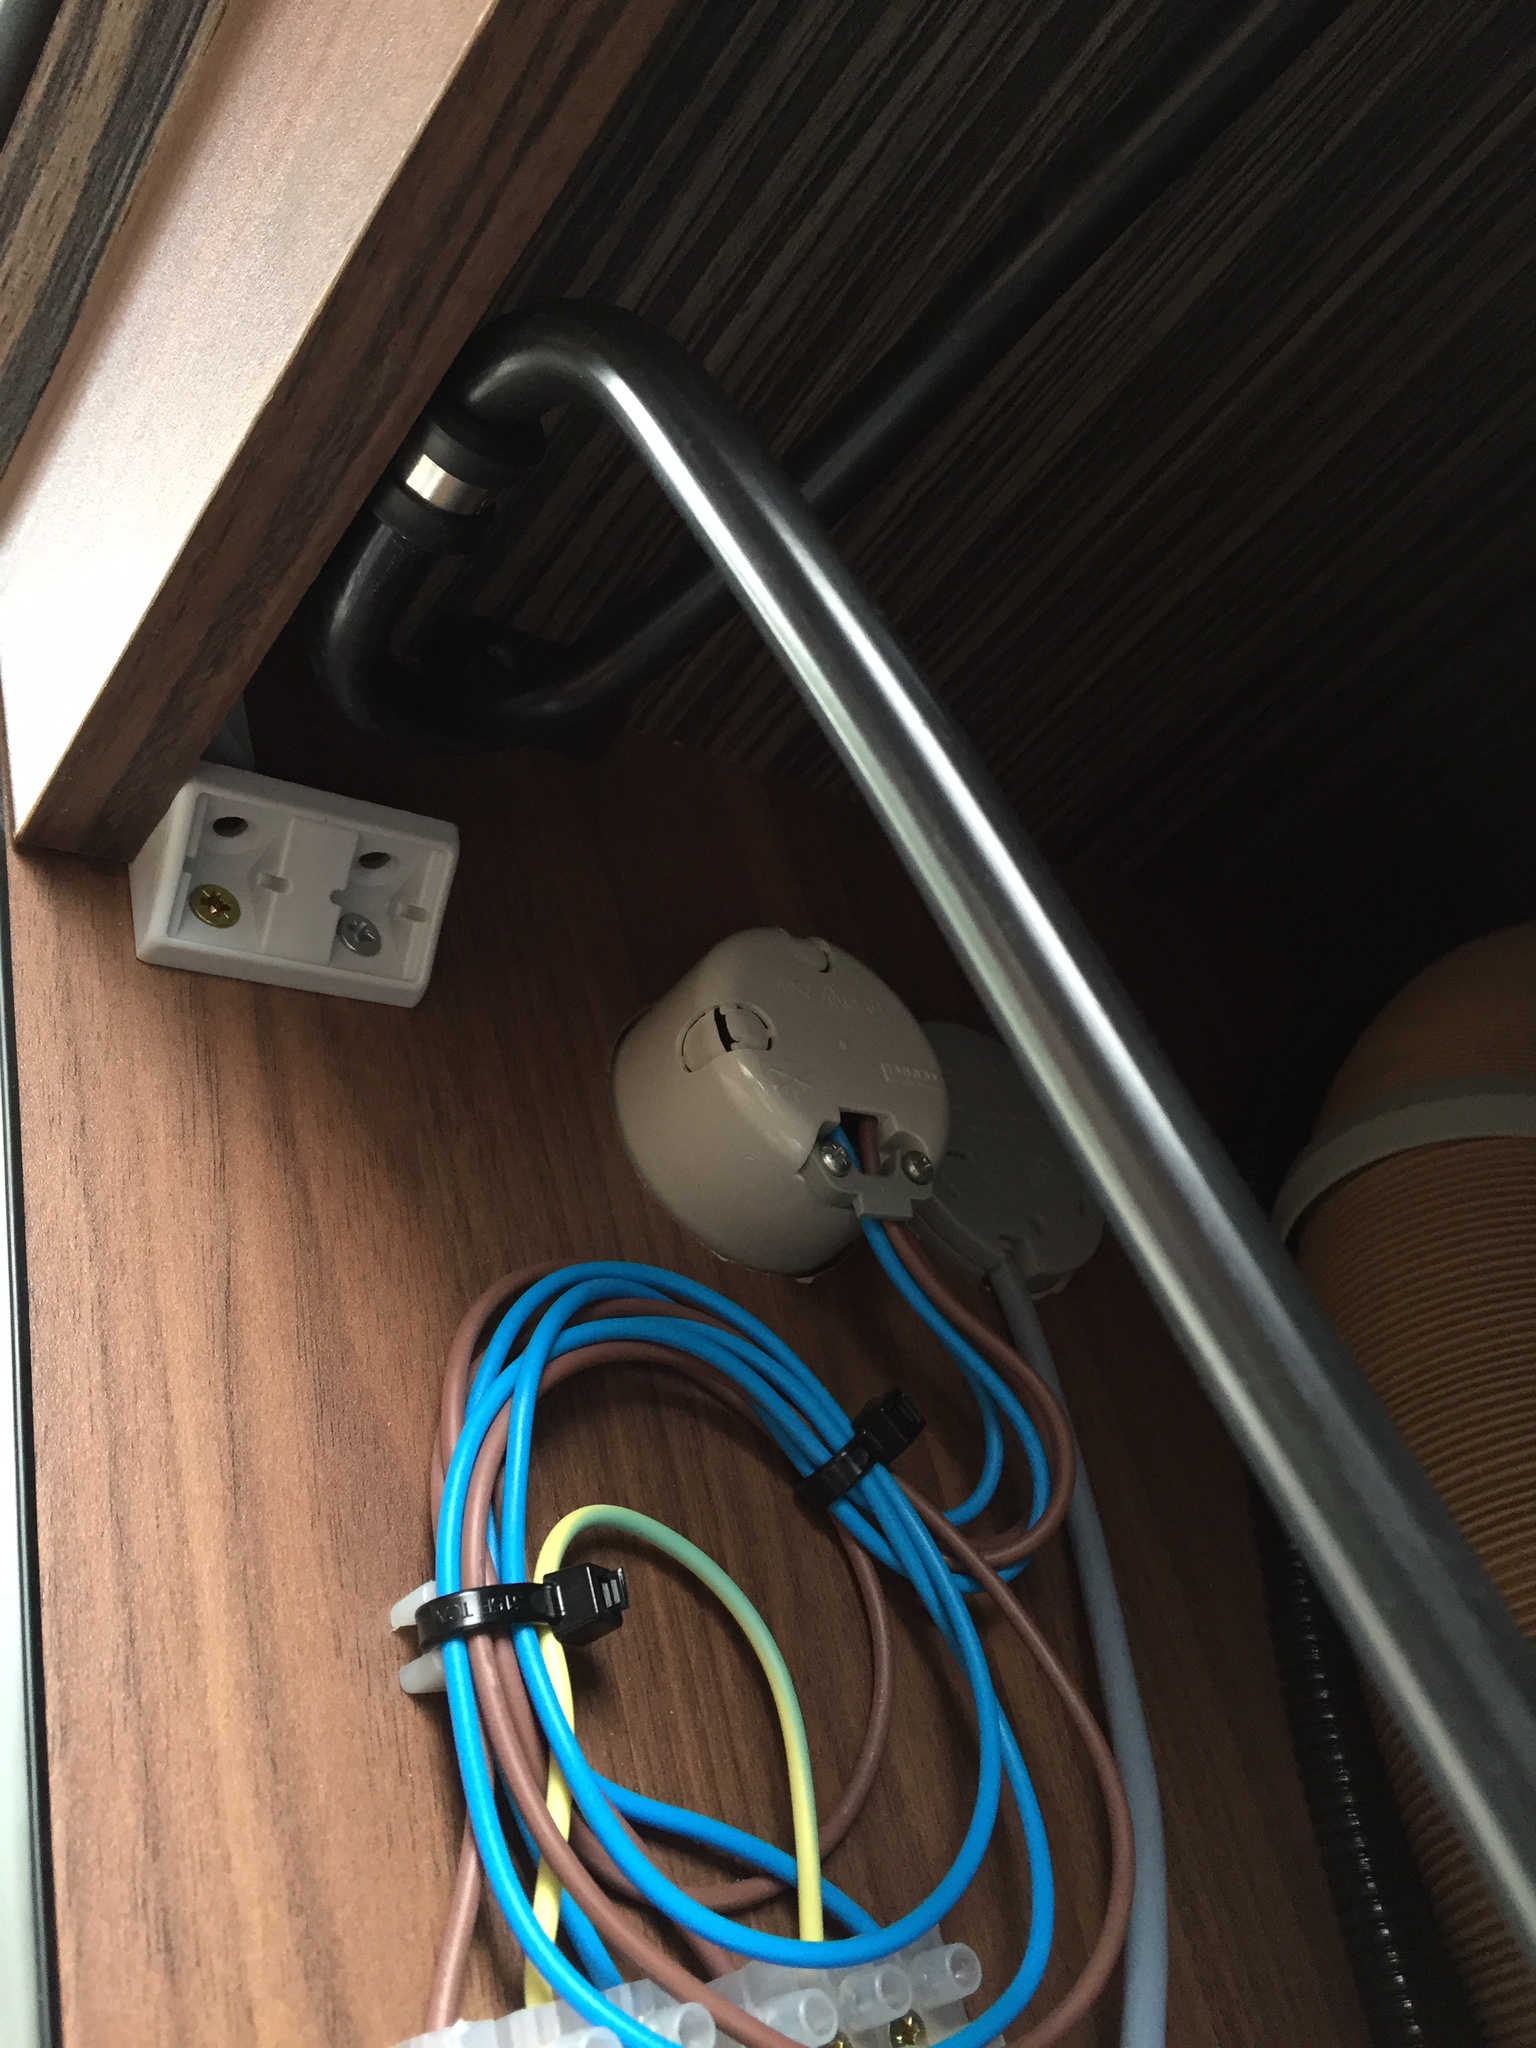
I've also fed the gas gauge wires from the tank via a 10mm un-split convoluted sleeve, run in parallel with the copper pipe using cable ties.
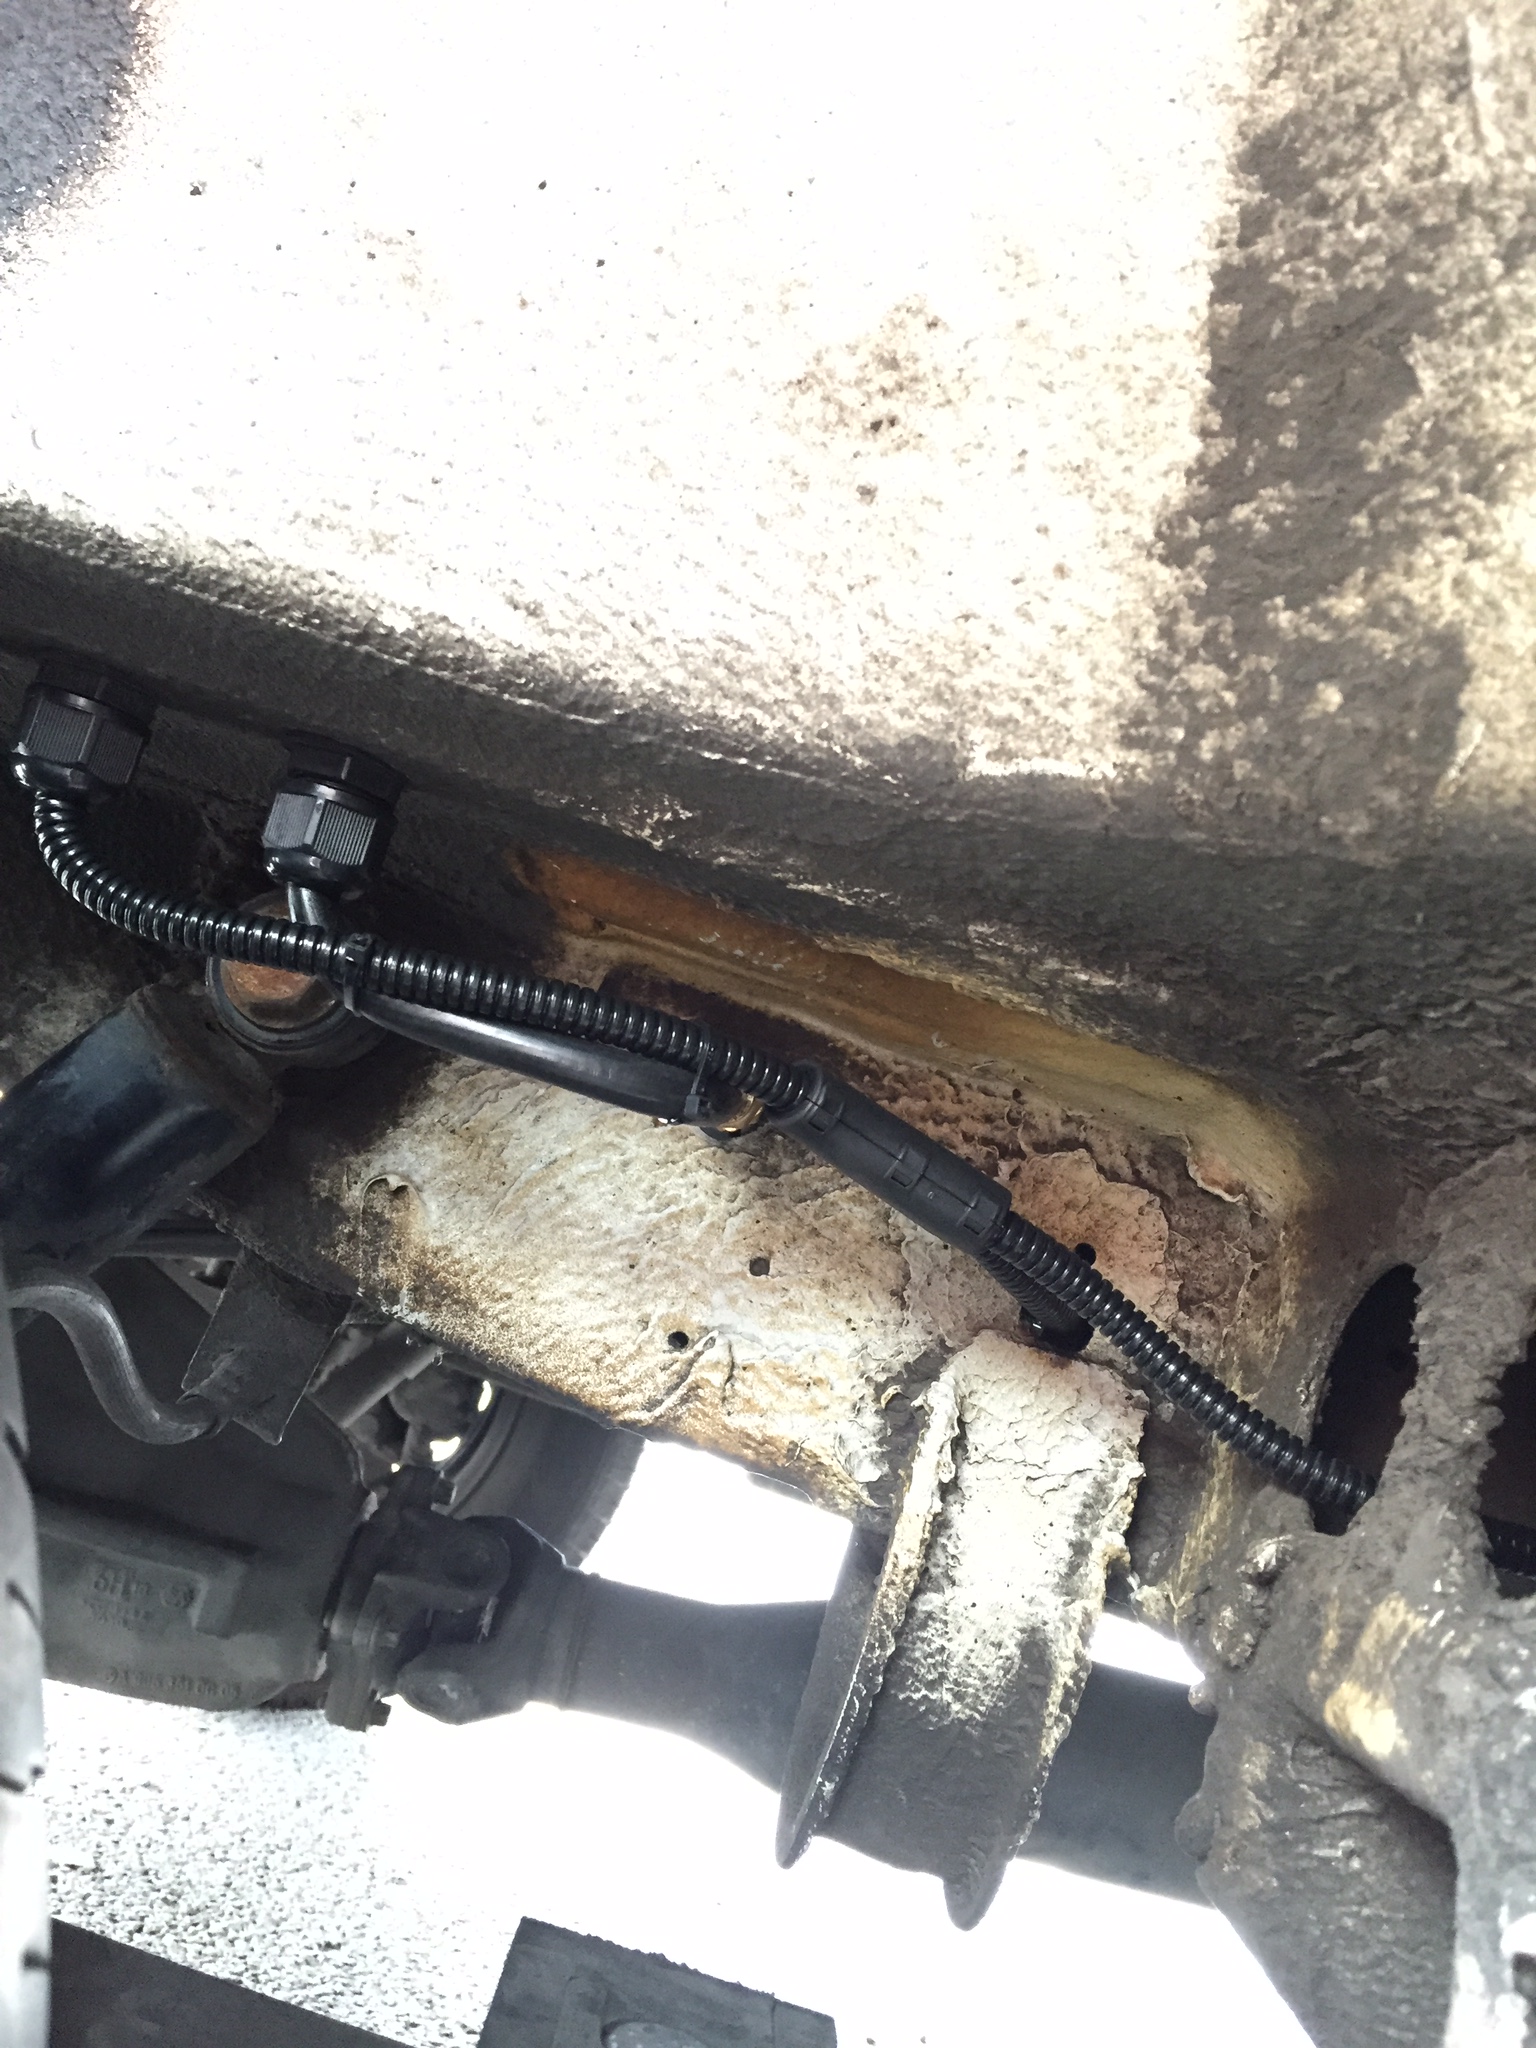
Next time I would use at least a 20mm conduit, because there is almost no room inside the 10mm one for more than a couple of wires.
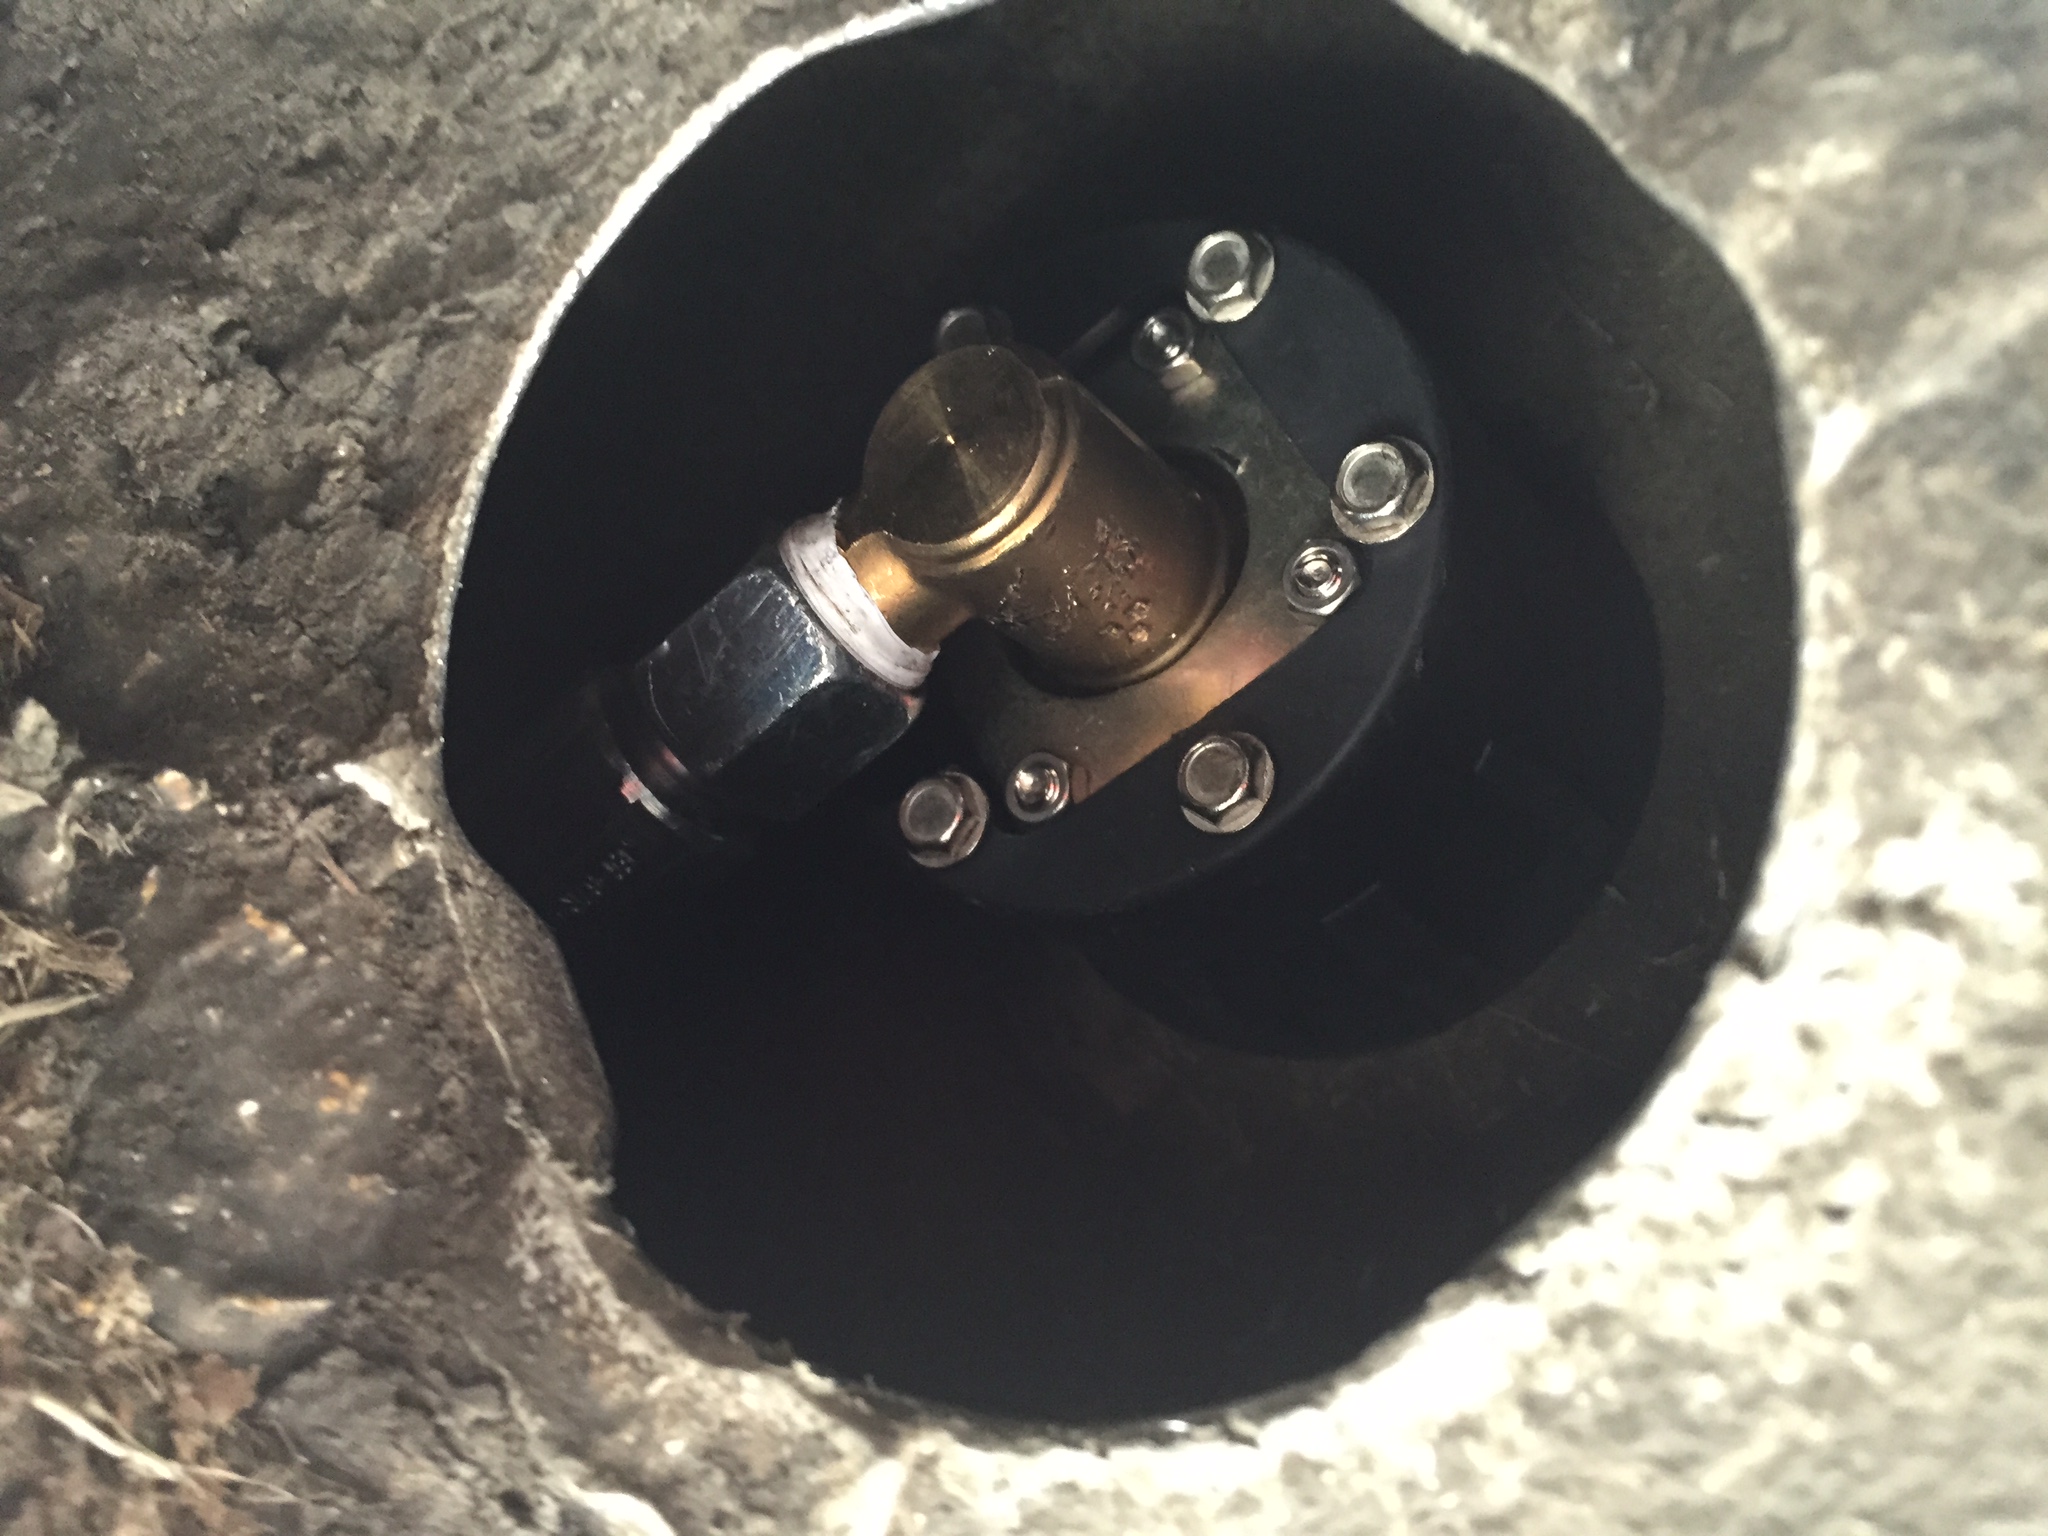
With the pipe, Cavagna 30 mbar on-tank LPG regulator, fill hose an gauge attached, the tank assembly looks like this without the cover.
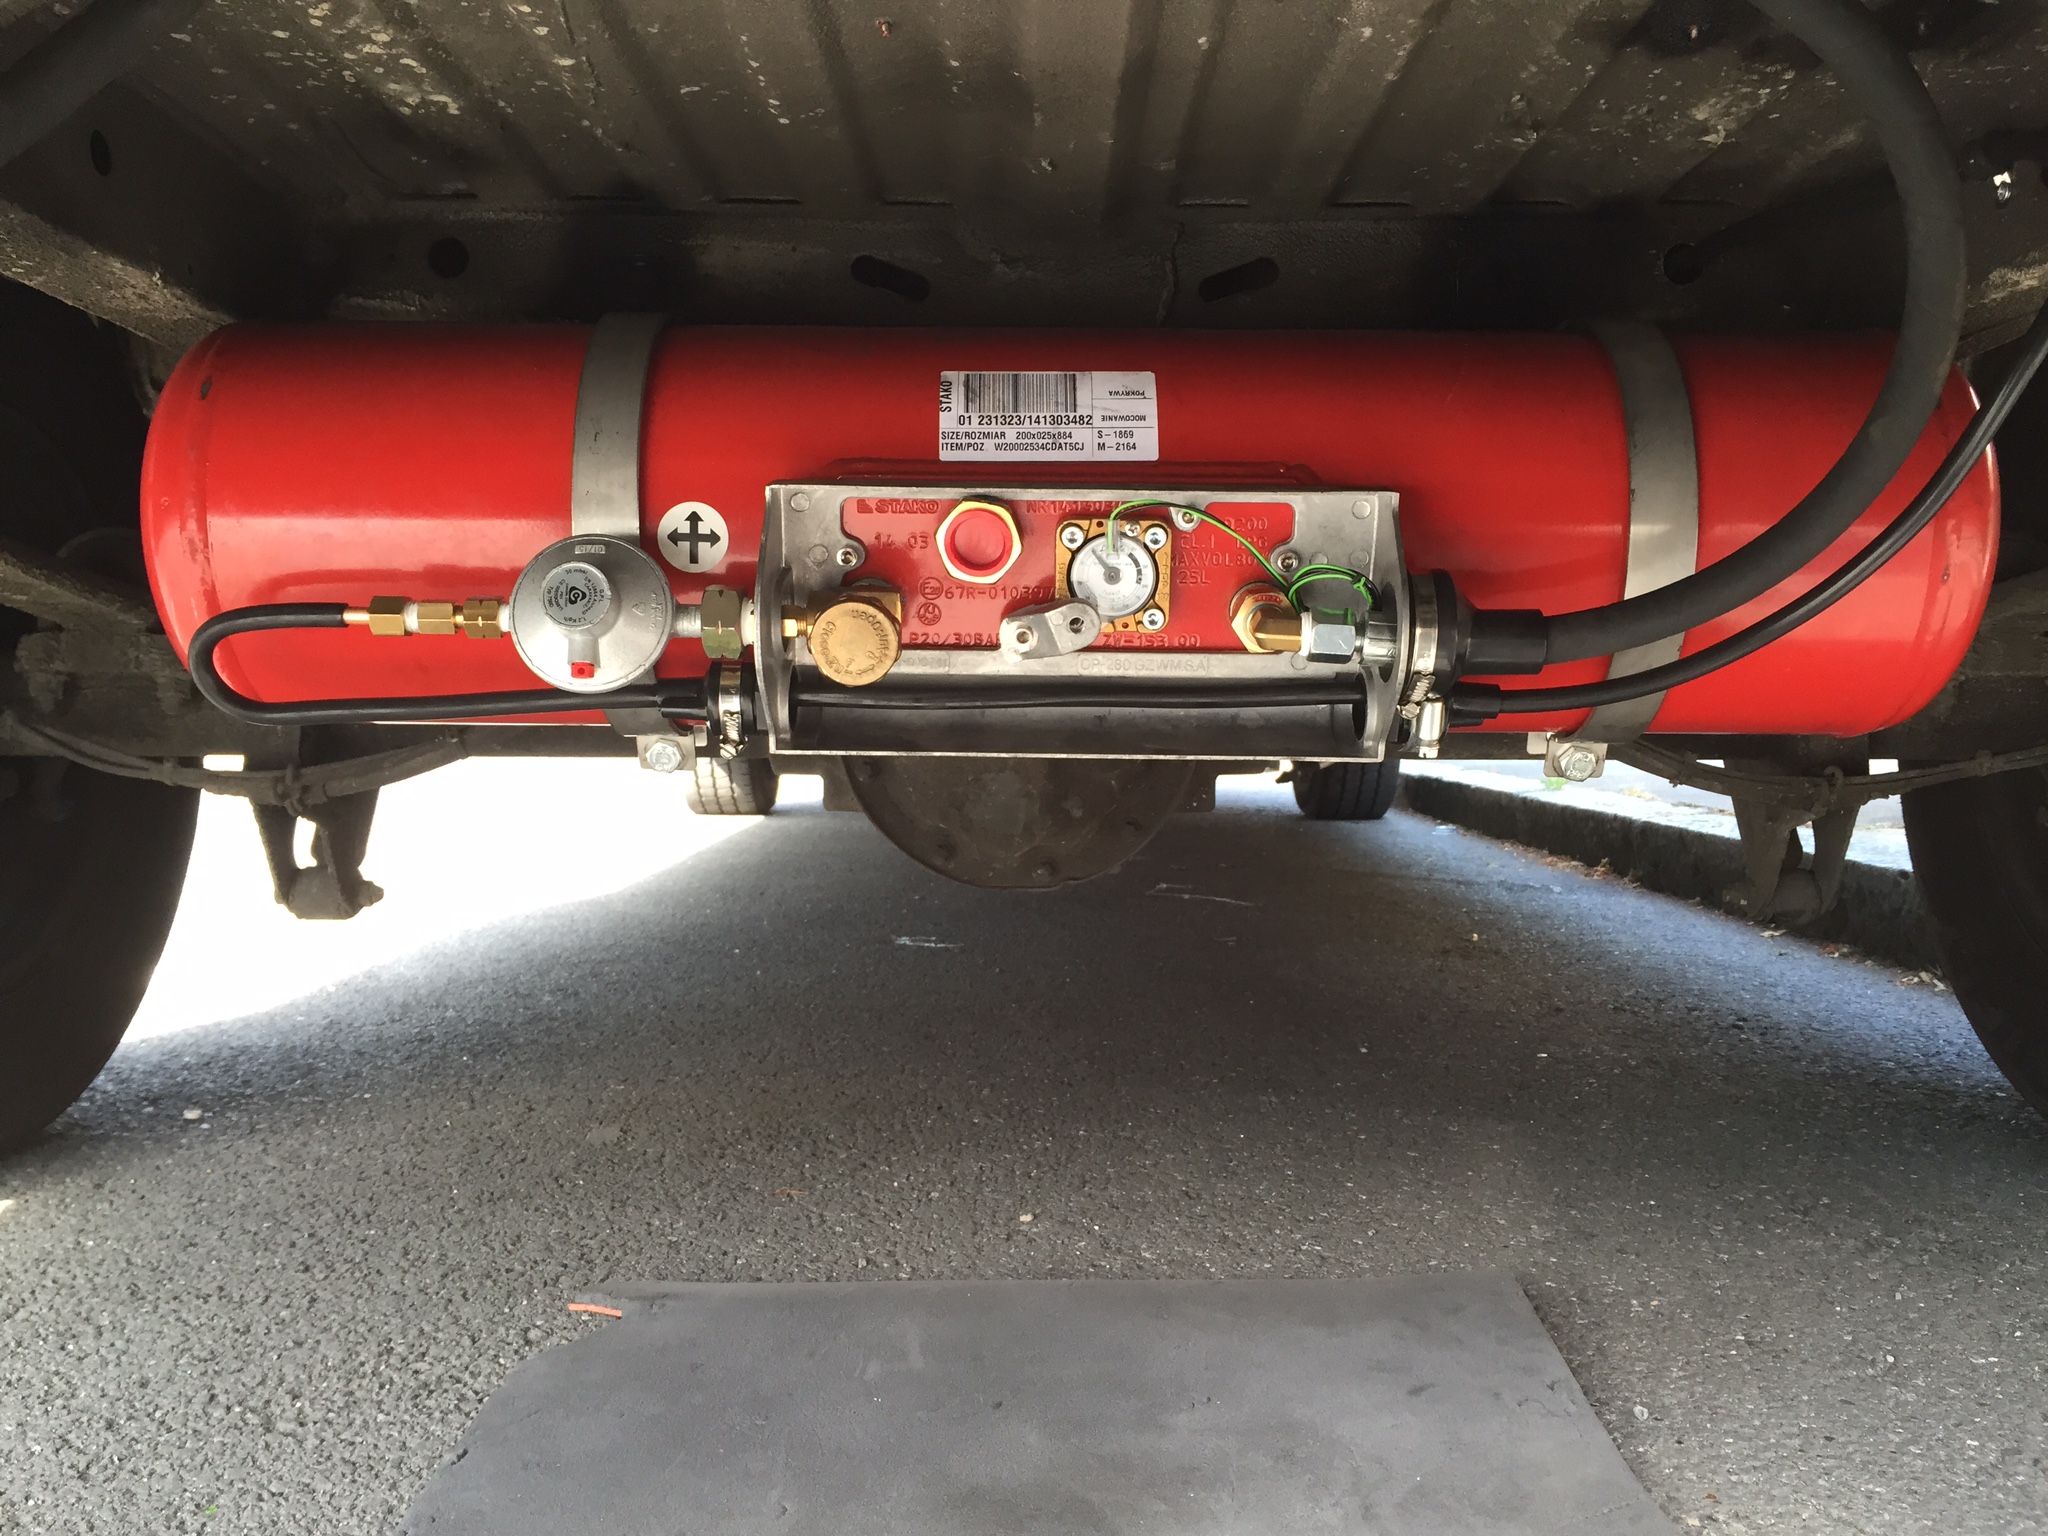
The on-tank magnetic gauge uses common ground, so there is no need to run both wires to the LED gauge inside the van like I did. Just terminate the black ground wire somewhere on the tank itself since it is already well grounded to the vehicle chassis.
Some copper pipe was harmed during this installation..
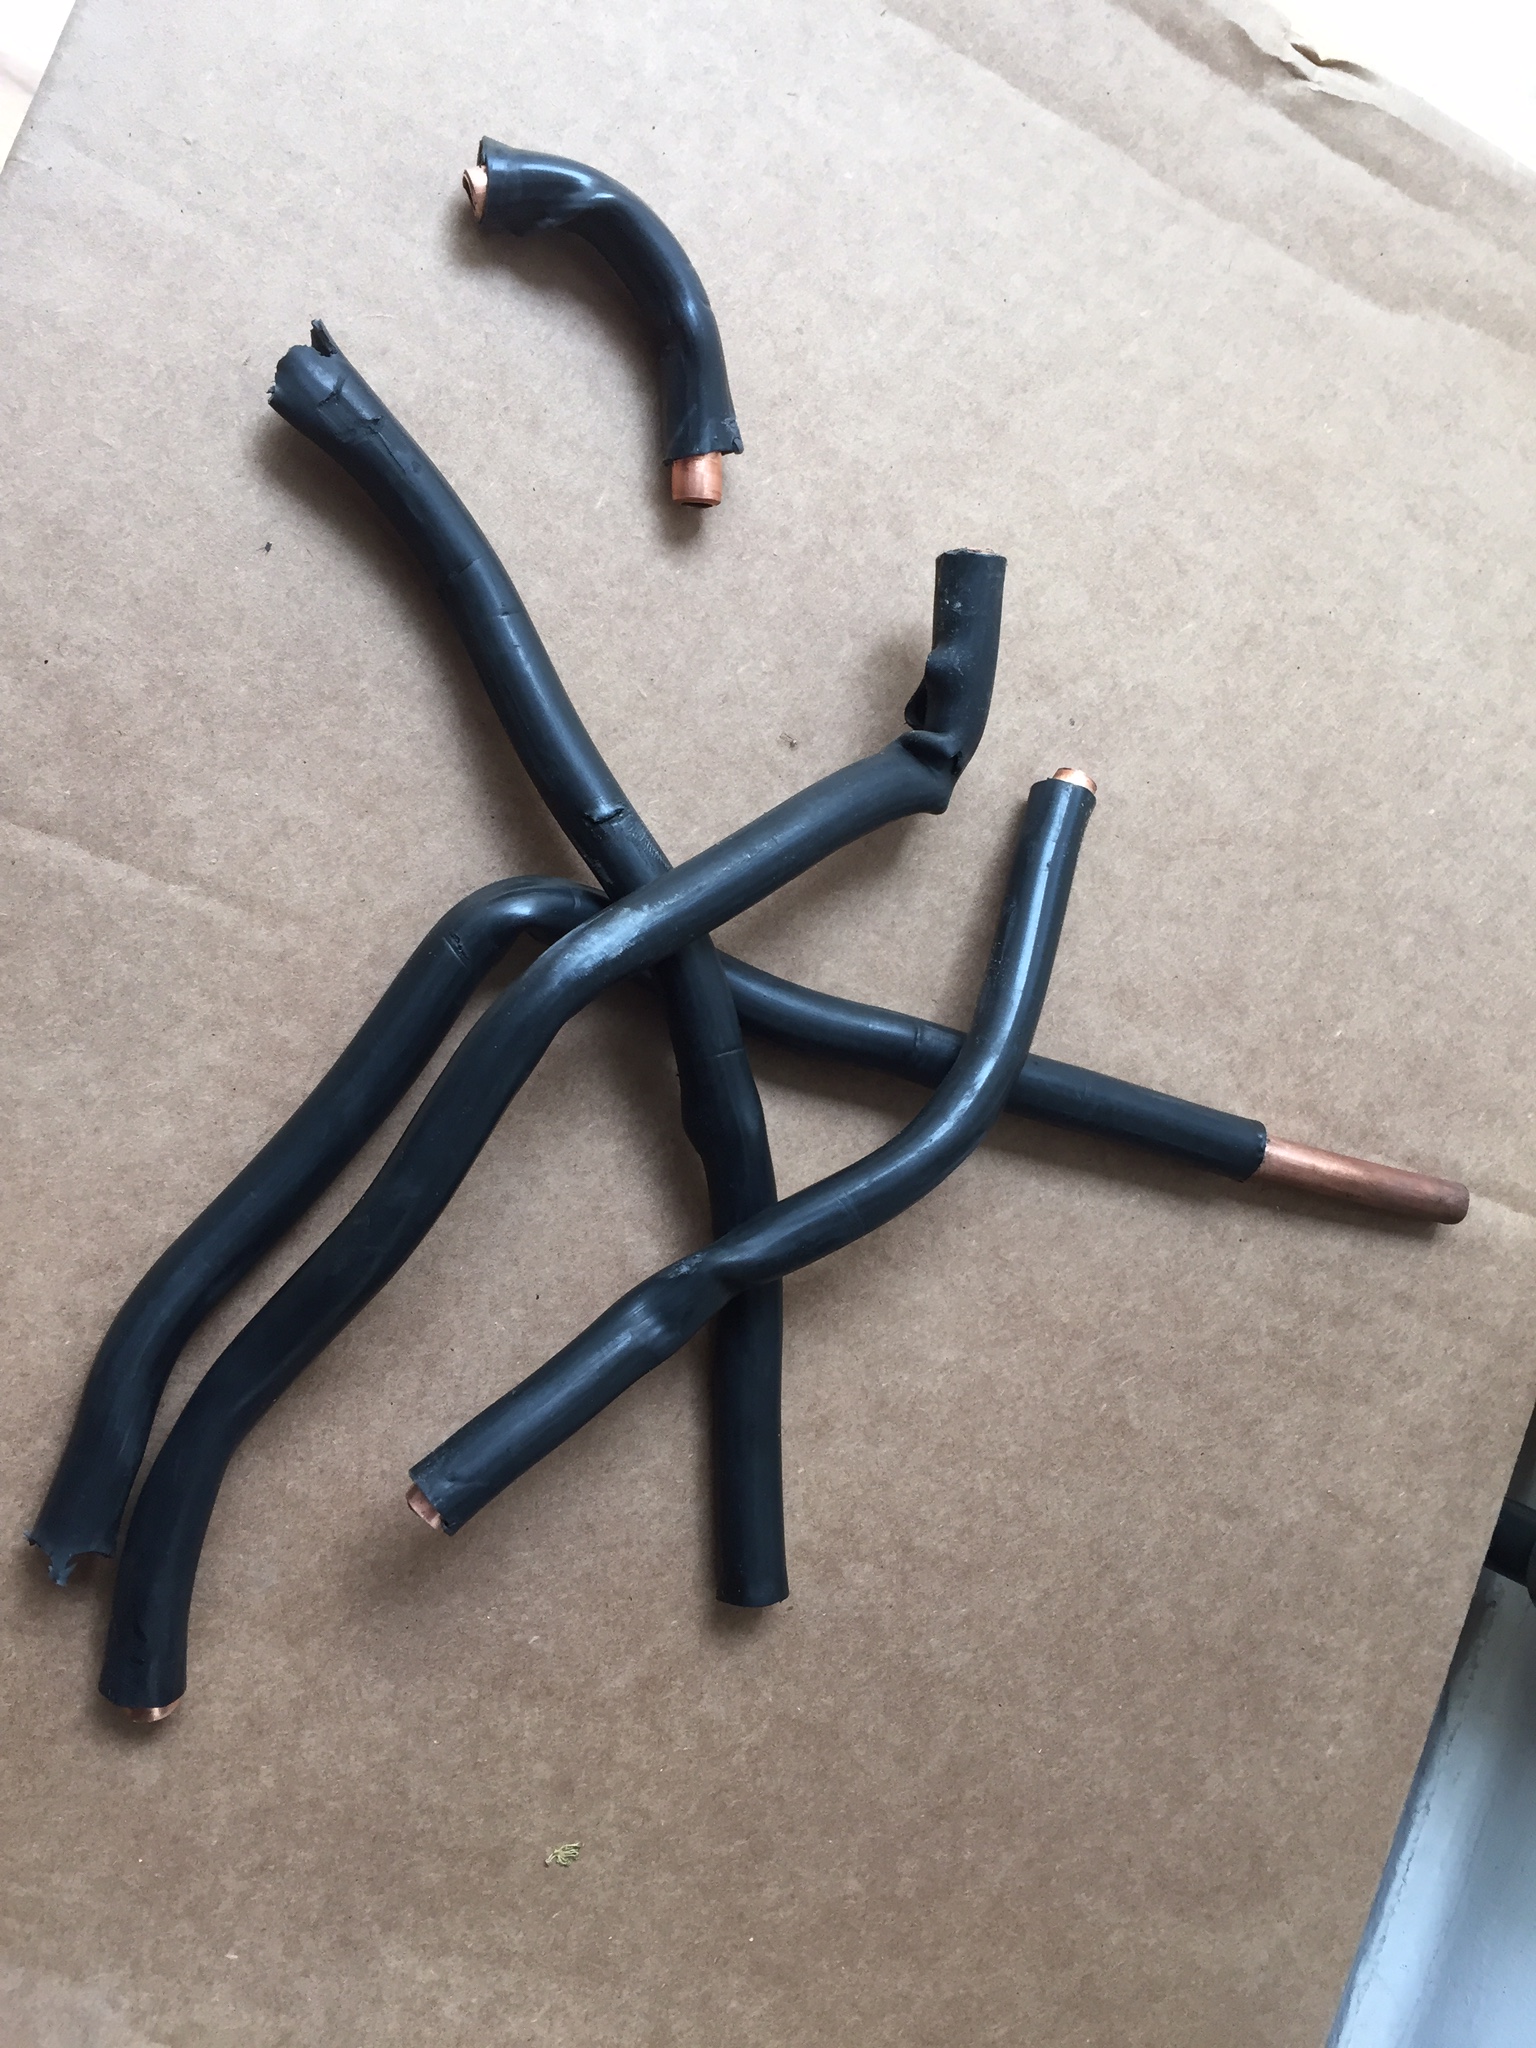
Naively I didn't plan for a compression fitting, because if I had, I wouldn't have wasted a meter of copper.
Truma Boiler
For heating and hot water I picked up an older (upright) style Truma Trumatic C 6002E combi-boiler from Magnum Motorhomes. This is quite a large appliance and sits under the hob/sink and above the utility closet where all of the wires/pipes come in and out of the van. The boiler unit is connected to the gas supply (30 mbar) via a 8mm straight compression fitting. I bought a three-way manifold, leaving one port unoccupied for future expansion. The unused ports on the manifold are closed off using 8mm compression blanking plugs.
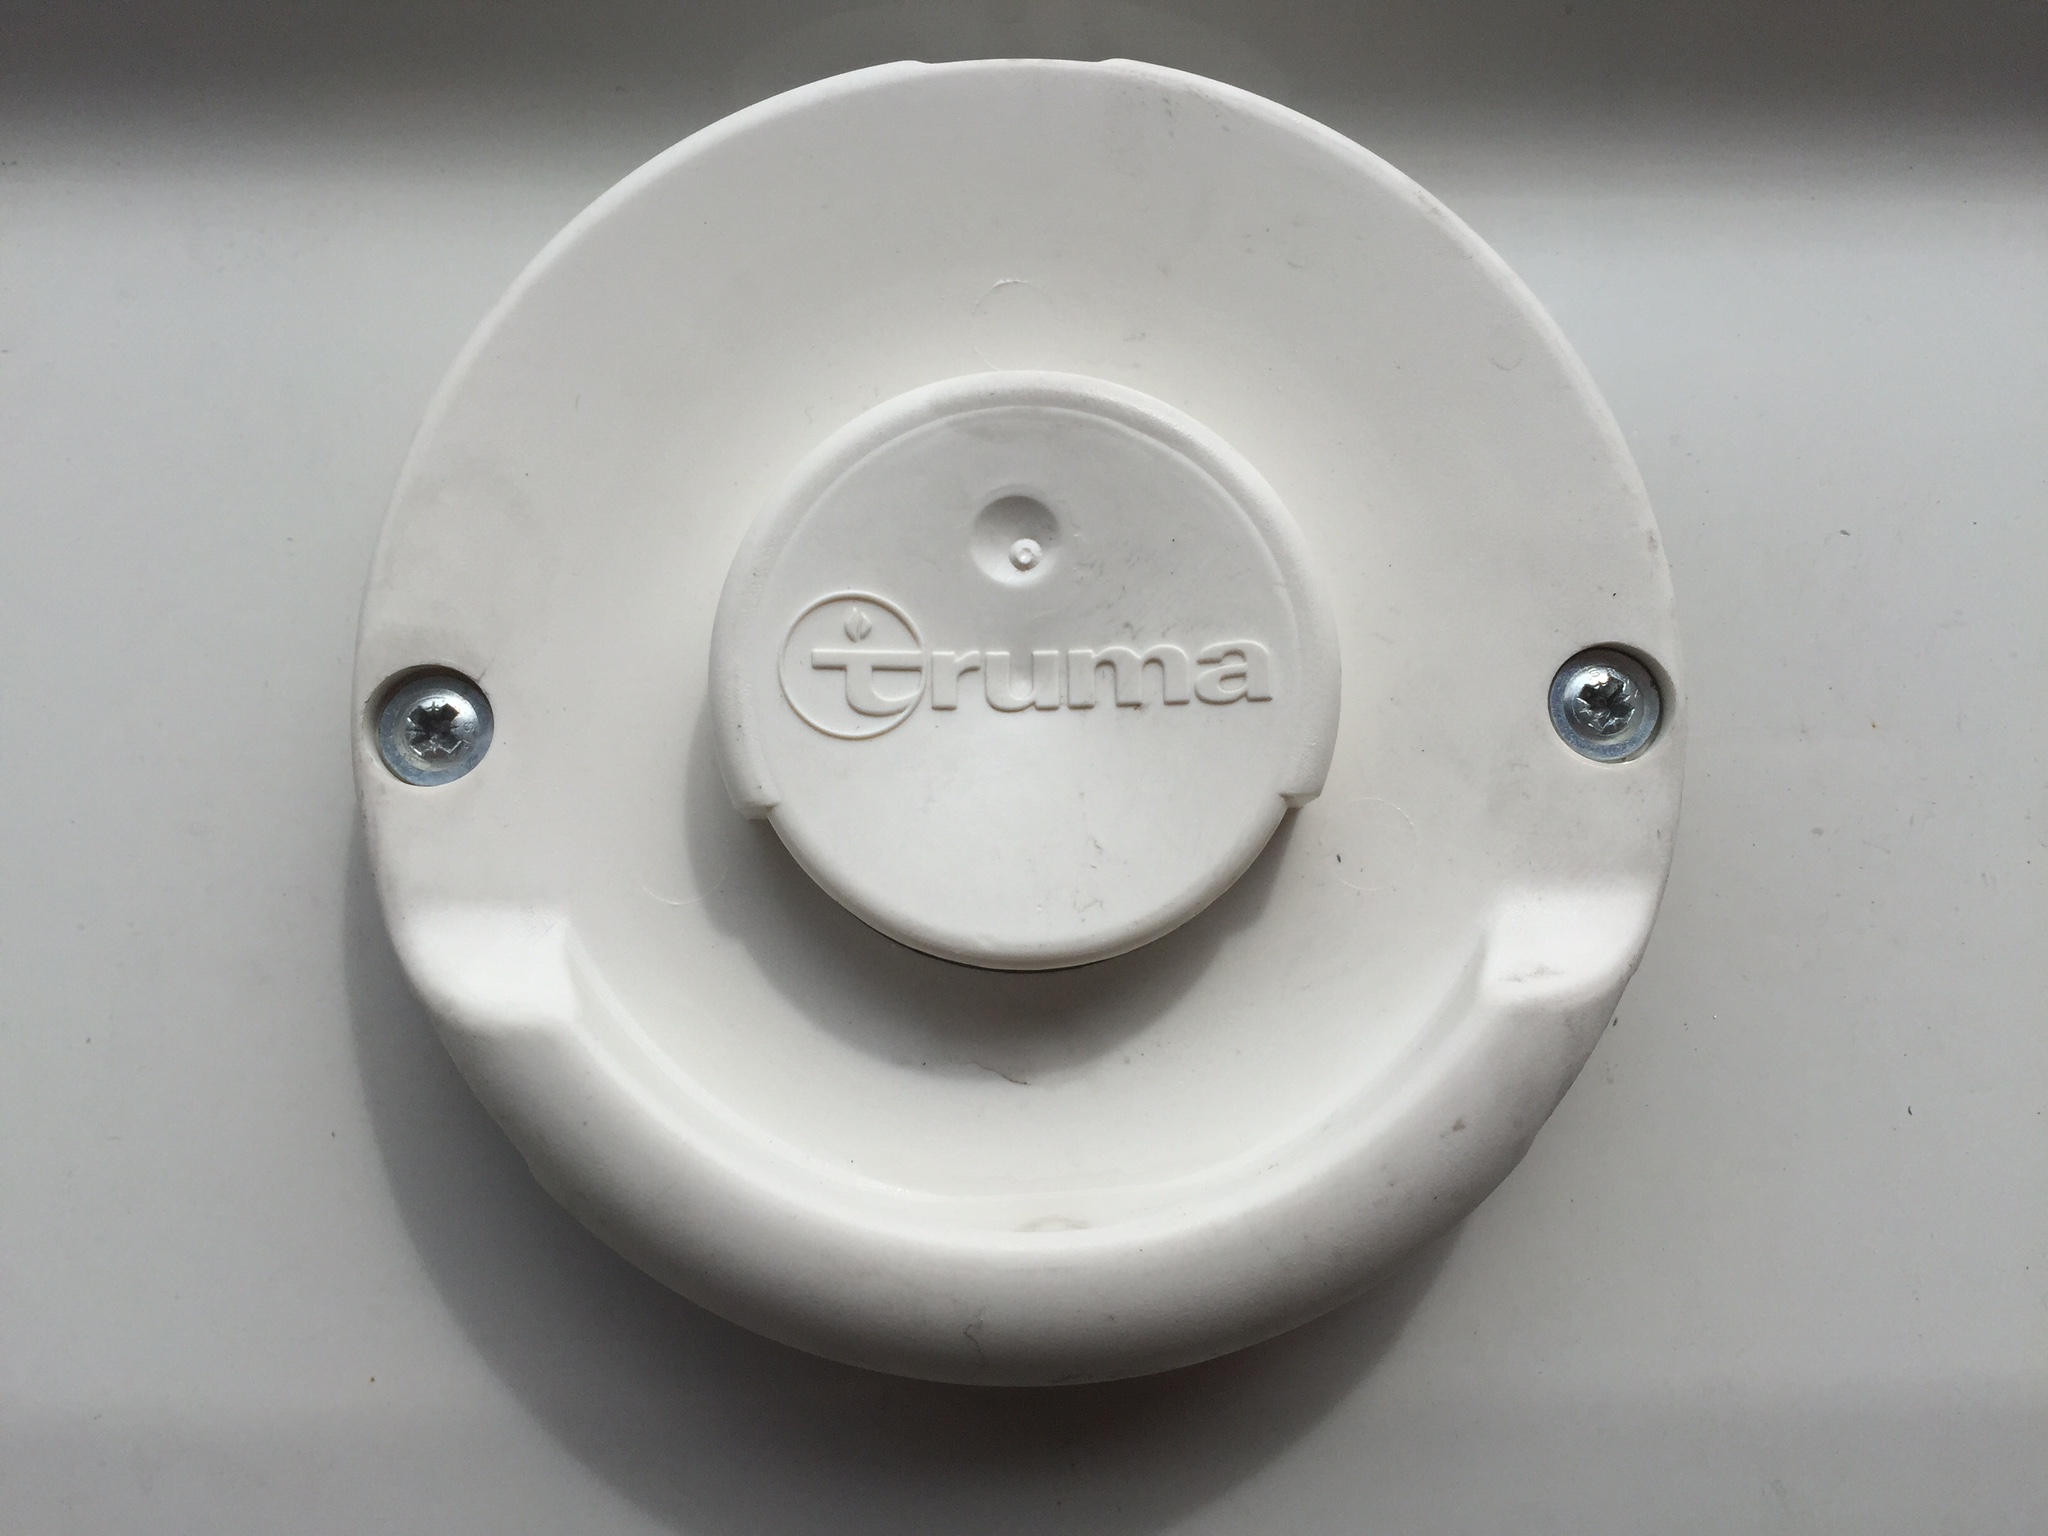
Side Flue
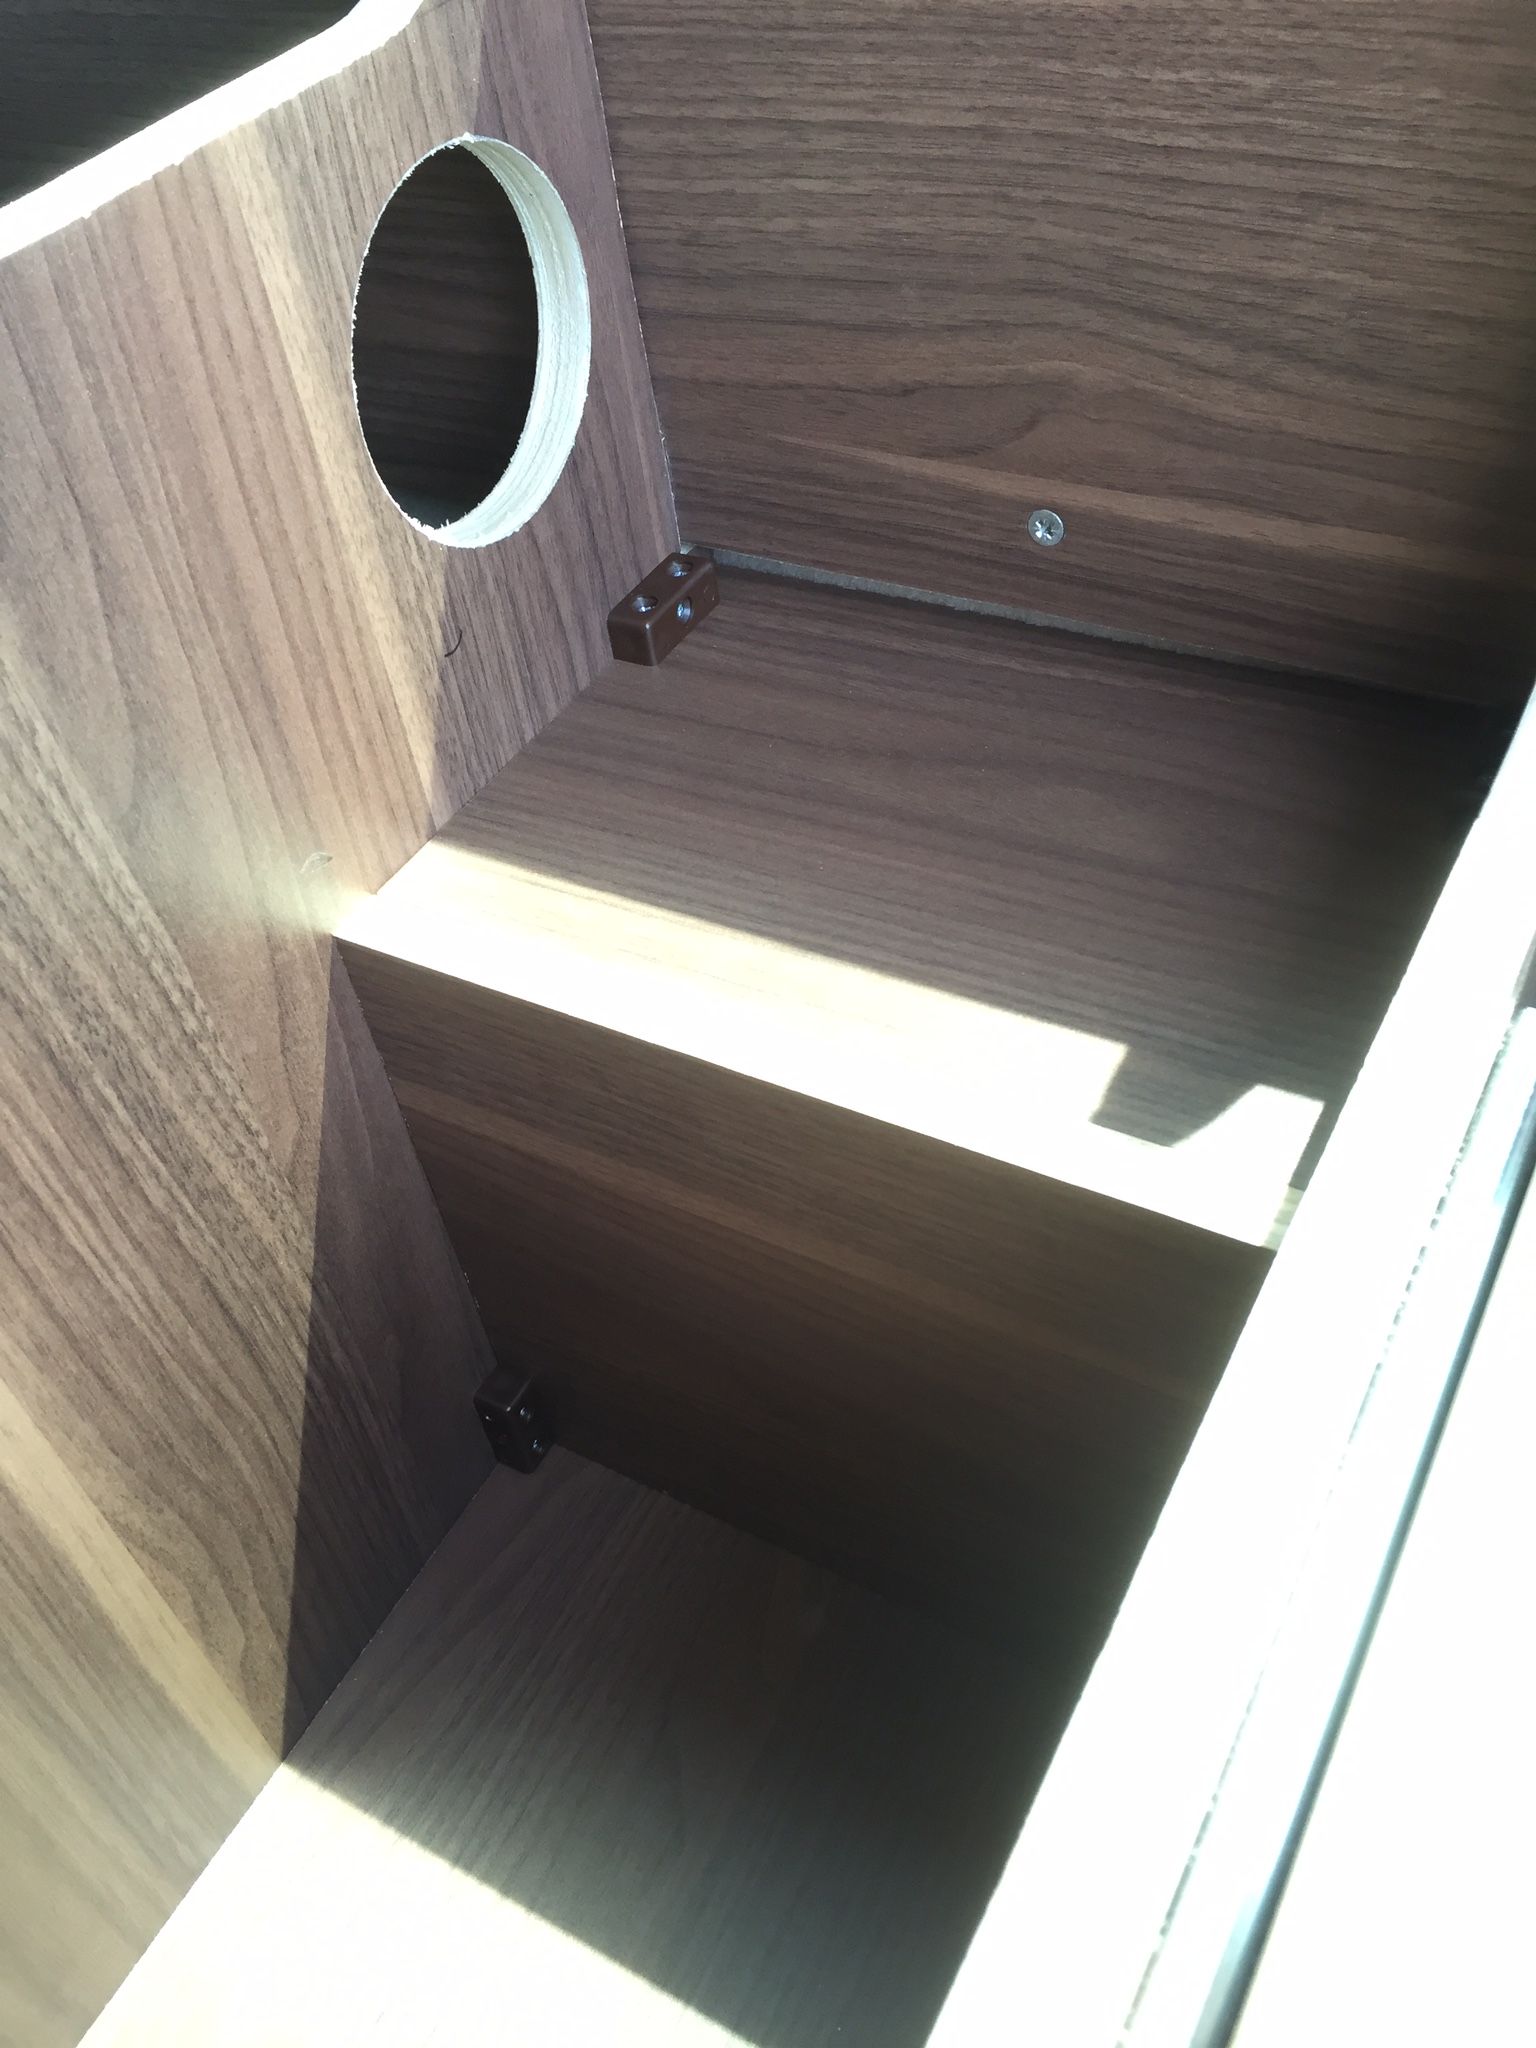
The boiler came with a side flue kit, for which I've cut another 83mm hole in the side panel (N/S). Luckily I took photos and measurements of the van sides prior to attaching the carpeted panels, so I knew roughly where the gaps between the support members were.
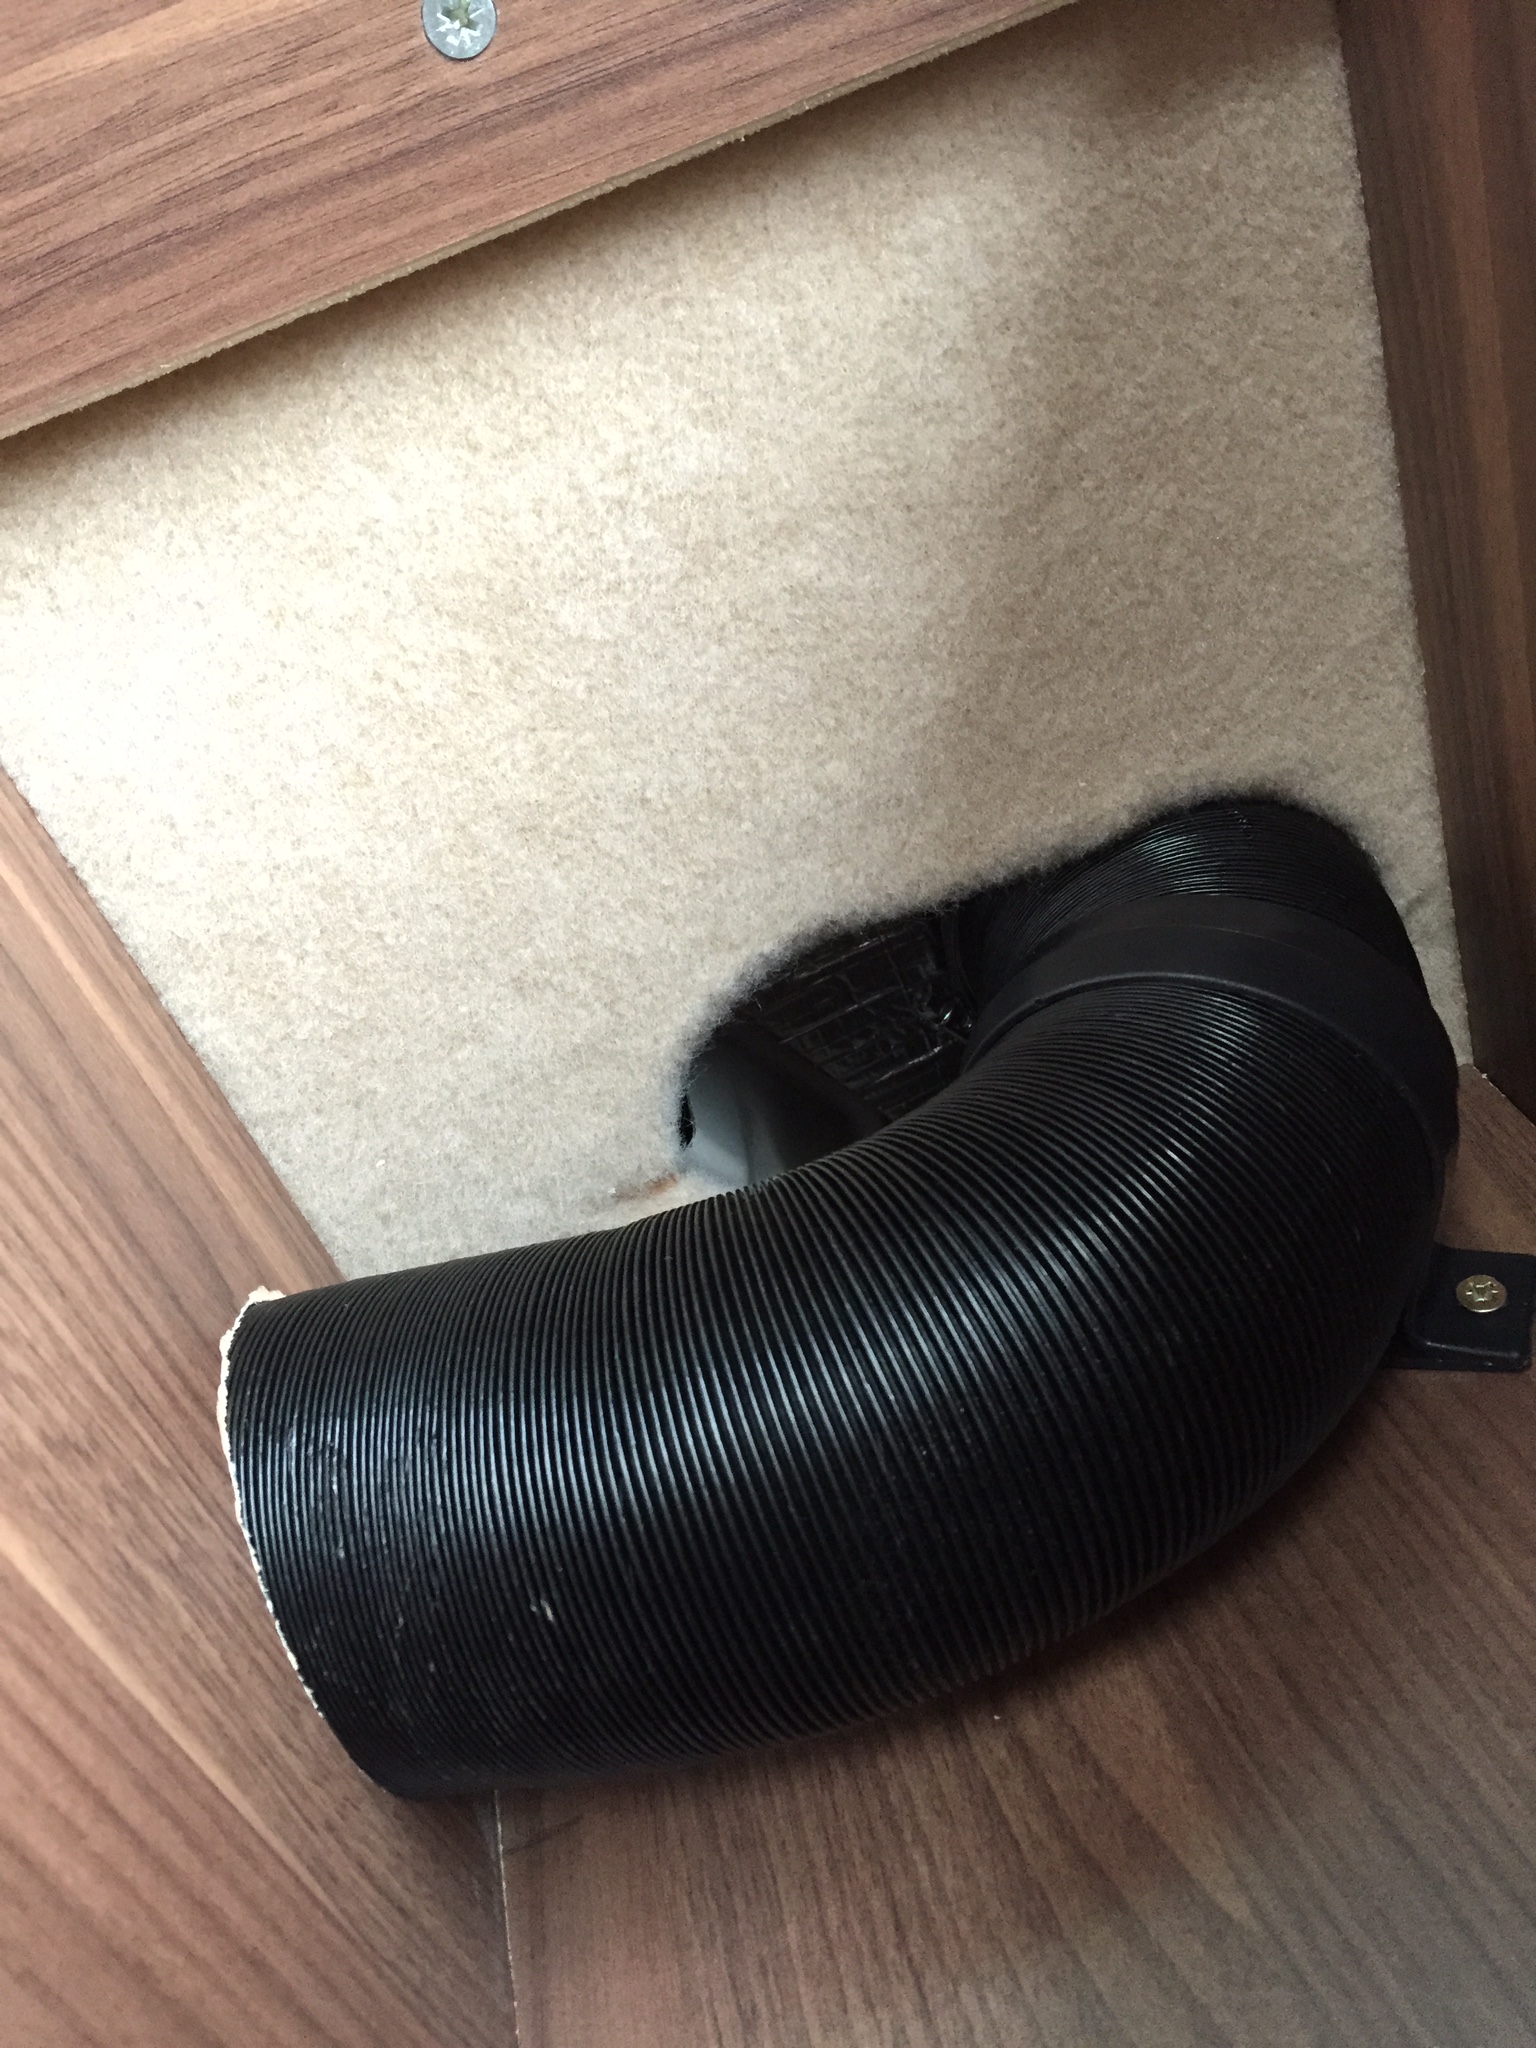
On the inside, I've cut two overlapping 83mm holes, so that the flue head could be attached to the flexible duct and the collar tightened from the inside.
Another 83mm hole cut to allow the flue ducting to be fed from the boiler compartment and through to the outside.

While I didn't take a picture at the time, I've used the same trim as pictured below around the holes.
I've then used some left over panels to box the hole and the duct as well as cut a further hole for flexible hot air ducting to be installed later.
The flue mounted to the side of the van with screws looks fairly neat.
Hot Air Ducting
I installed the flexible hot air ducting of different diameters. Truma recommend installing the larger 72mm ducting from the boiler outlets (x4) to the first respective outlet and then run the normal 65mm ducting to the remaining outlets in the chain.
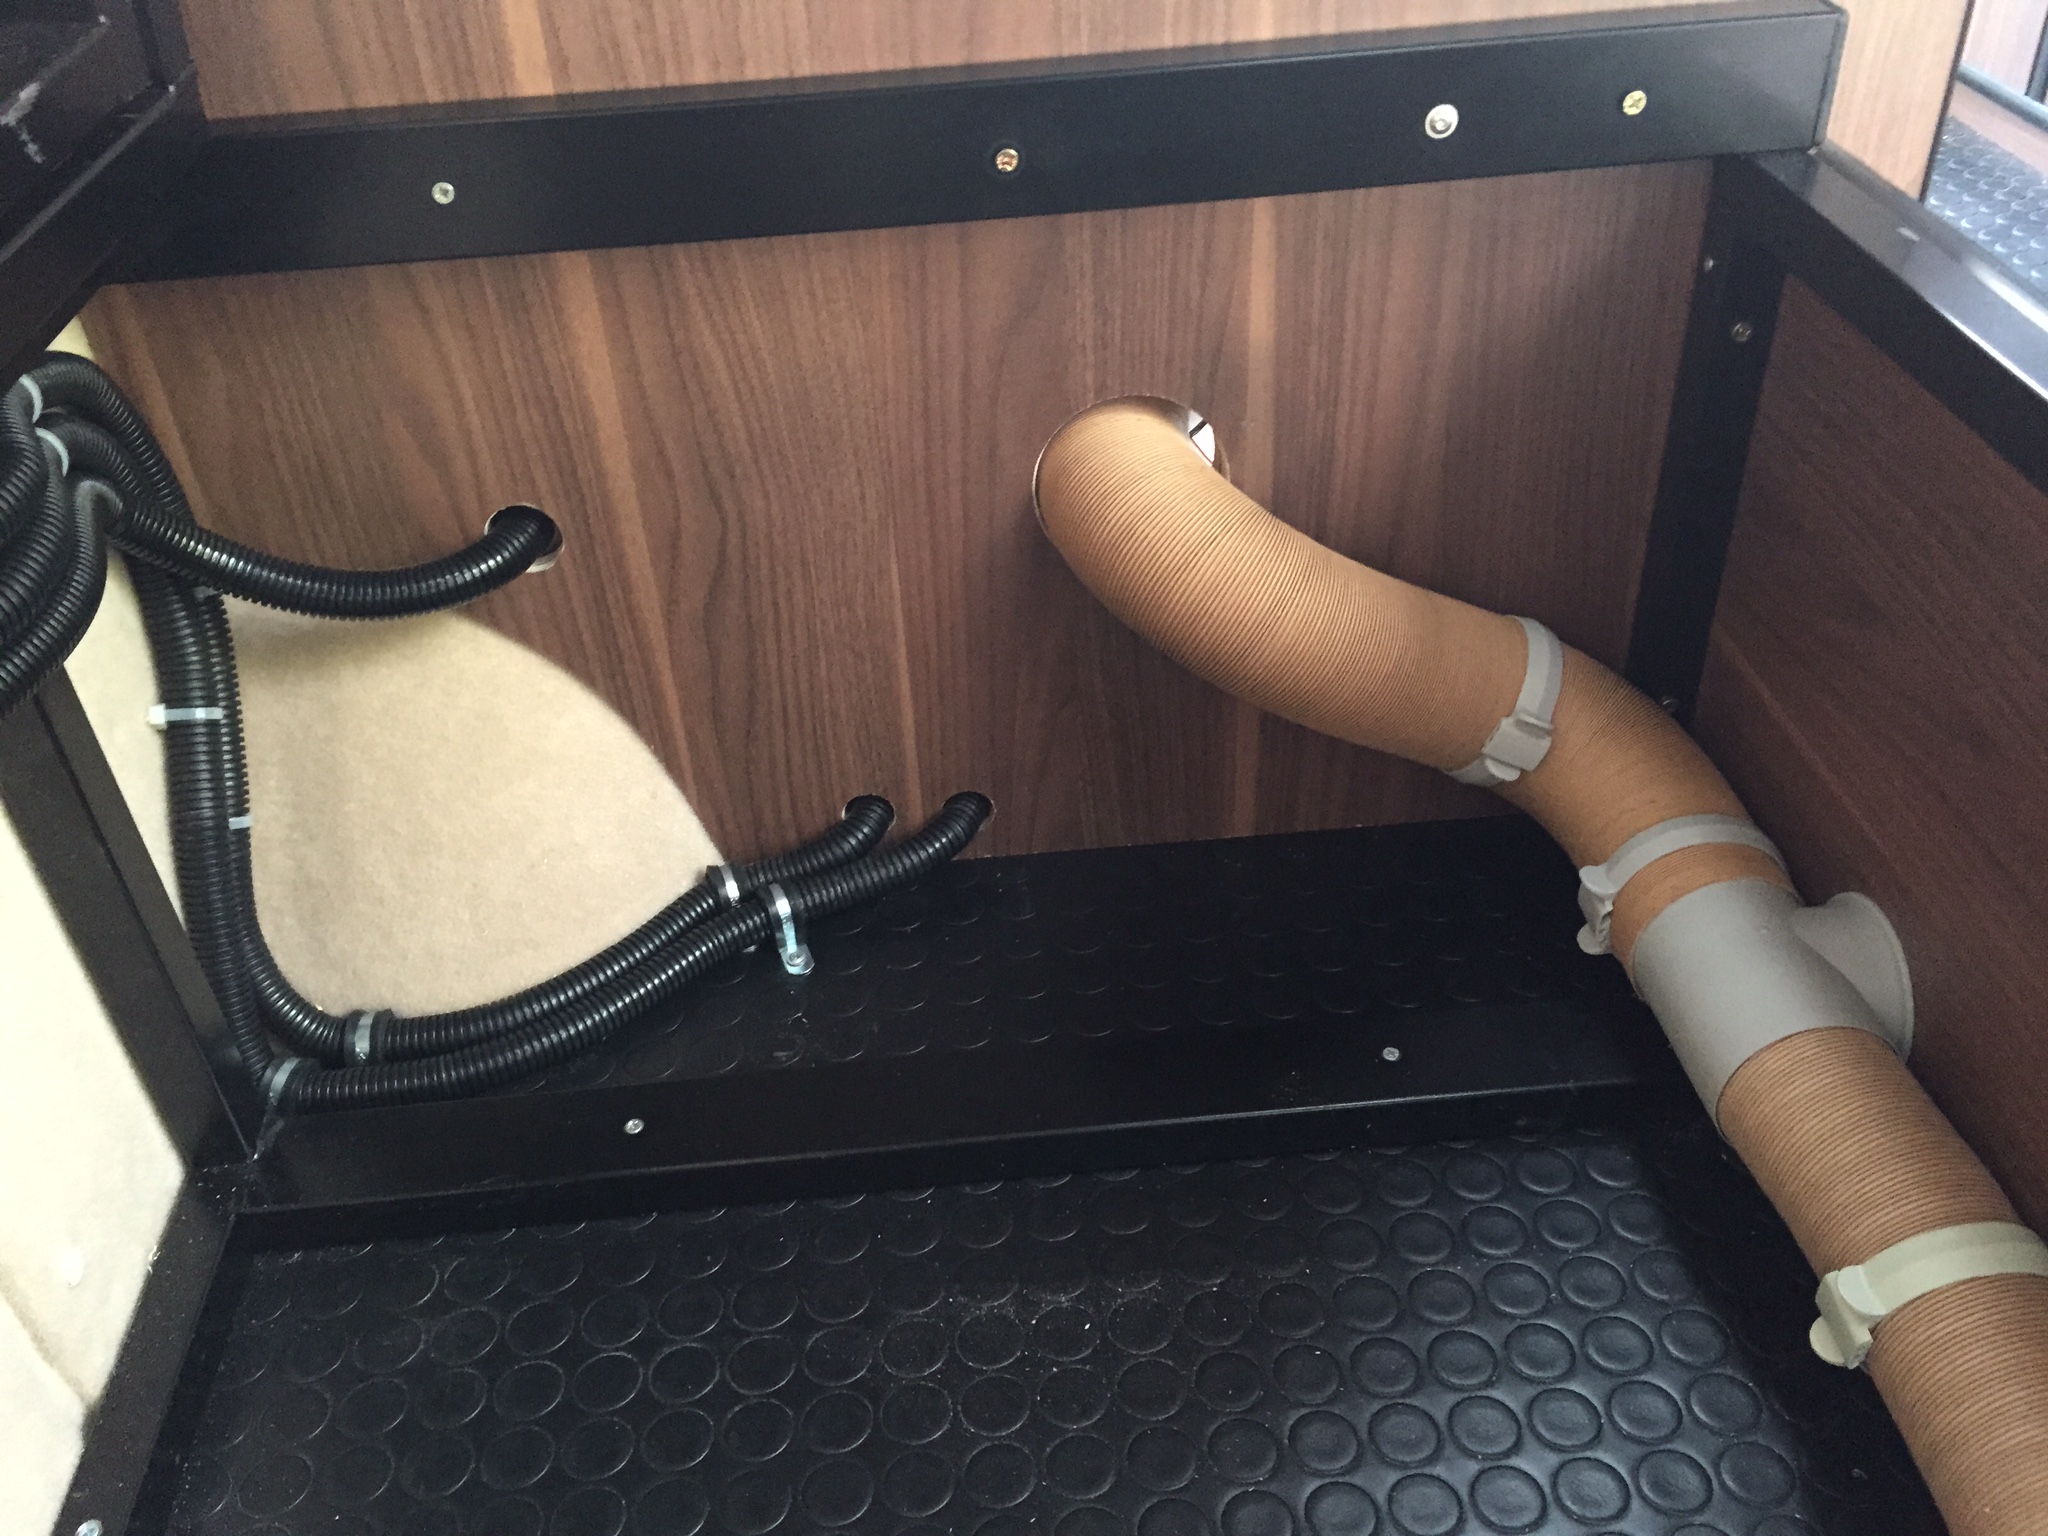
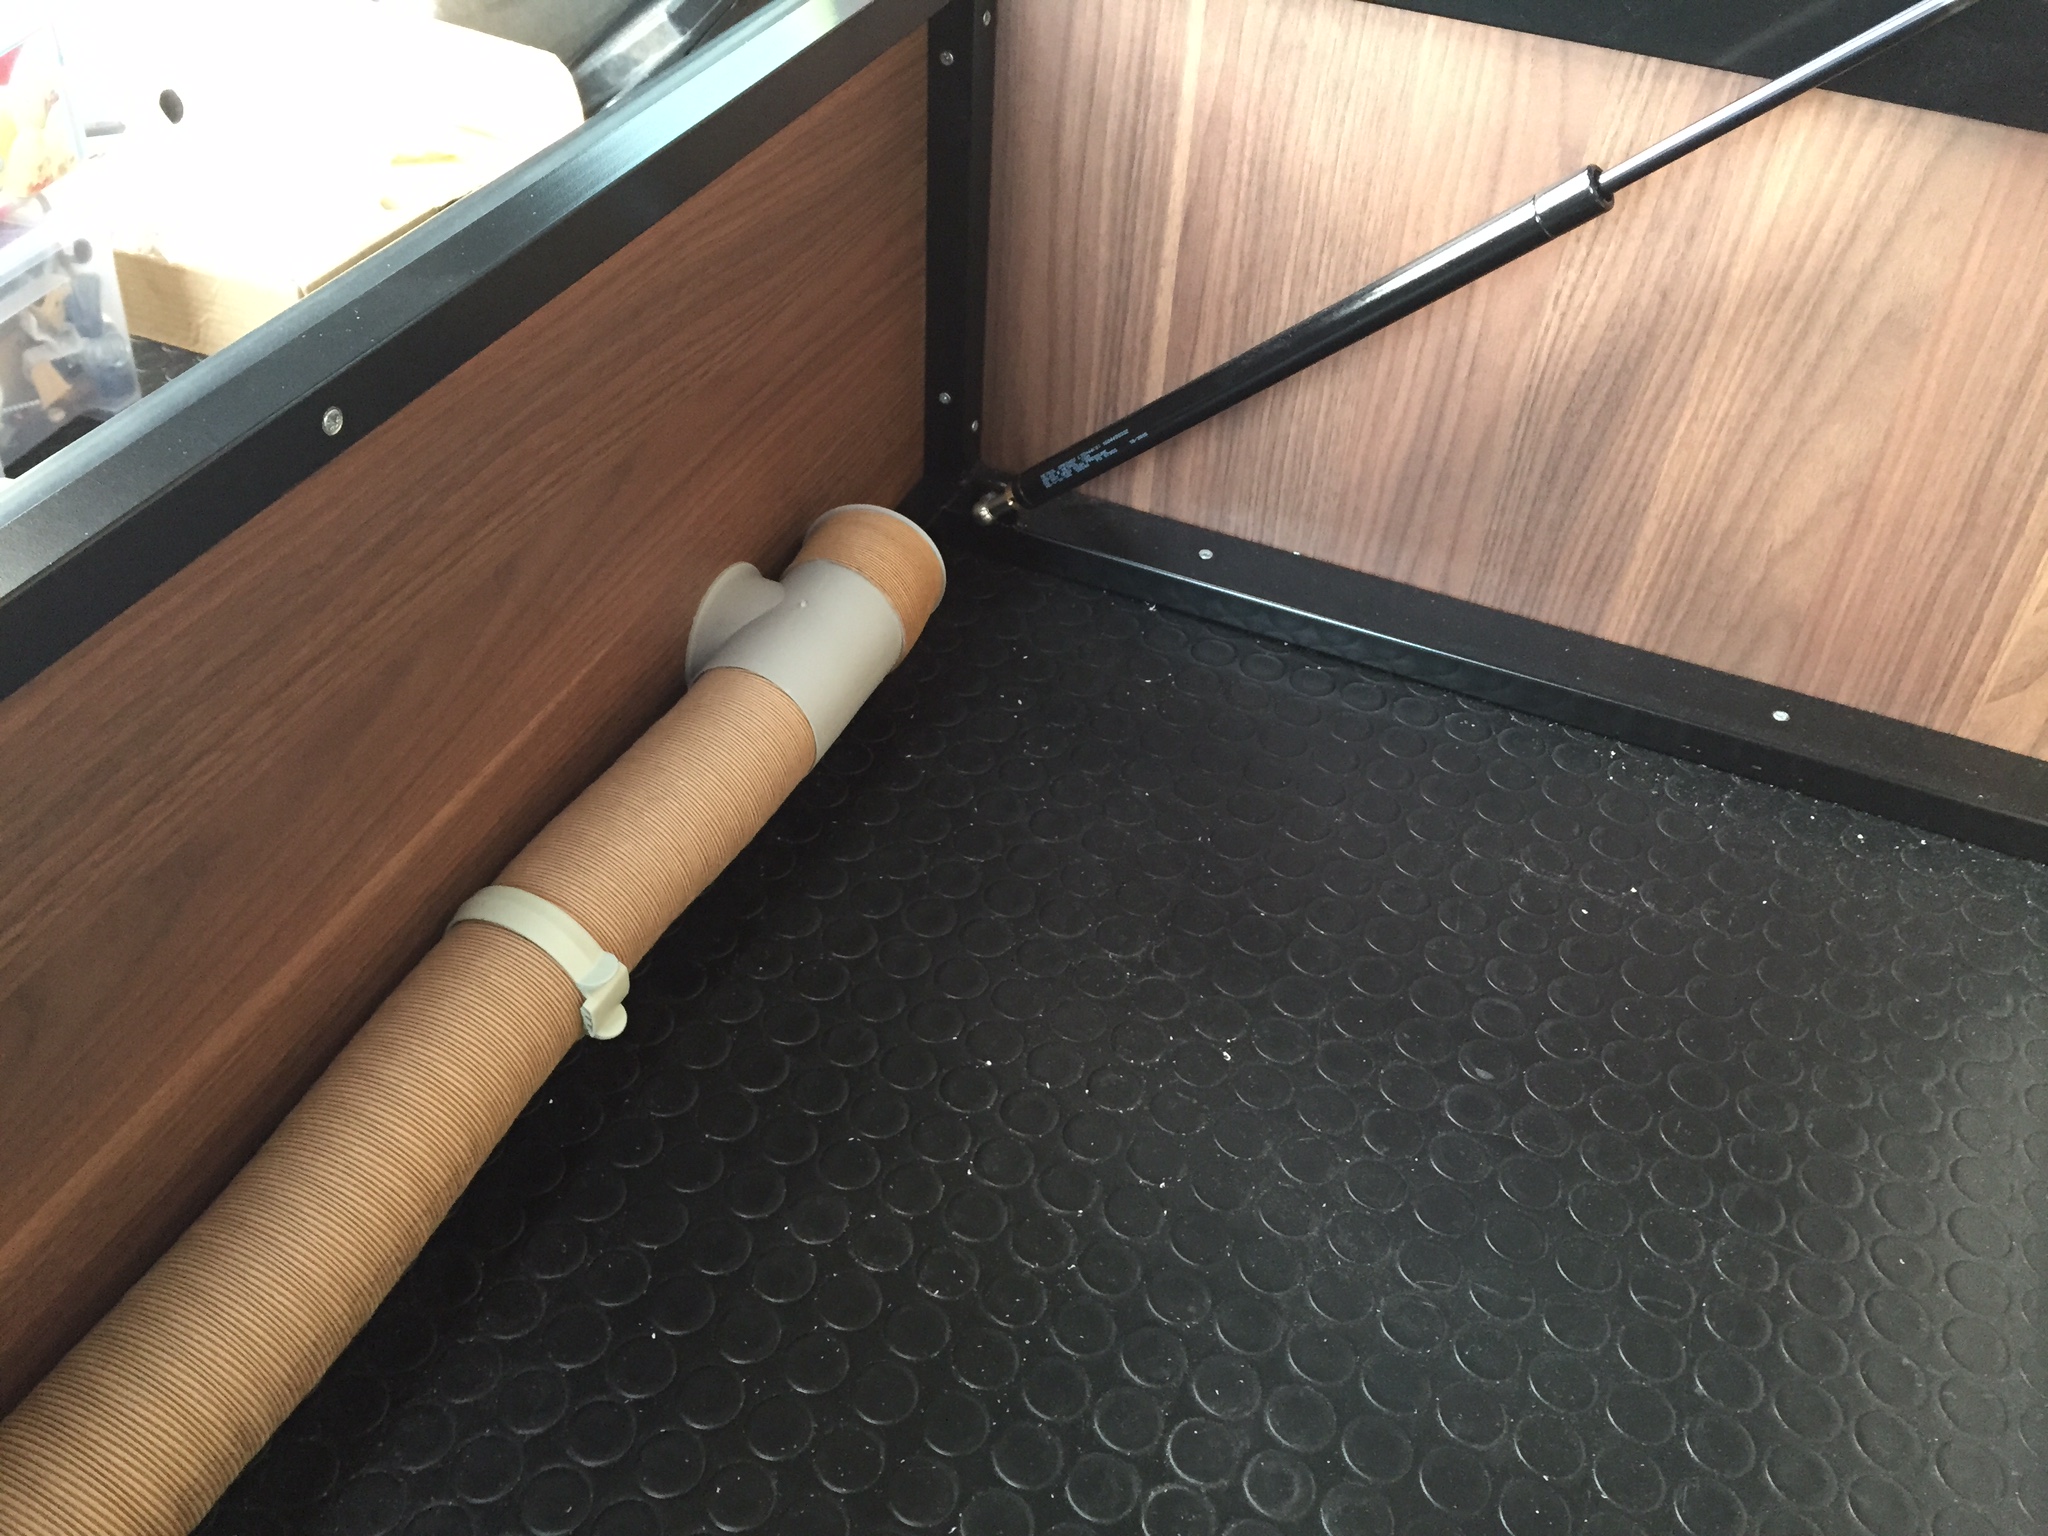
The last of the four boiler hot air outlets was connected to a 72mm ducting via a 35mm reducer to the thin Isotherm duct to go into the gap between the floor and bottom of the cabinets. I've installed some small 25mm diameter vents near the floor and secured the Isotherm duct to them by way of picture wire, wrapped around the duct and attached to the vents. It isn't particularly neat, but then it's right down at the floor level and it isn't very visible. These should keep our feet warm while cooking :)

There are two options for the end outlets. The first one is just the Truma end outlet EN.
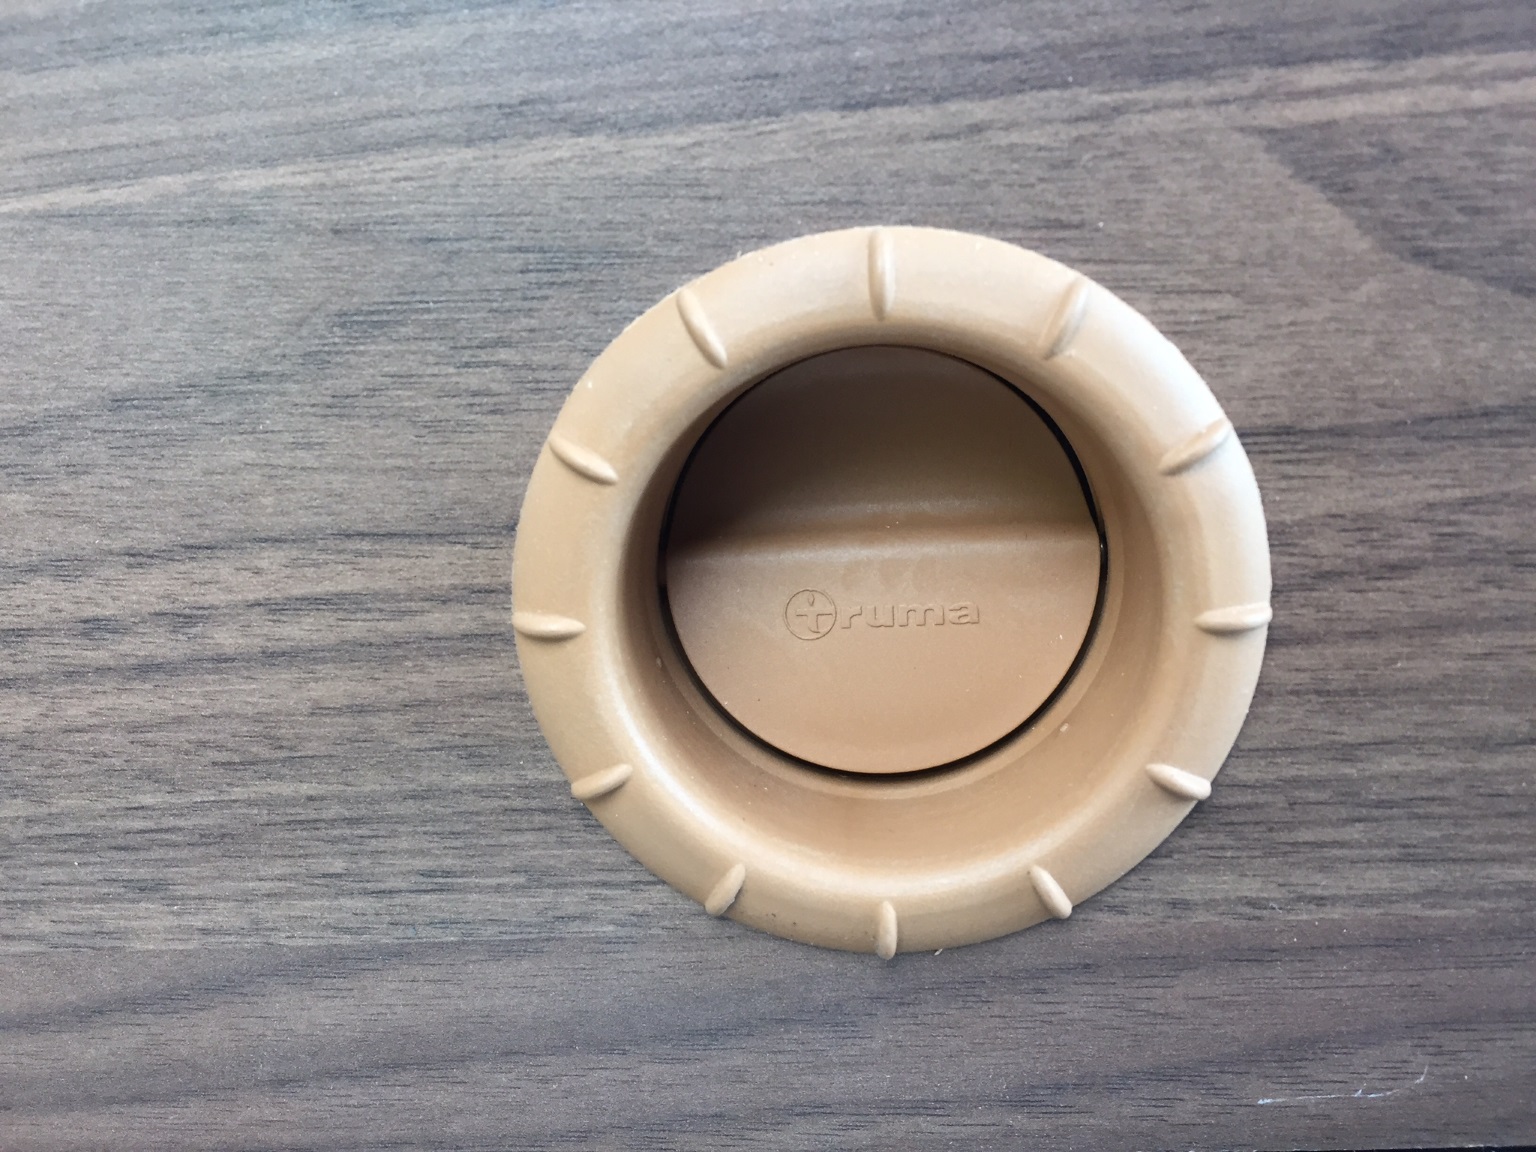
The second one is the end outlet EN-O with a Lamella inset.
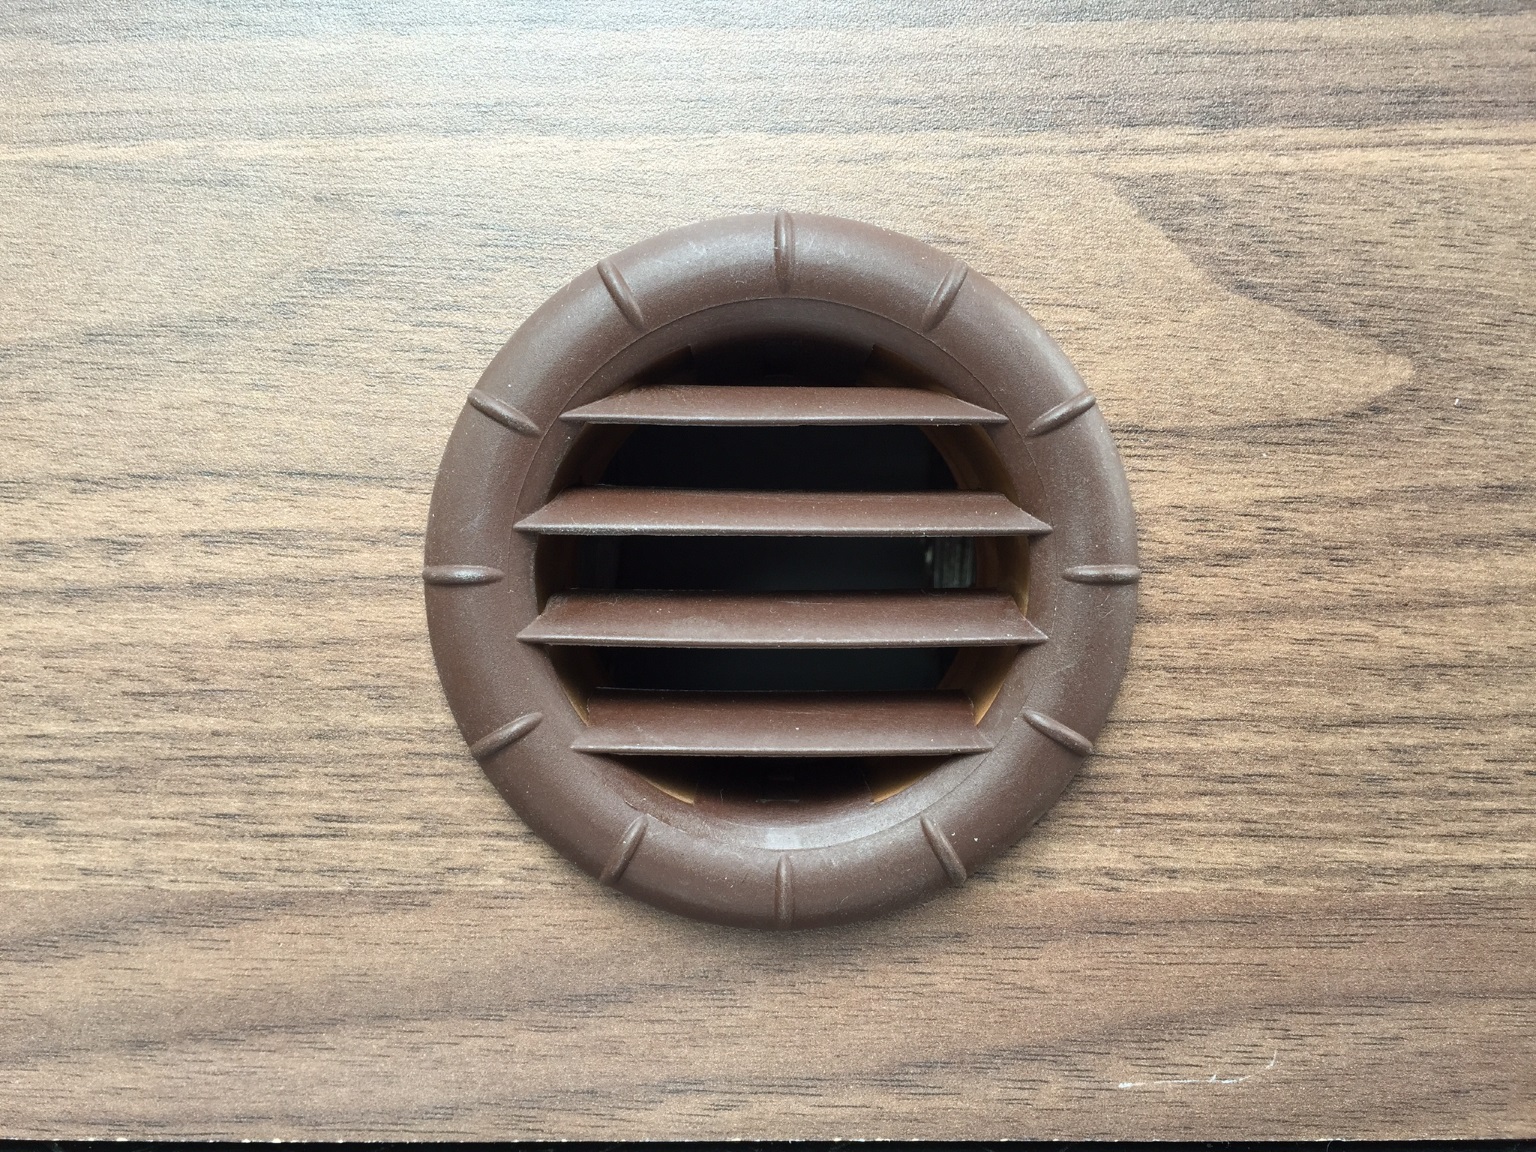
I think we'll go with the later one..
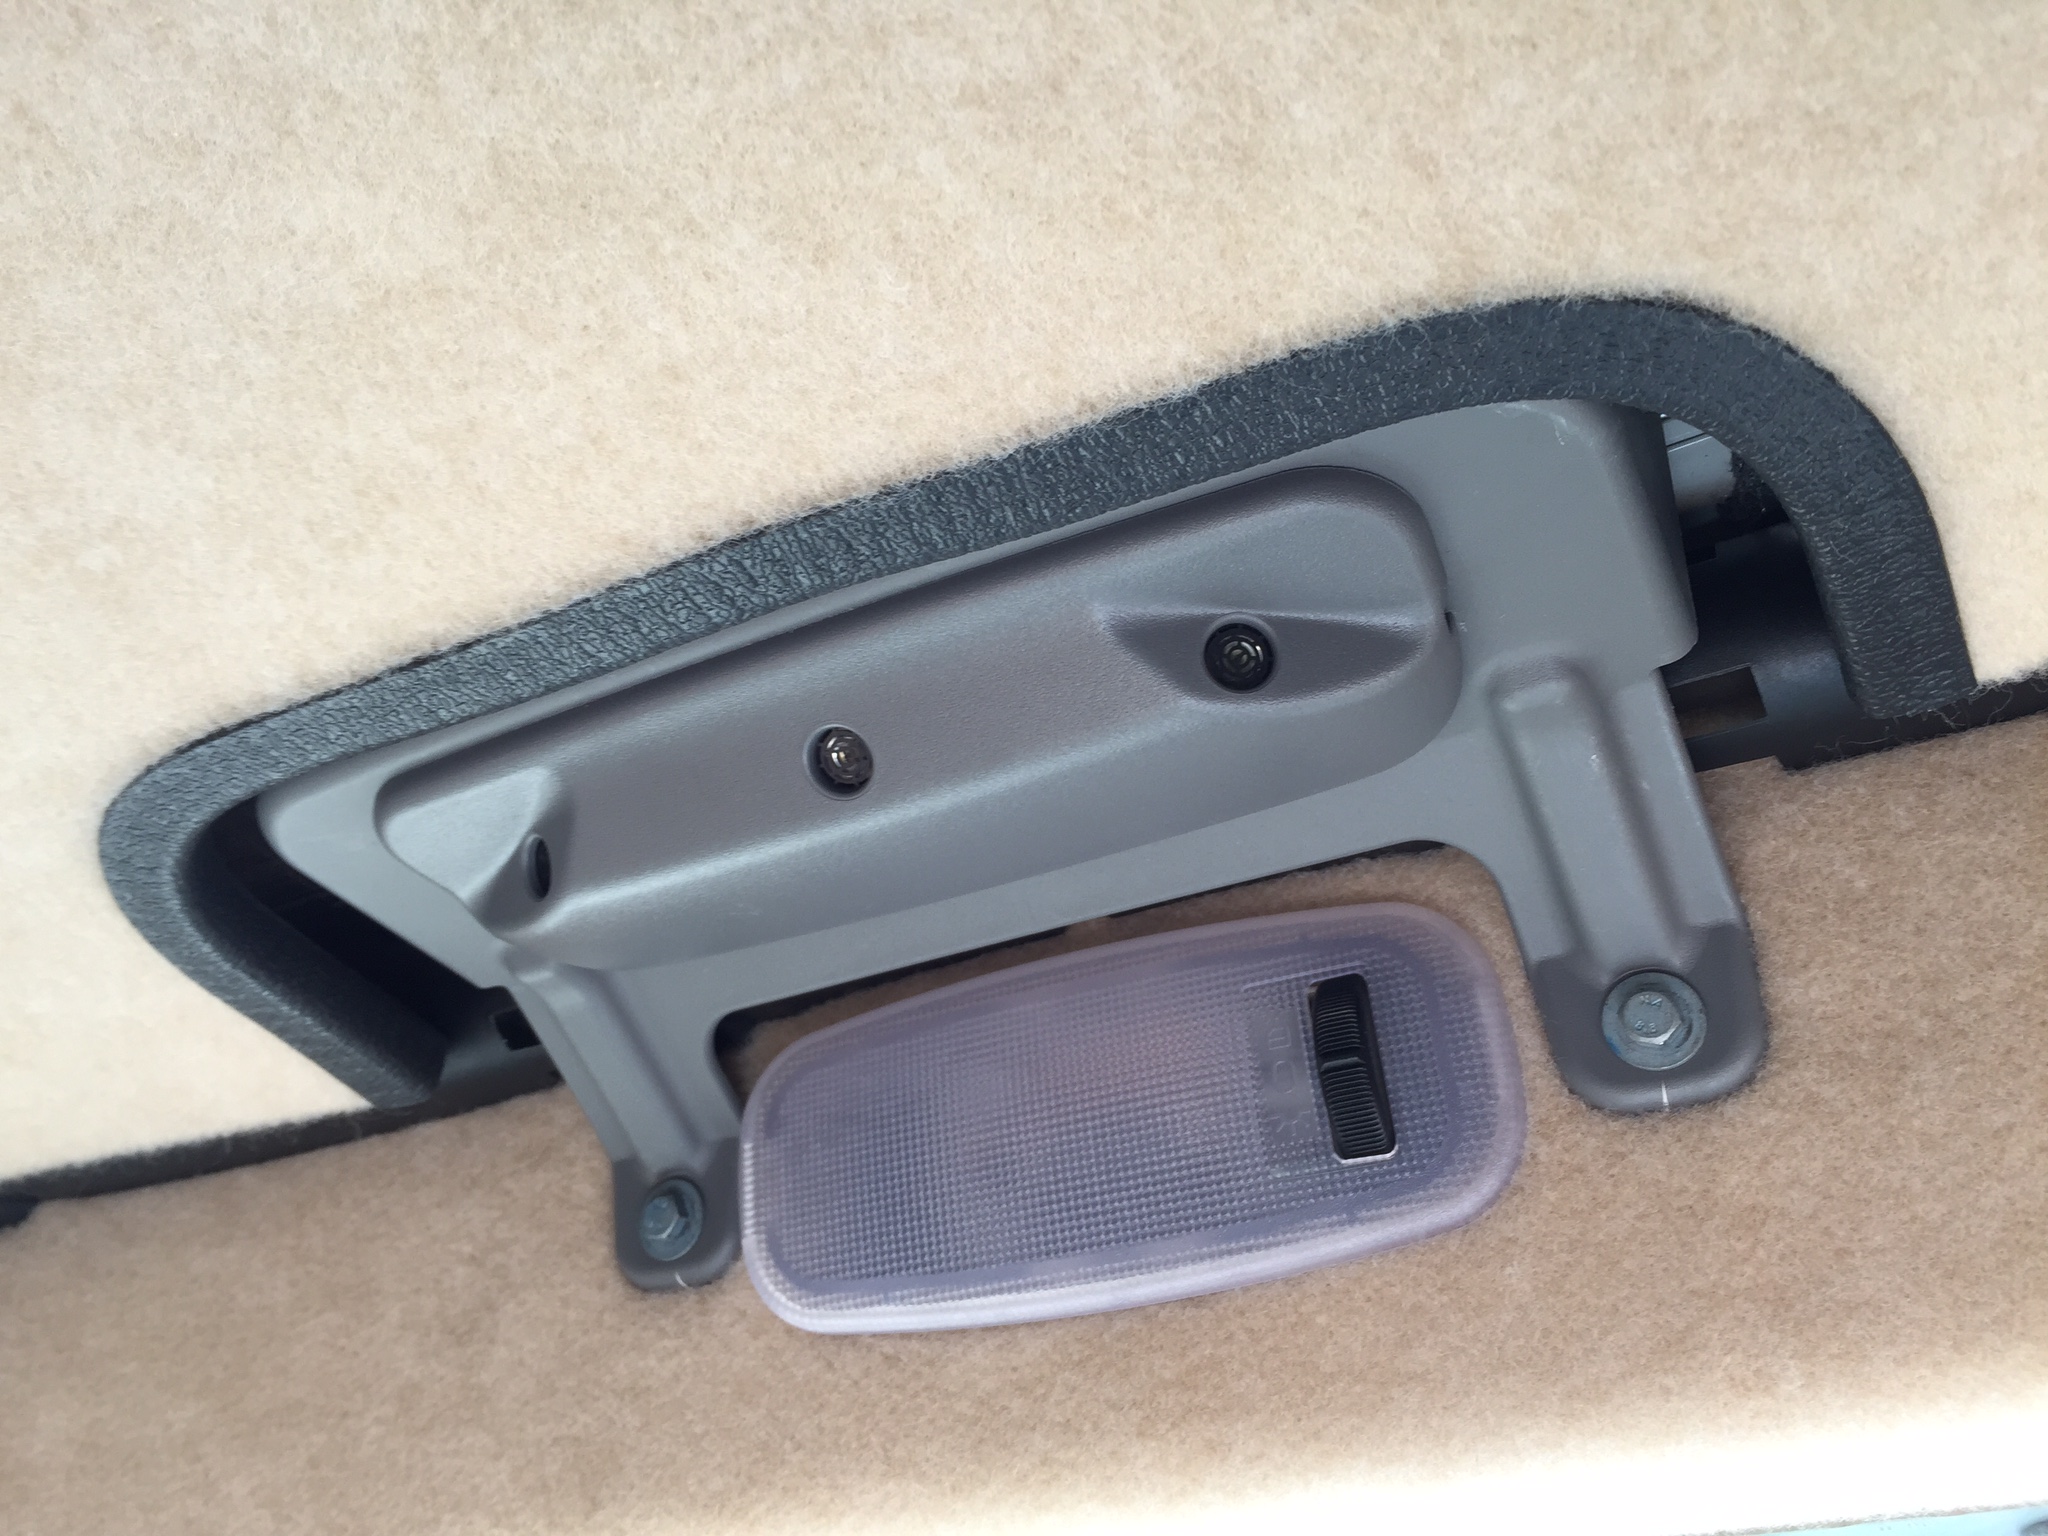
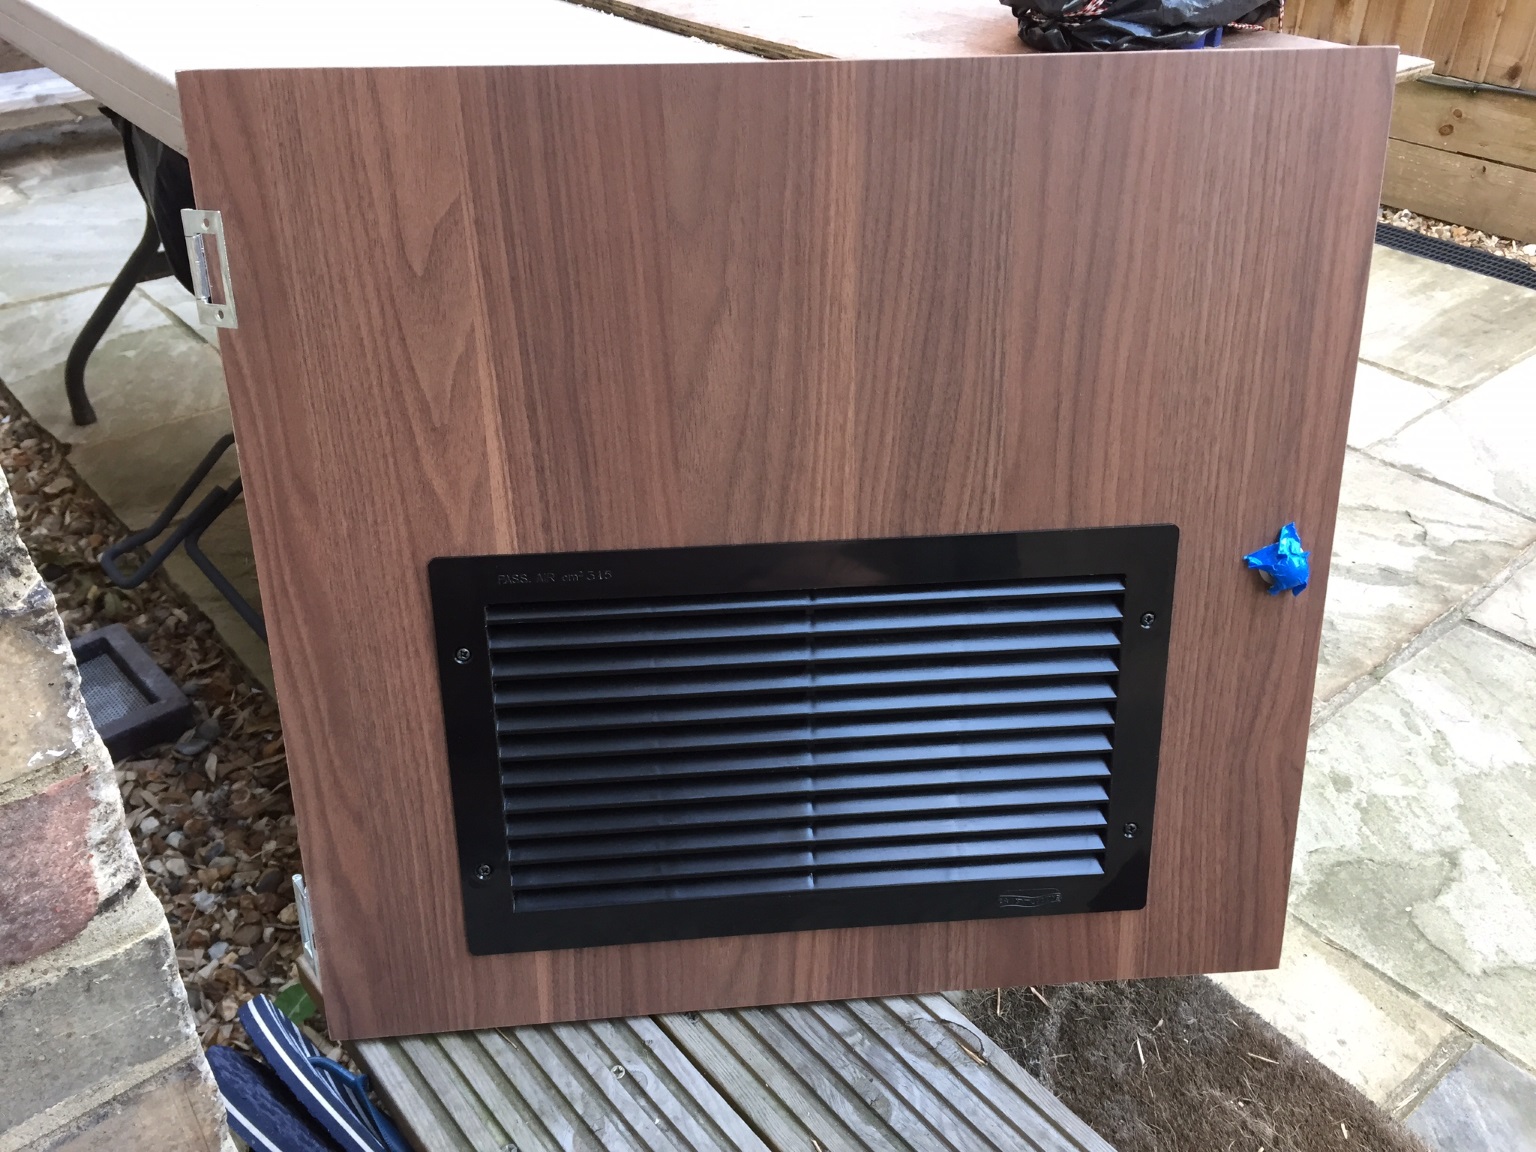
Finally, I cut a square hole and installed the vent grille for the boiler air intake.
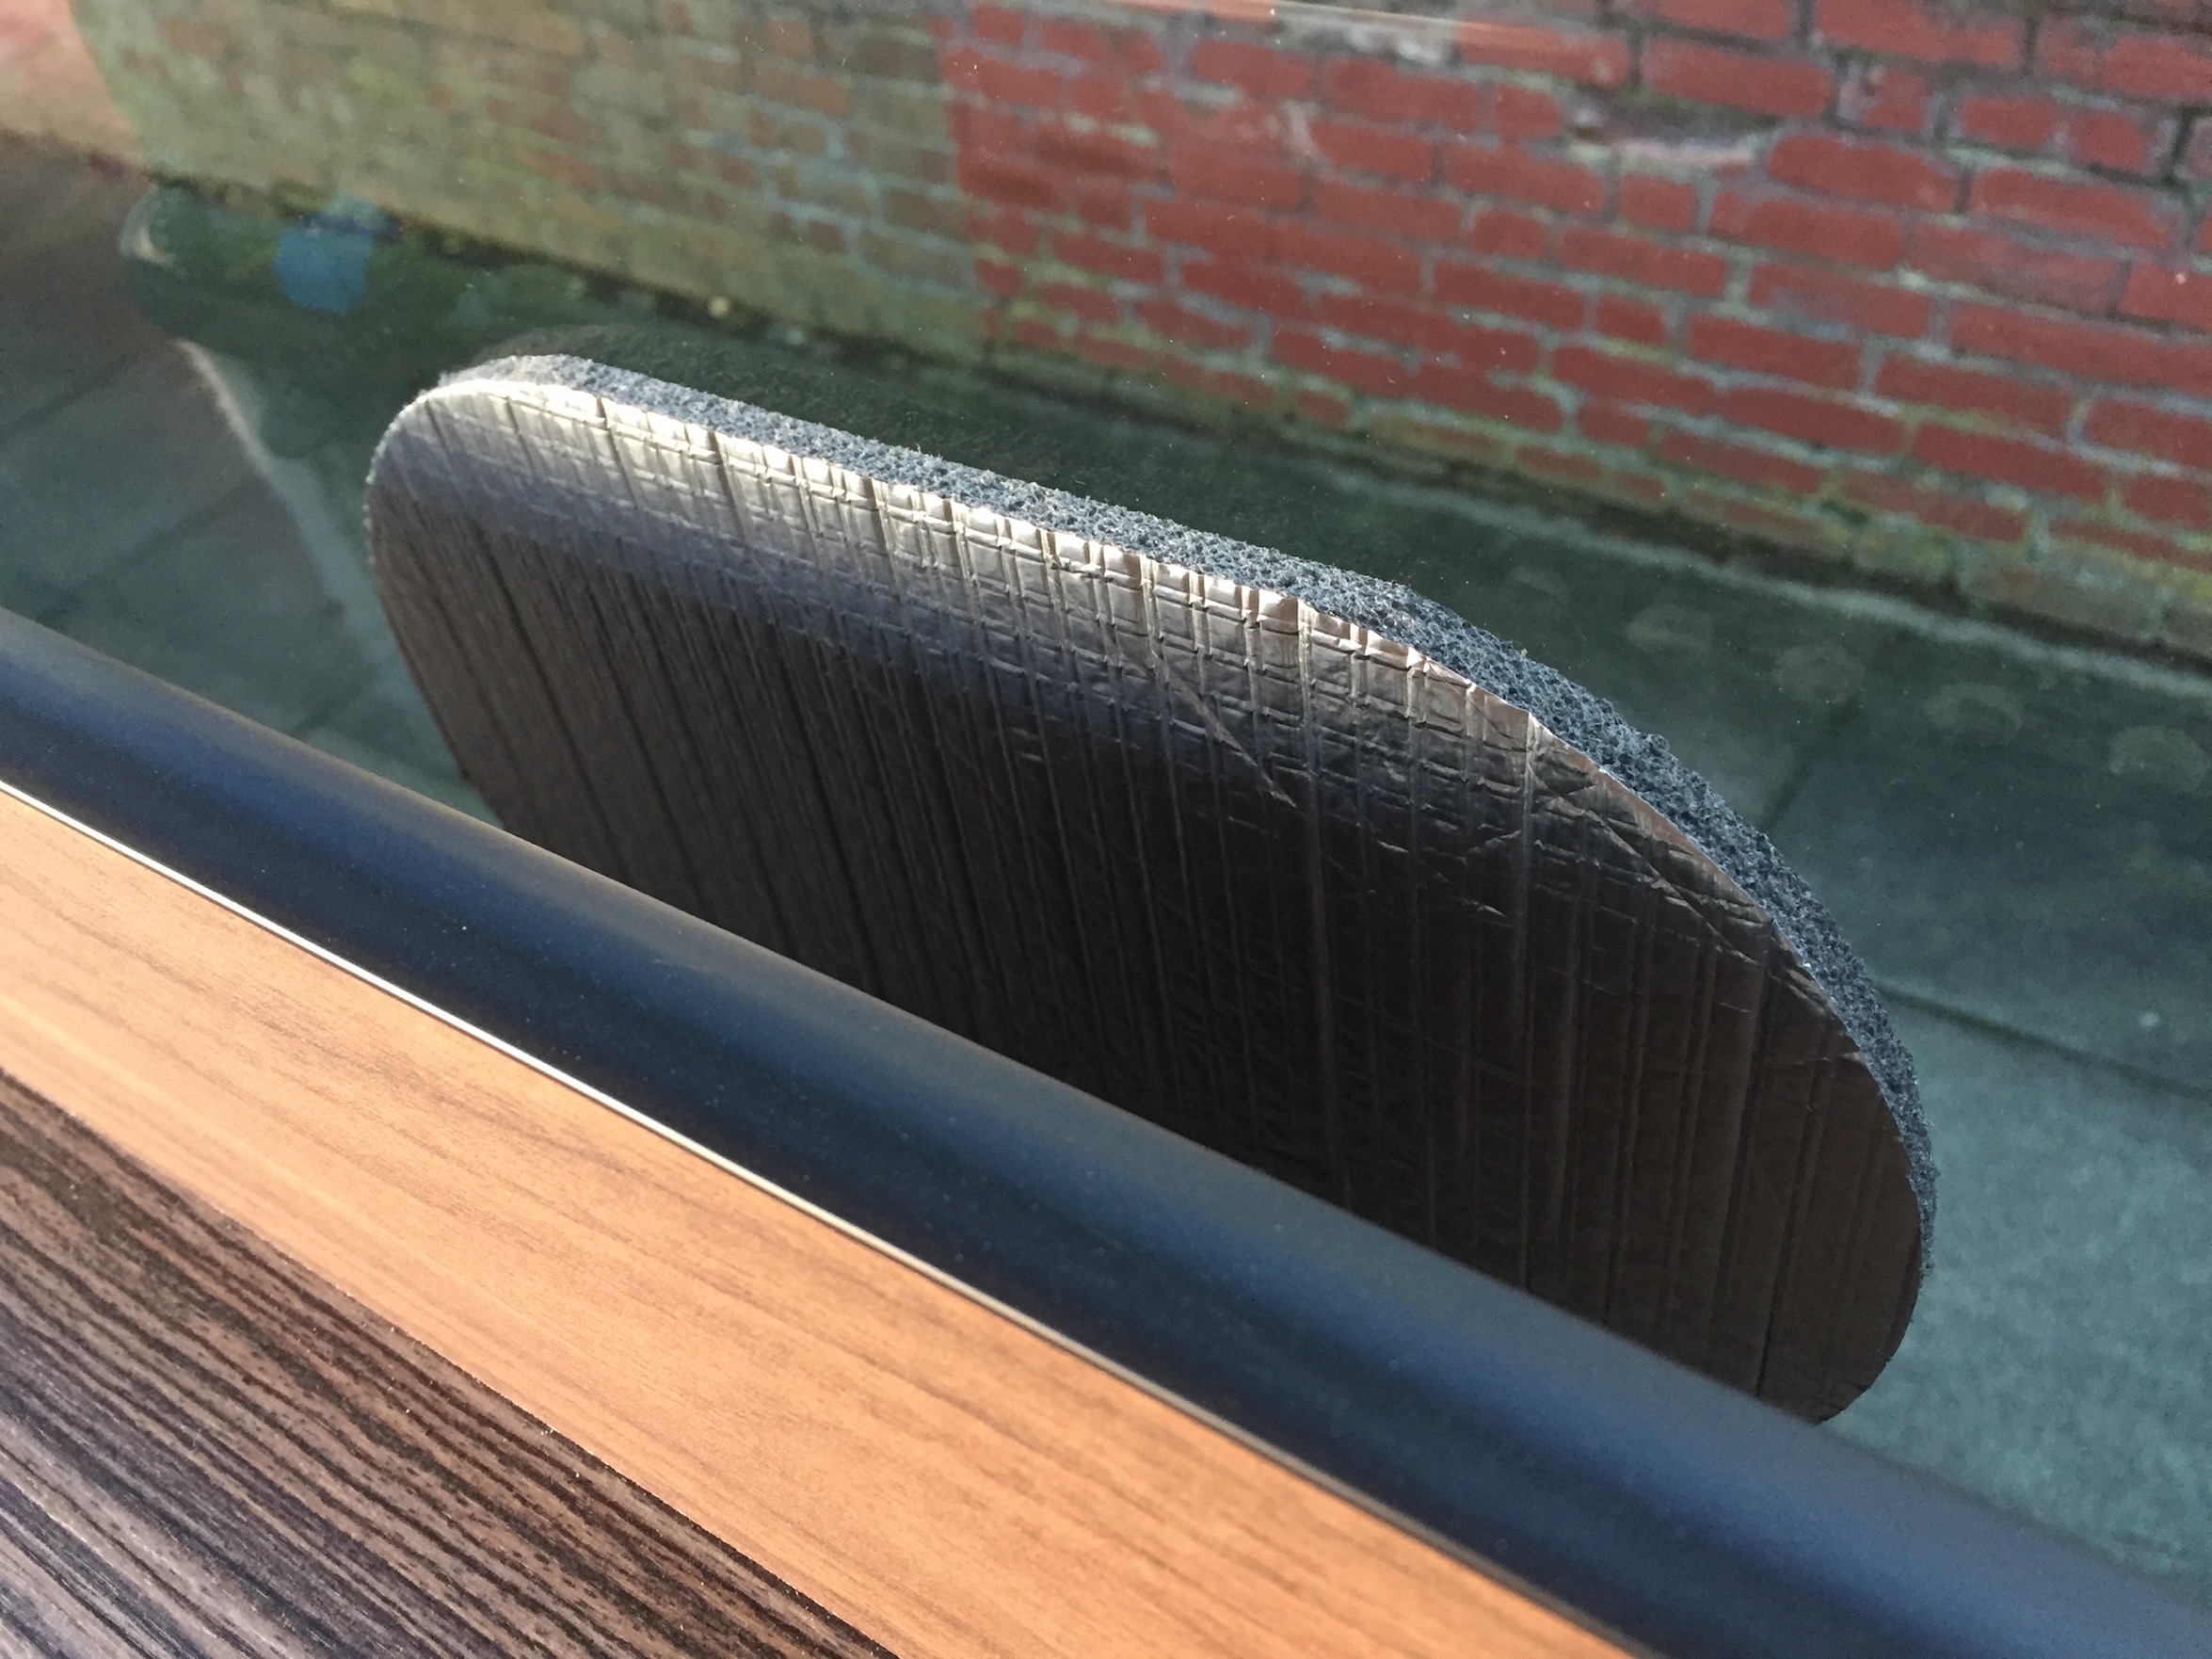
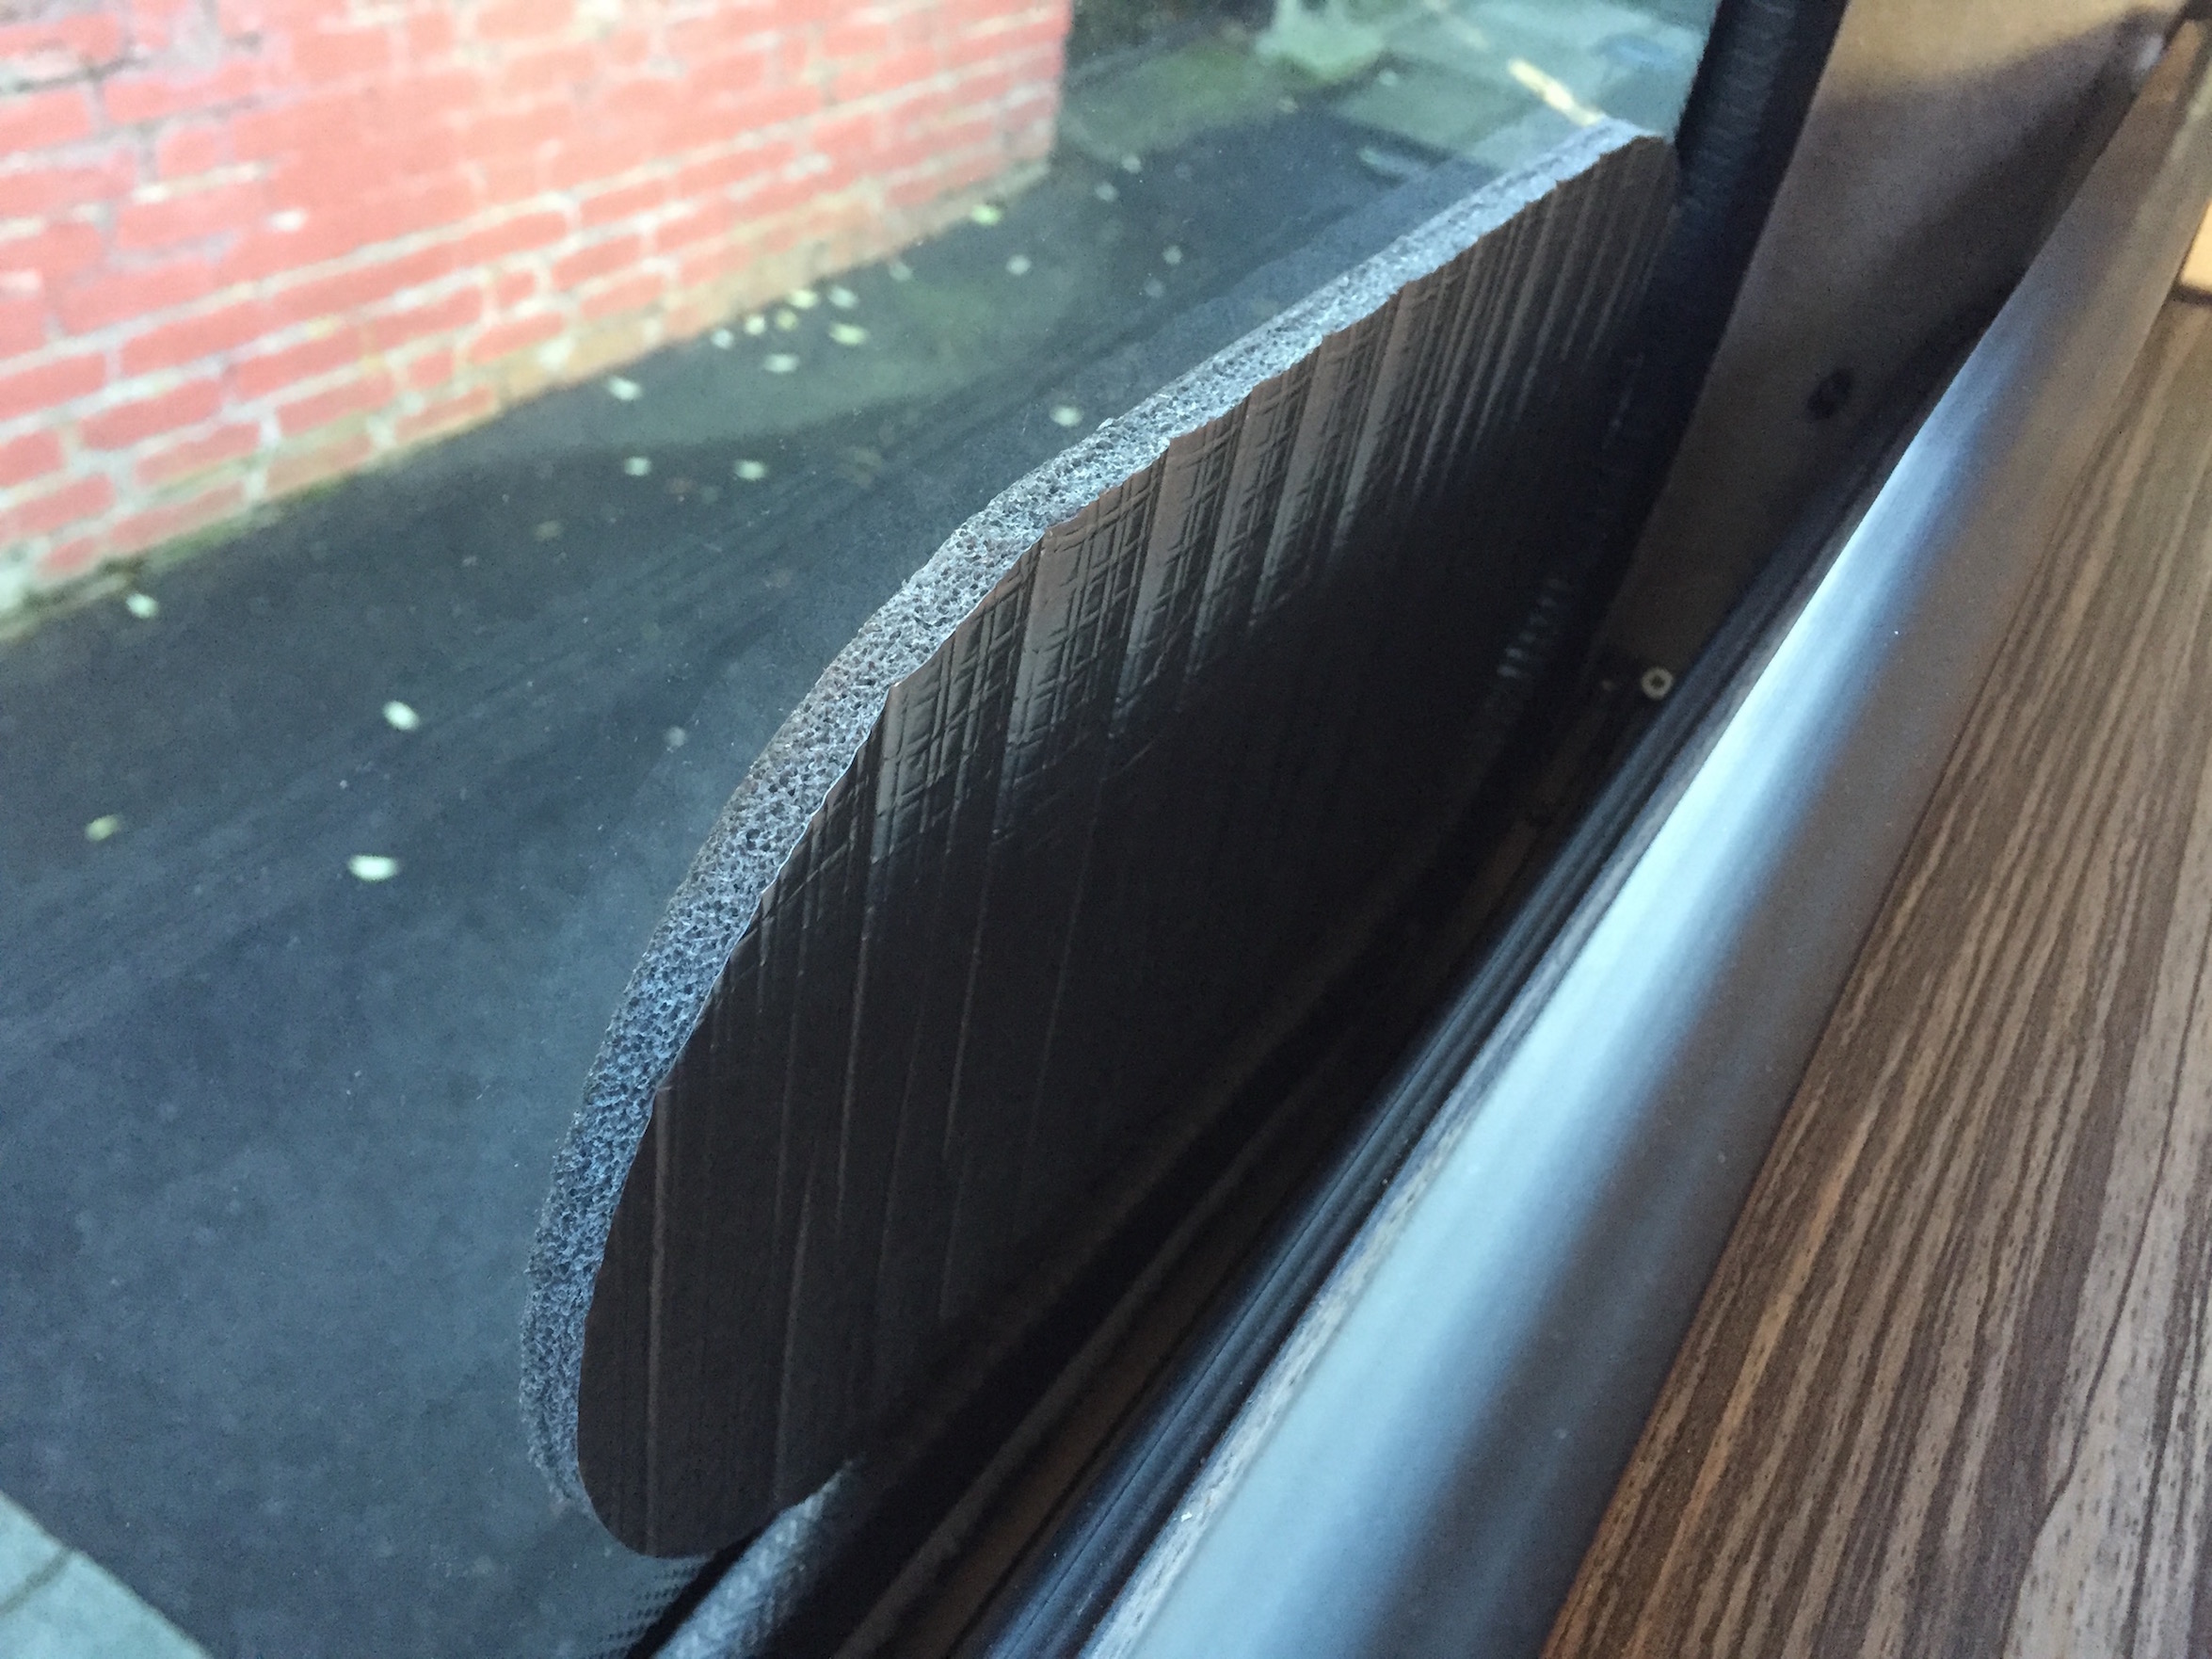
UPDATE 30/12/2015: Due to the position on the vents behind the kitchen bench facing the window, I cut out pieces of insulation and stuck them to the window opposite the vents to deflect the heat back inside, rather than just heating the glass. This seems to work well so far.
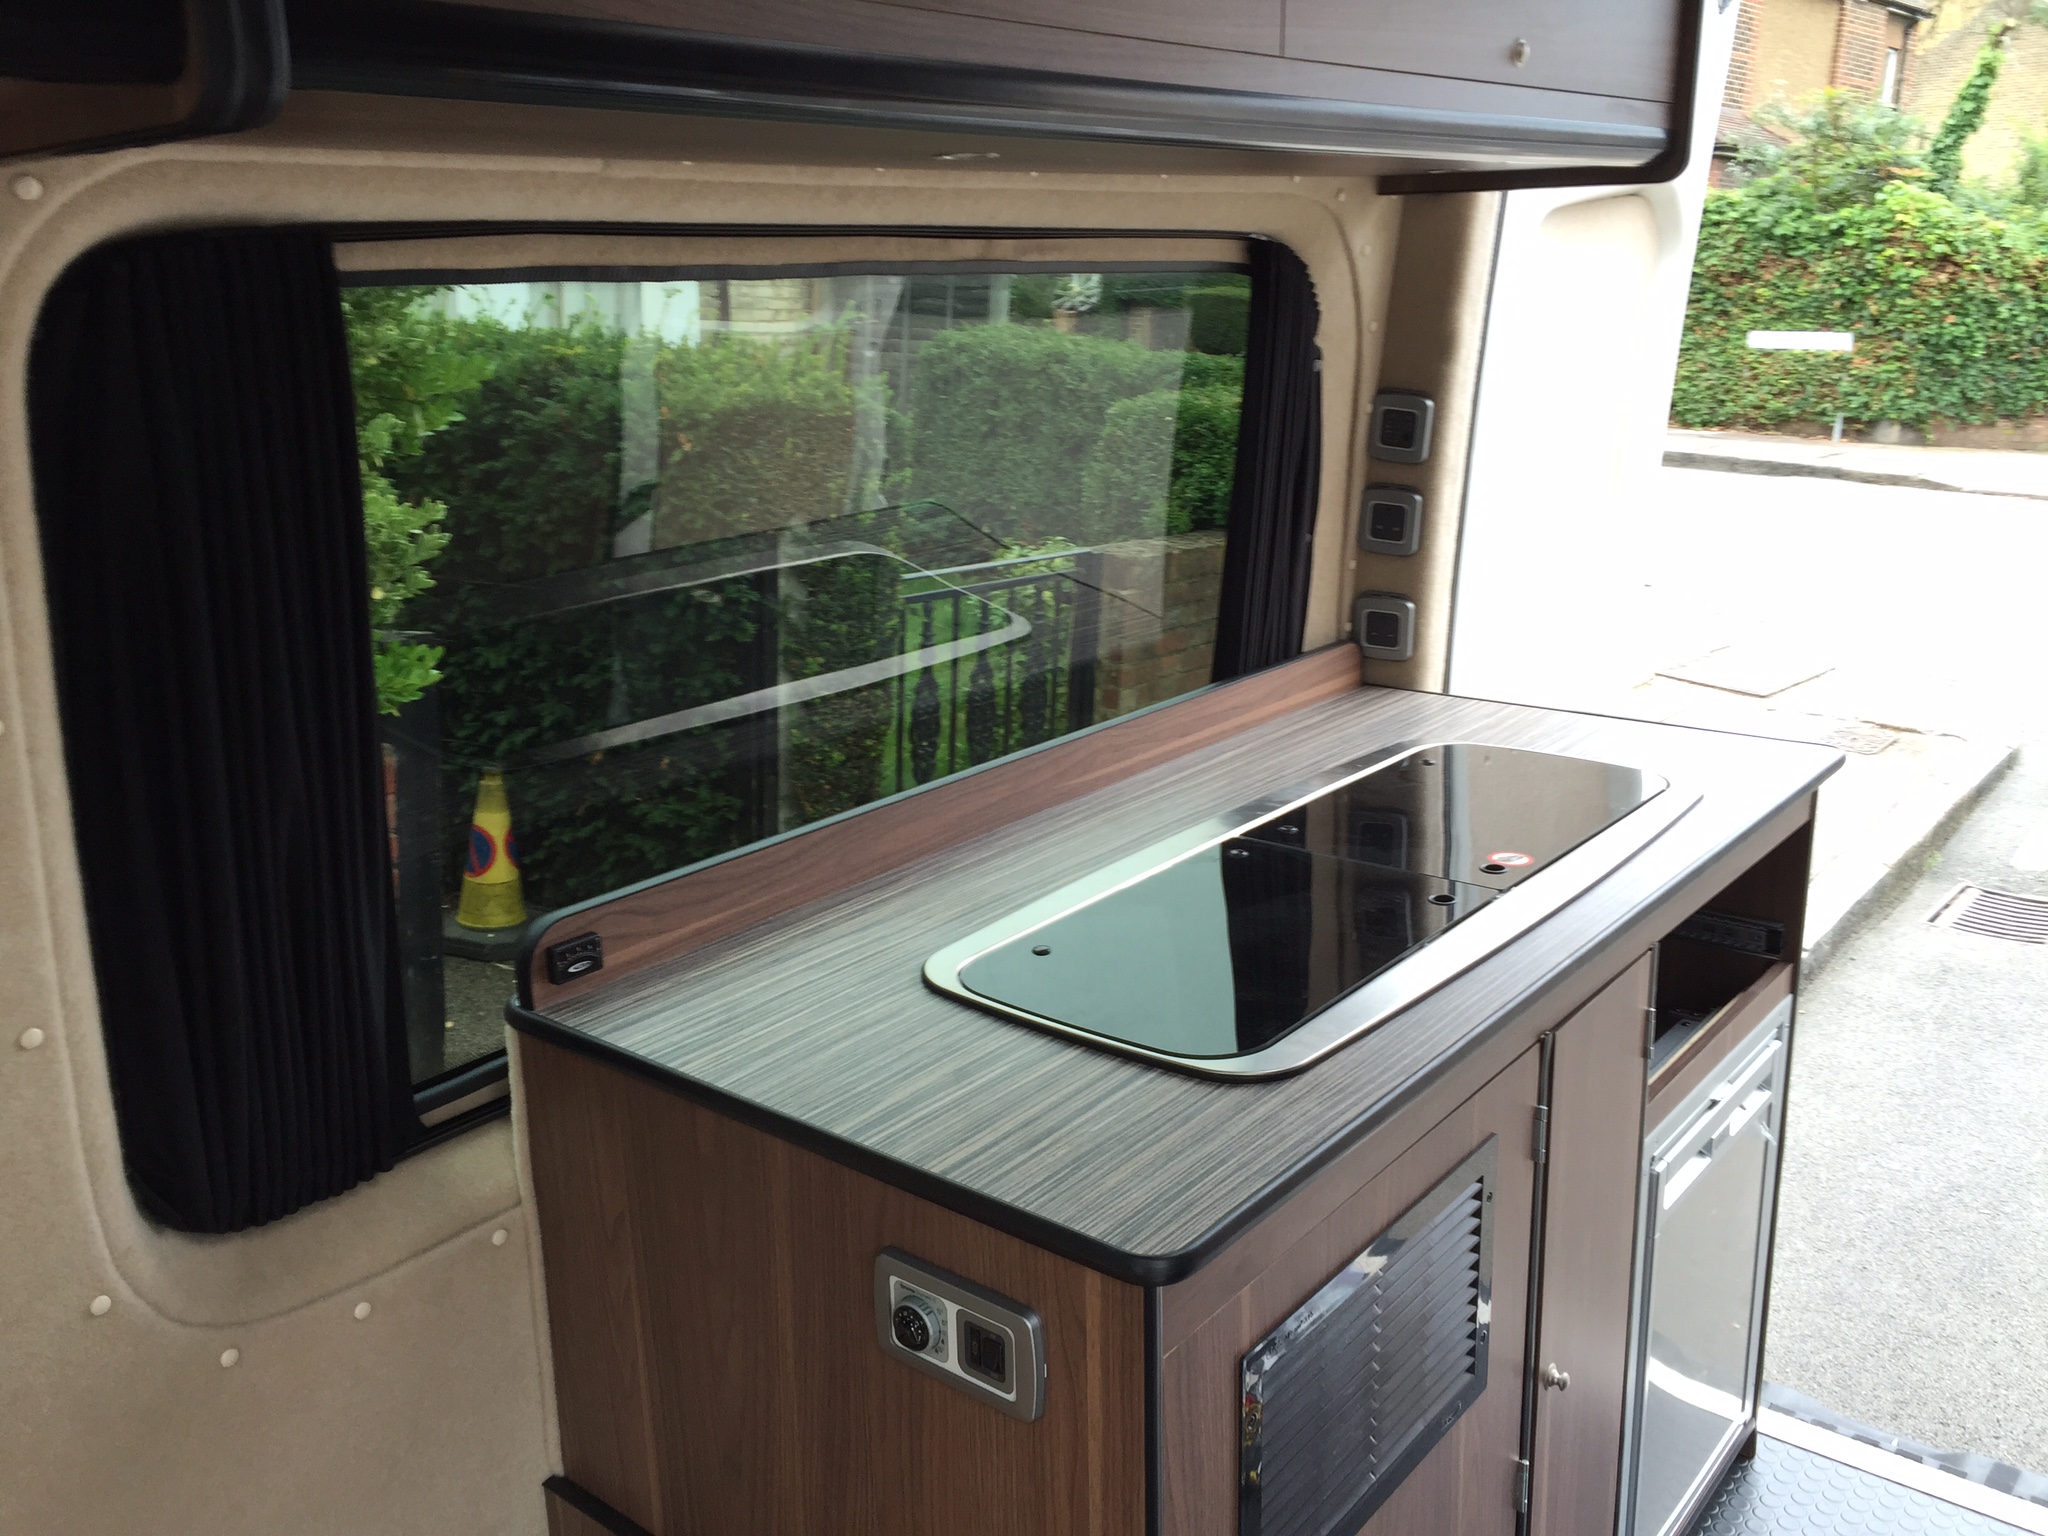
Hob
We bought a Smev MO9222 combined sink/hob unit. The gas connection is by way of an 8mm straight compression fitting with the pipe running up from the manifold through a hole in the panel work. The pipe is secured to the panel work by way of a stainless steel P-clip.
Gauges
I've installed a permanent pressure gauge, next to a gas pressure test point on a branch of the manifold. This allows pressure to be monitored on the low pressure side of the system.
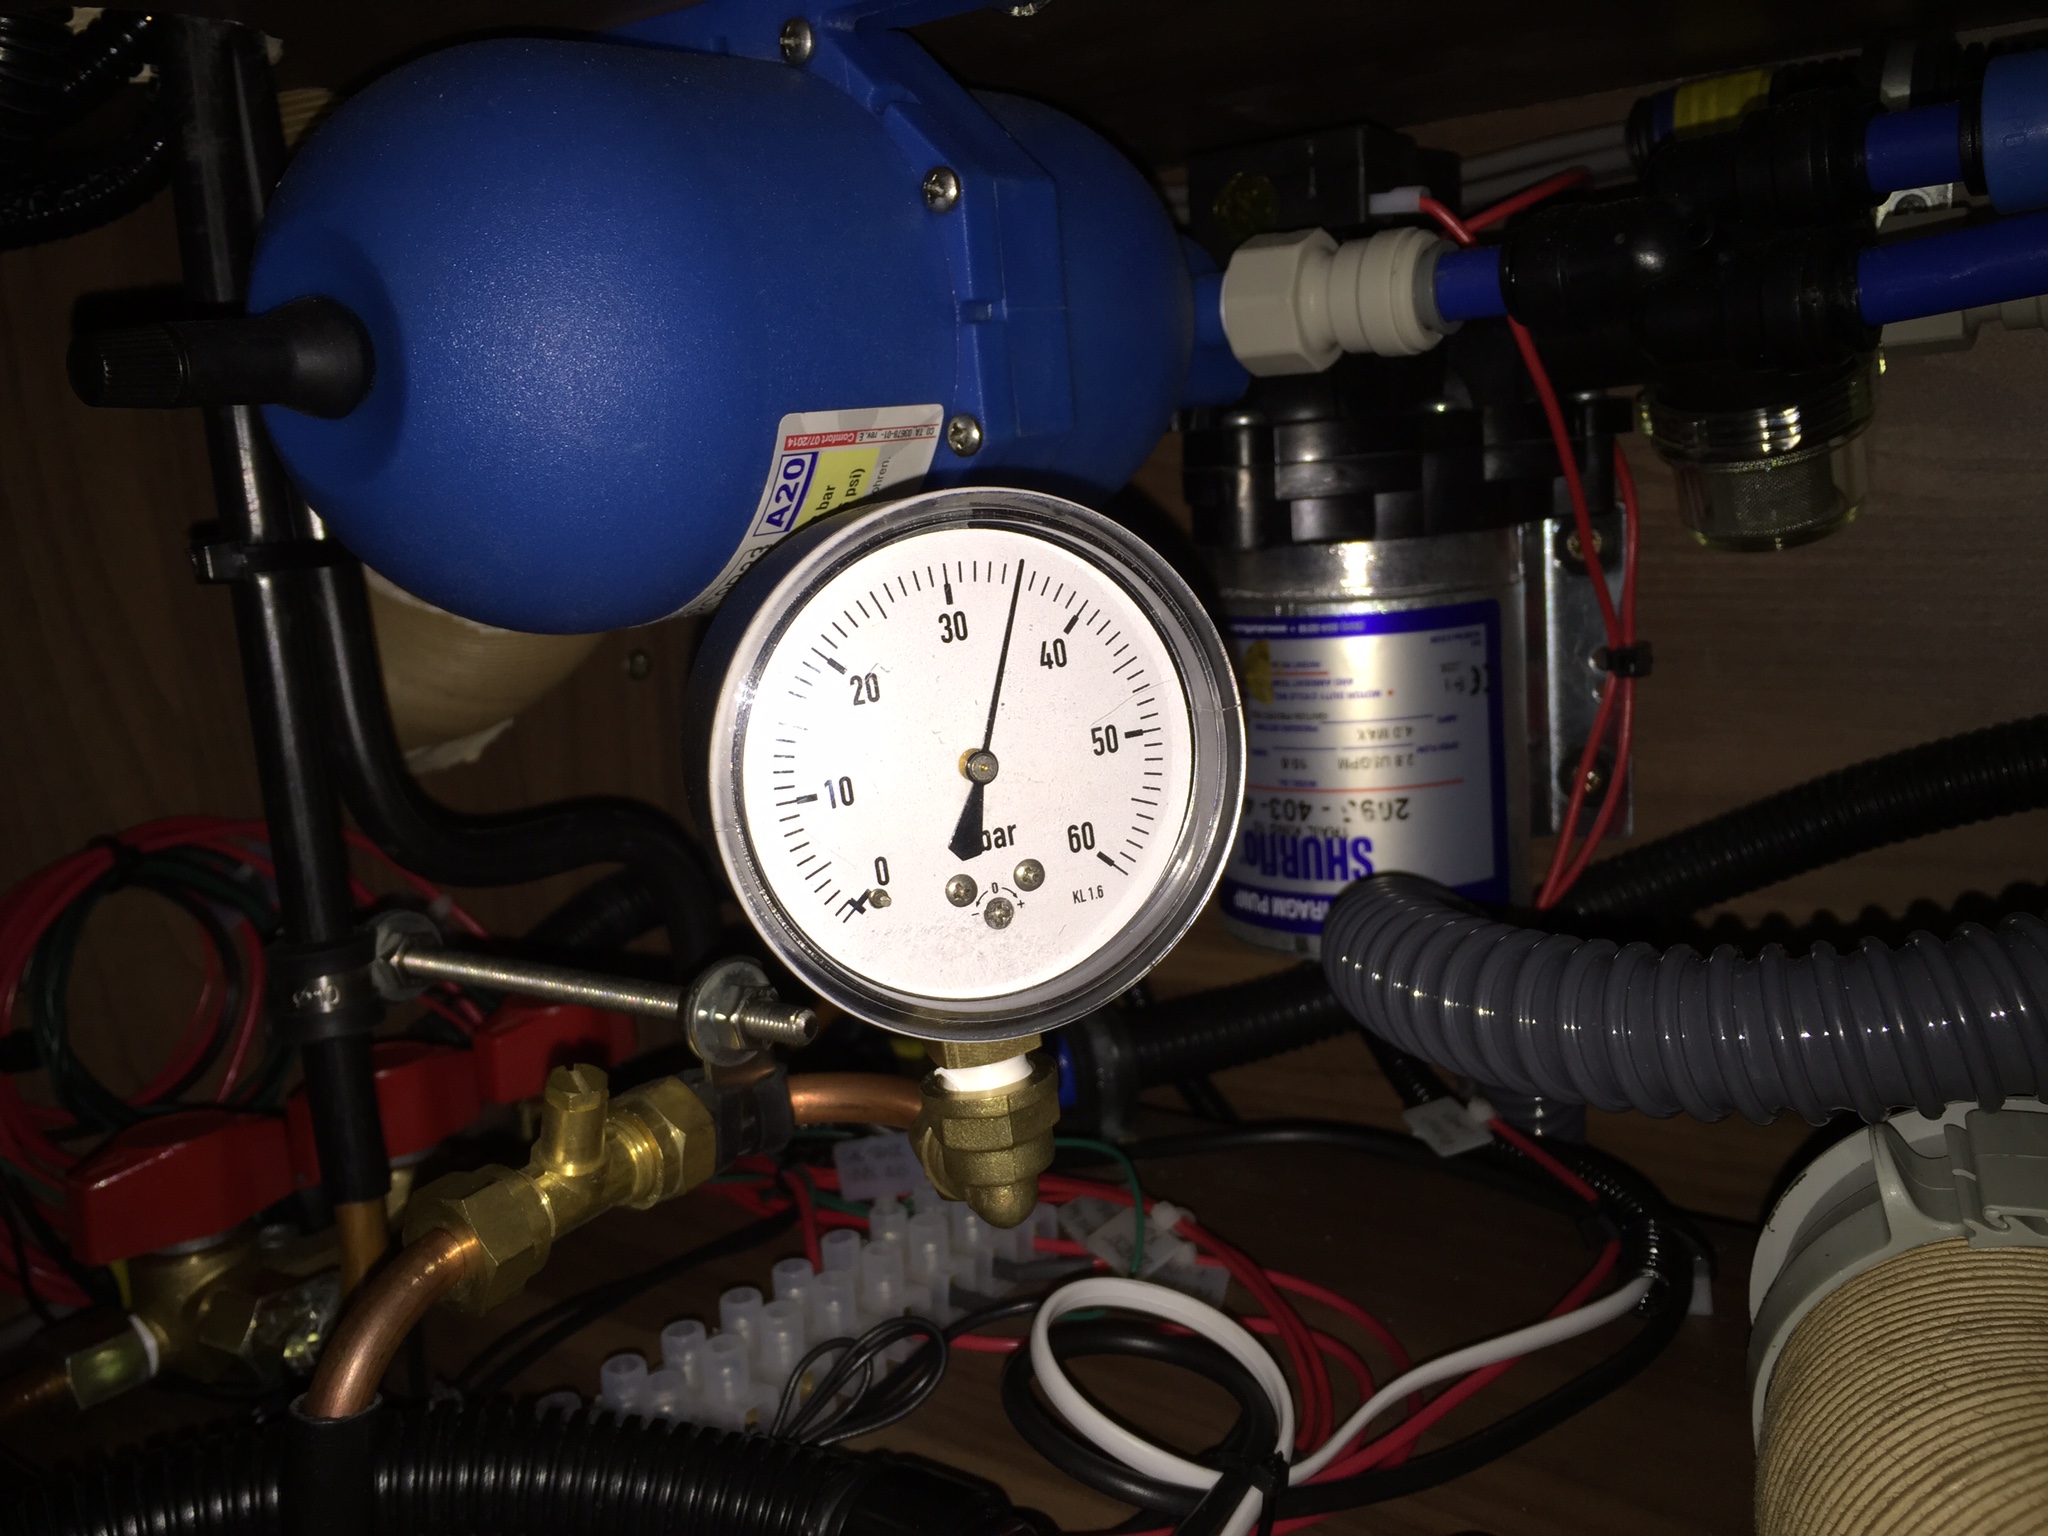
Following the general procedure on pages 137-138 of the Tolley's Domestic Gas Installation Practice for the pressure drop test, no discernible drop in pressure was observed after 2 minutes from 30 mbar initial pressure.
I've also tested all the joins with leak test spray and found no leaks.
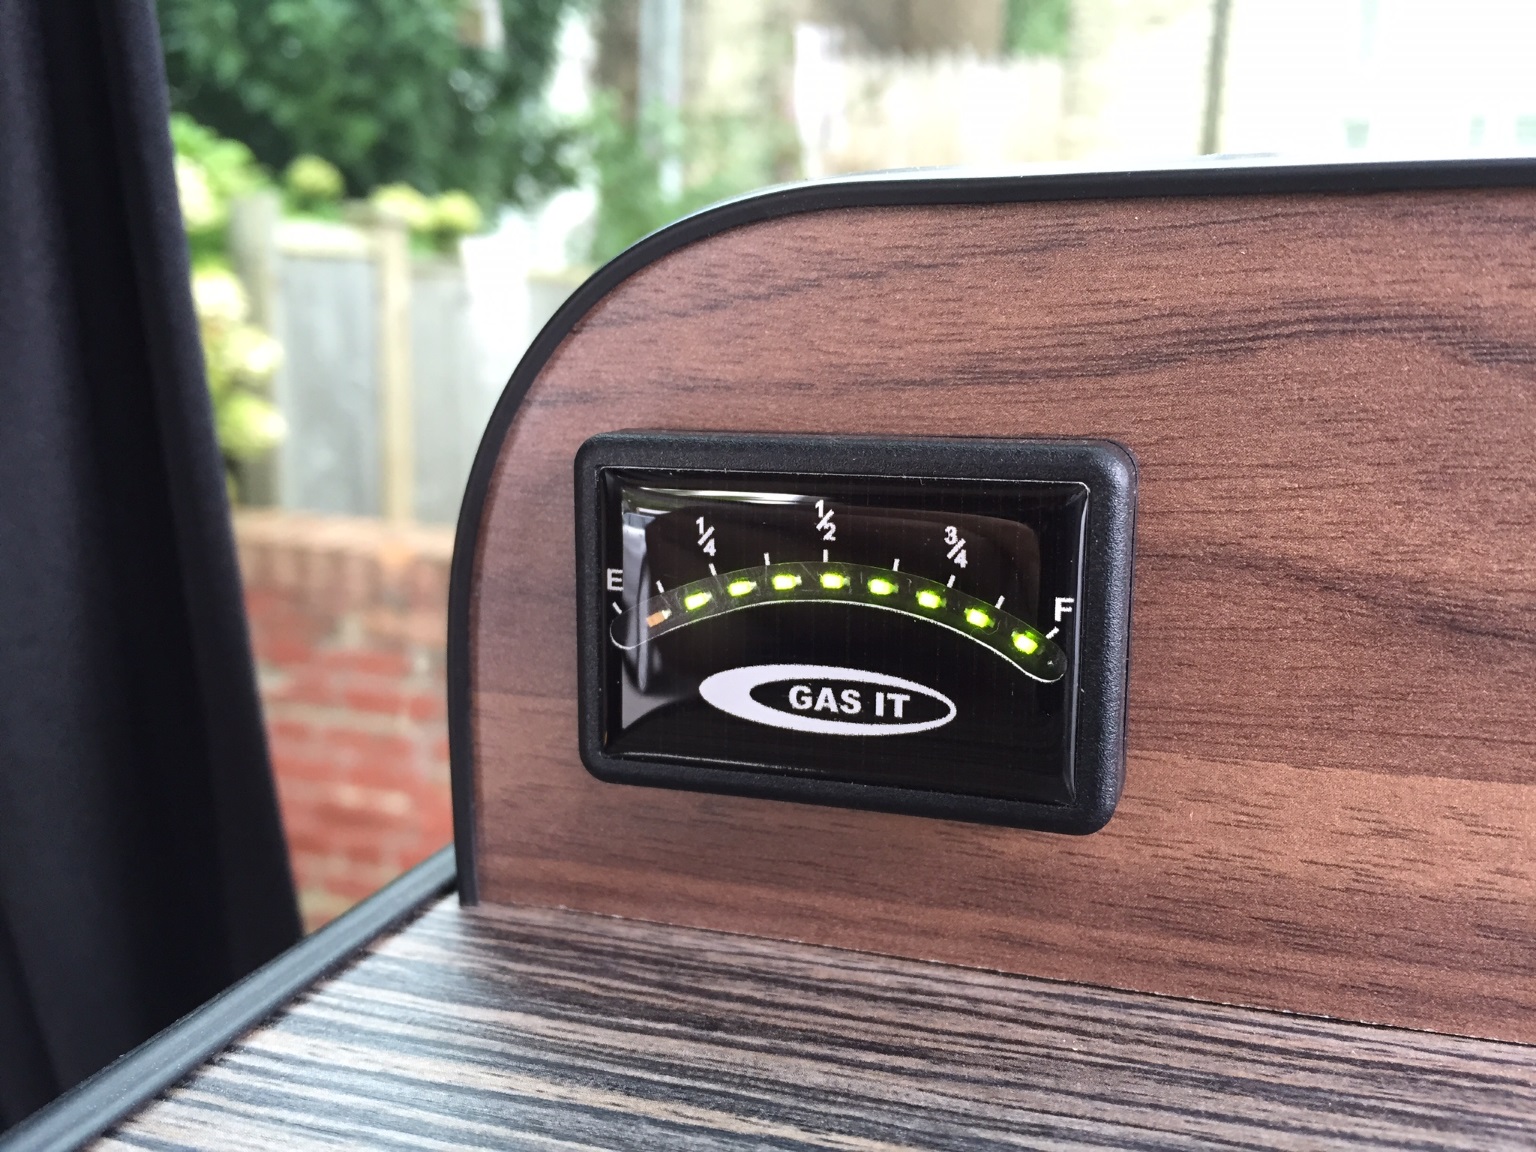
The digital display counterpart to the magnetic gauge installed on the tank is fixed to the kitchen bench, in the corner. This gauge shows roughly how much fuel is left in the LPG tank.
Finding an LPG carrying service station in London was harder than I thought..
Coming Up Next..
We've mostly done the electrical wiring and plumbing, so when we complete these, I will write up them up, which will complete the write-up of the main build.
However, that won't be the end, as I am planning smaller subsequent entries for other things like awning, roof-bars, solar panels, various electronics, etc.