Lining and insulating our Crafter
My wife and I are converting a delivery van into a motorhome in three phases. This is phase 1 of 3, which deals with the floor, thermo-acoustic insulation, ply lining and carpeting.
If you just want to look at pictures, here is a photo journal.
Making Progress
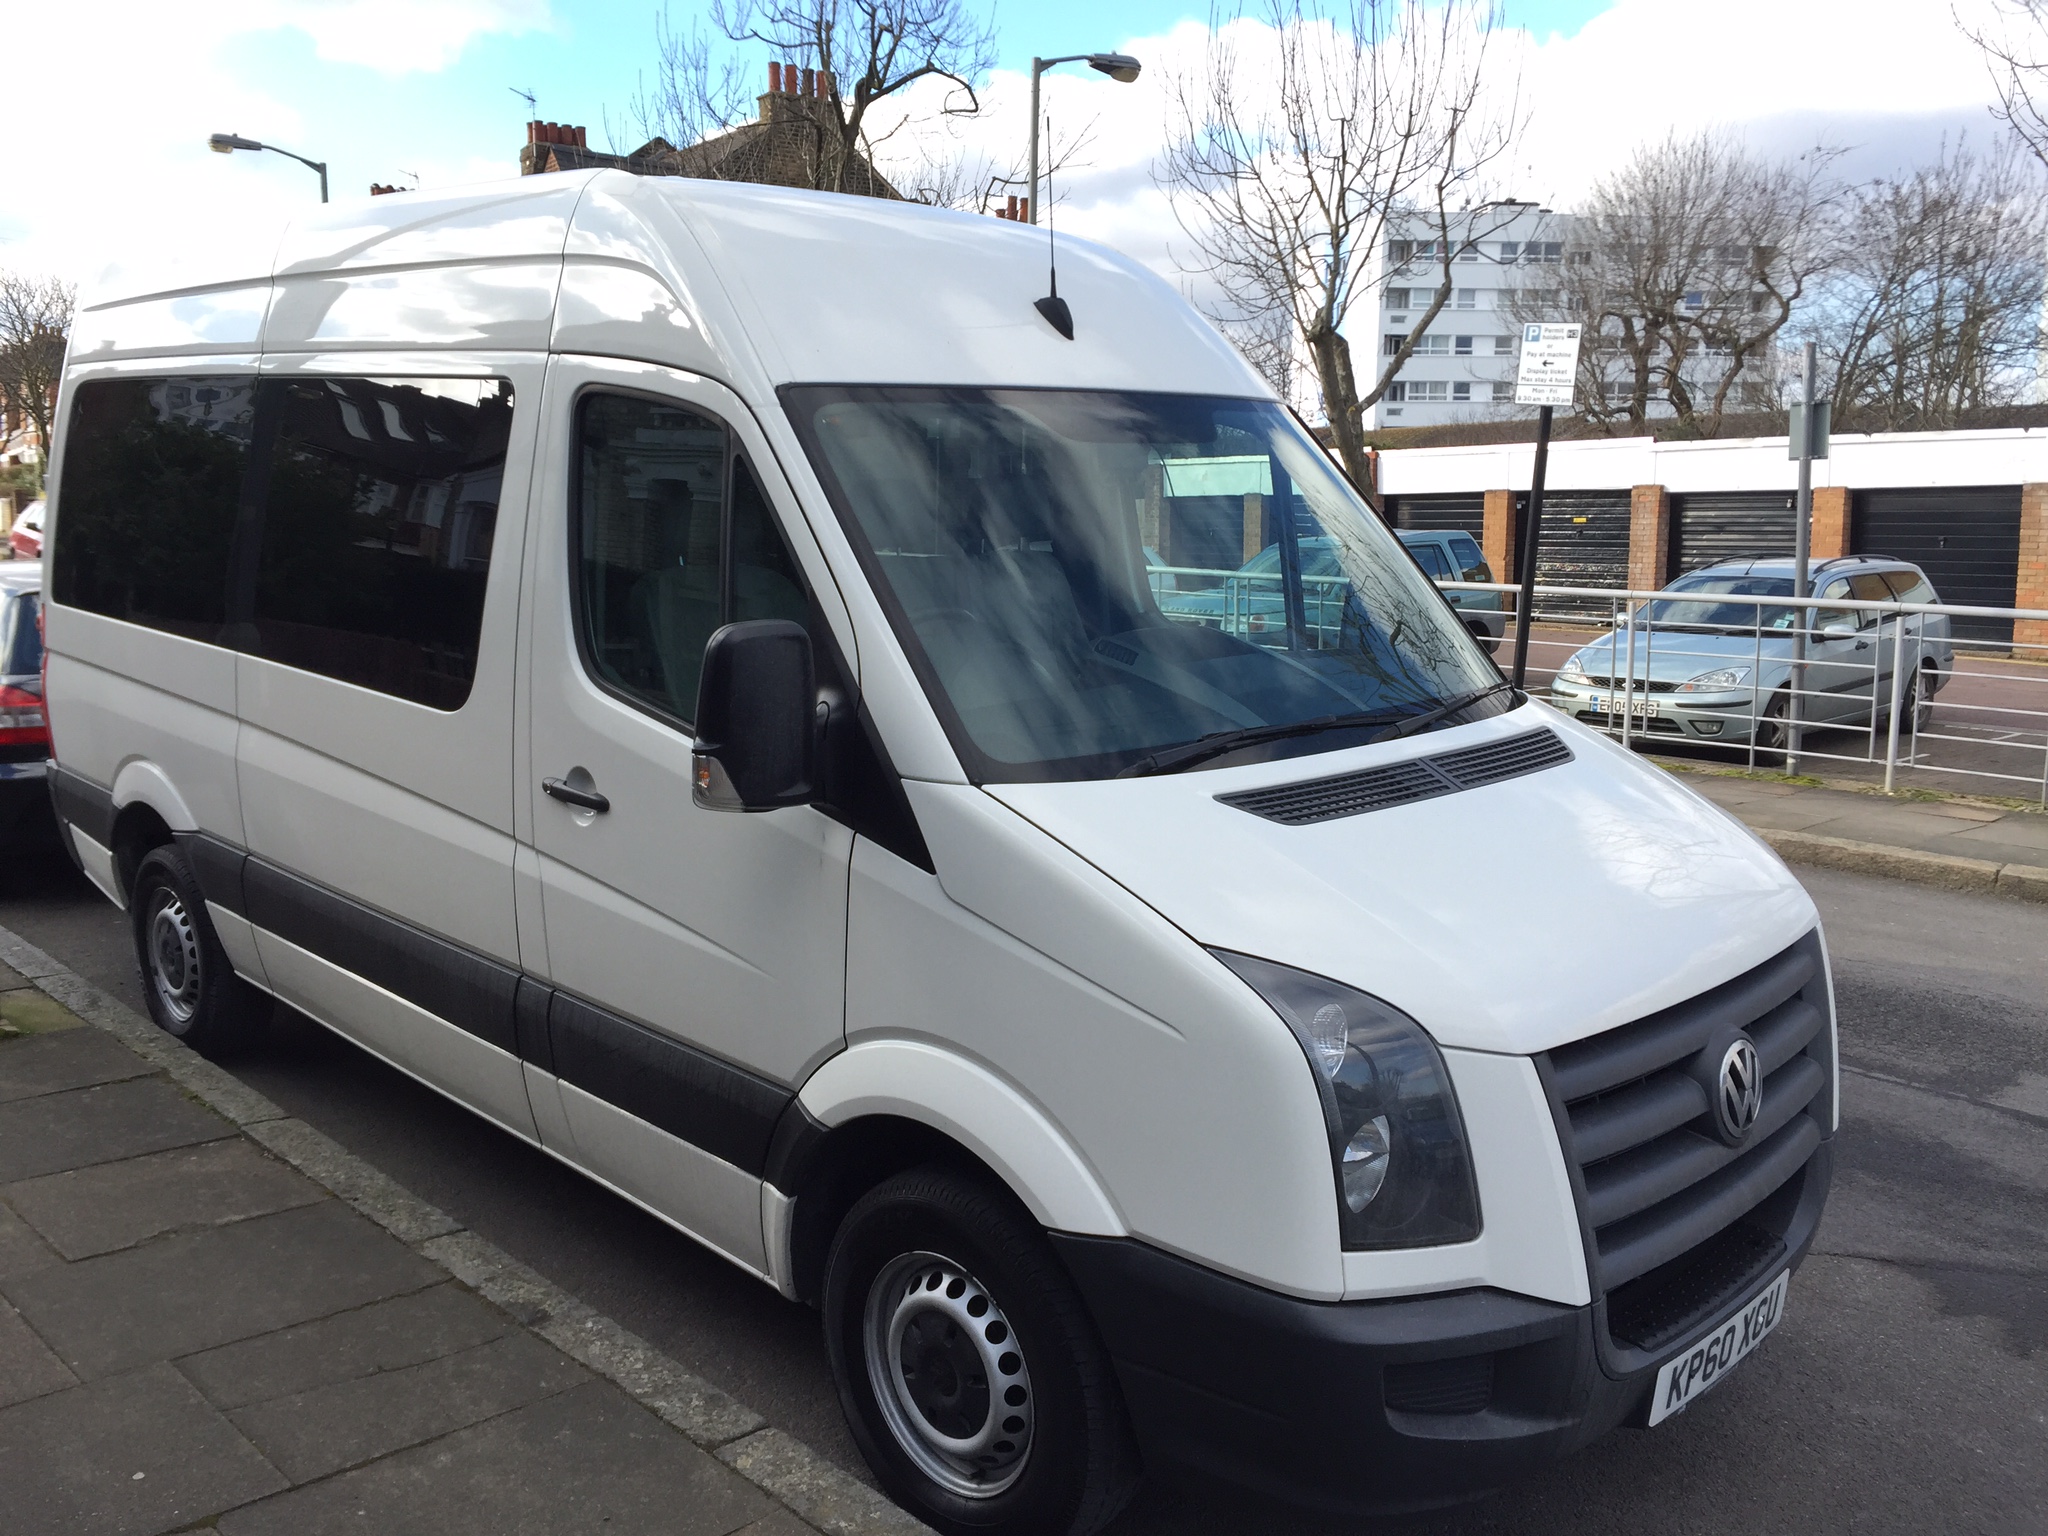
In my previous post Part 1: How to Build a Motorhome from a VW Crafter, I broadly outlined our project of converting our Volkswagen Crafter (2010) MWB delivery van into accommodation on four wheels.
Having now just completed phase 1 of the conversion, I'd like to share my approach and some insights into what works and what doesn't.
To start, I decided to break up the project into three phases, namely:
- Lining and insulation
- Furniture and bedding
- Gas, water and electrical
This post describes Phase 1: lining and insulation.
Why Crafter?
I like German engines. We already own an Audi and have the full VCDS diagnostics kit. Since VAG-COM supports Crafters, it was a resonantly easy choice. Otherwise we probably would have gone for a Mercedes Sprinter
Budget and Hours
We budgeted £20,000 and have so far spent £16,000, which includes purchasing the van for £8,000. This also includes custom made furniture and bed.
We took delivery of the van at the end of January and only just took it to the cabinet maker (weekend of 9-10 May). I also took the entire Easter week off work, while my wife took two additional days. The period also included Early May Bank holiday. All in all so far, working 14 weeks by my estimates, we've spent about 470 hours on this project:
- 130 hours during week nights
- 80 hours during Easter
- 260 hours during weekends
The Design
After the original 3D design was drawn up, I had to make some changes due to the orientation of the Truma boiler. In the original design, the horizontally mounted boiler was placed under the bed, however I managed to get a cheaper (older) boiler with vertical orientation, which meant the boiler could be re-located to under the sink.
The new layout, view from the top:
This is the view of the driver's side (O/S):
This is the view of the passenger's side (N/S):
Making a Start
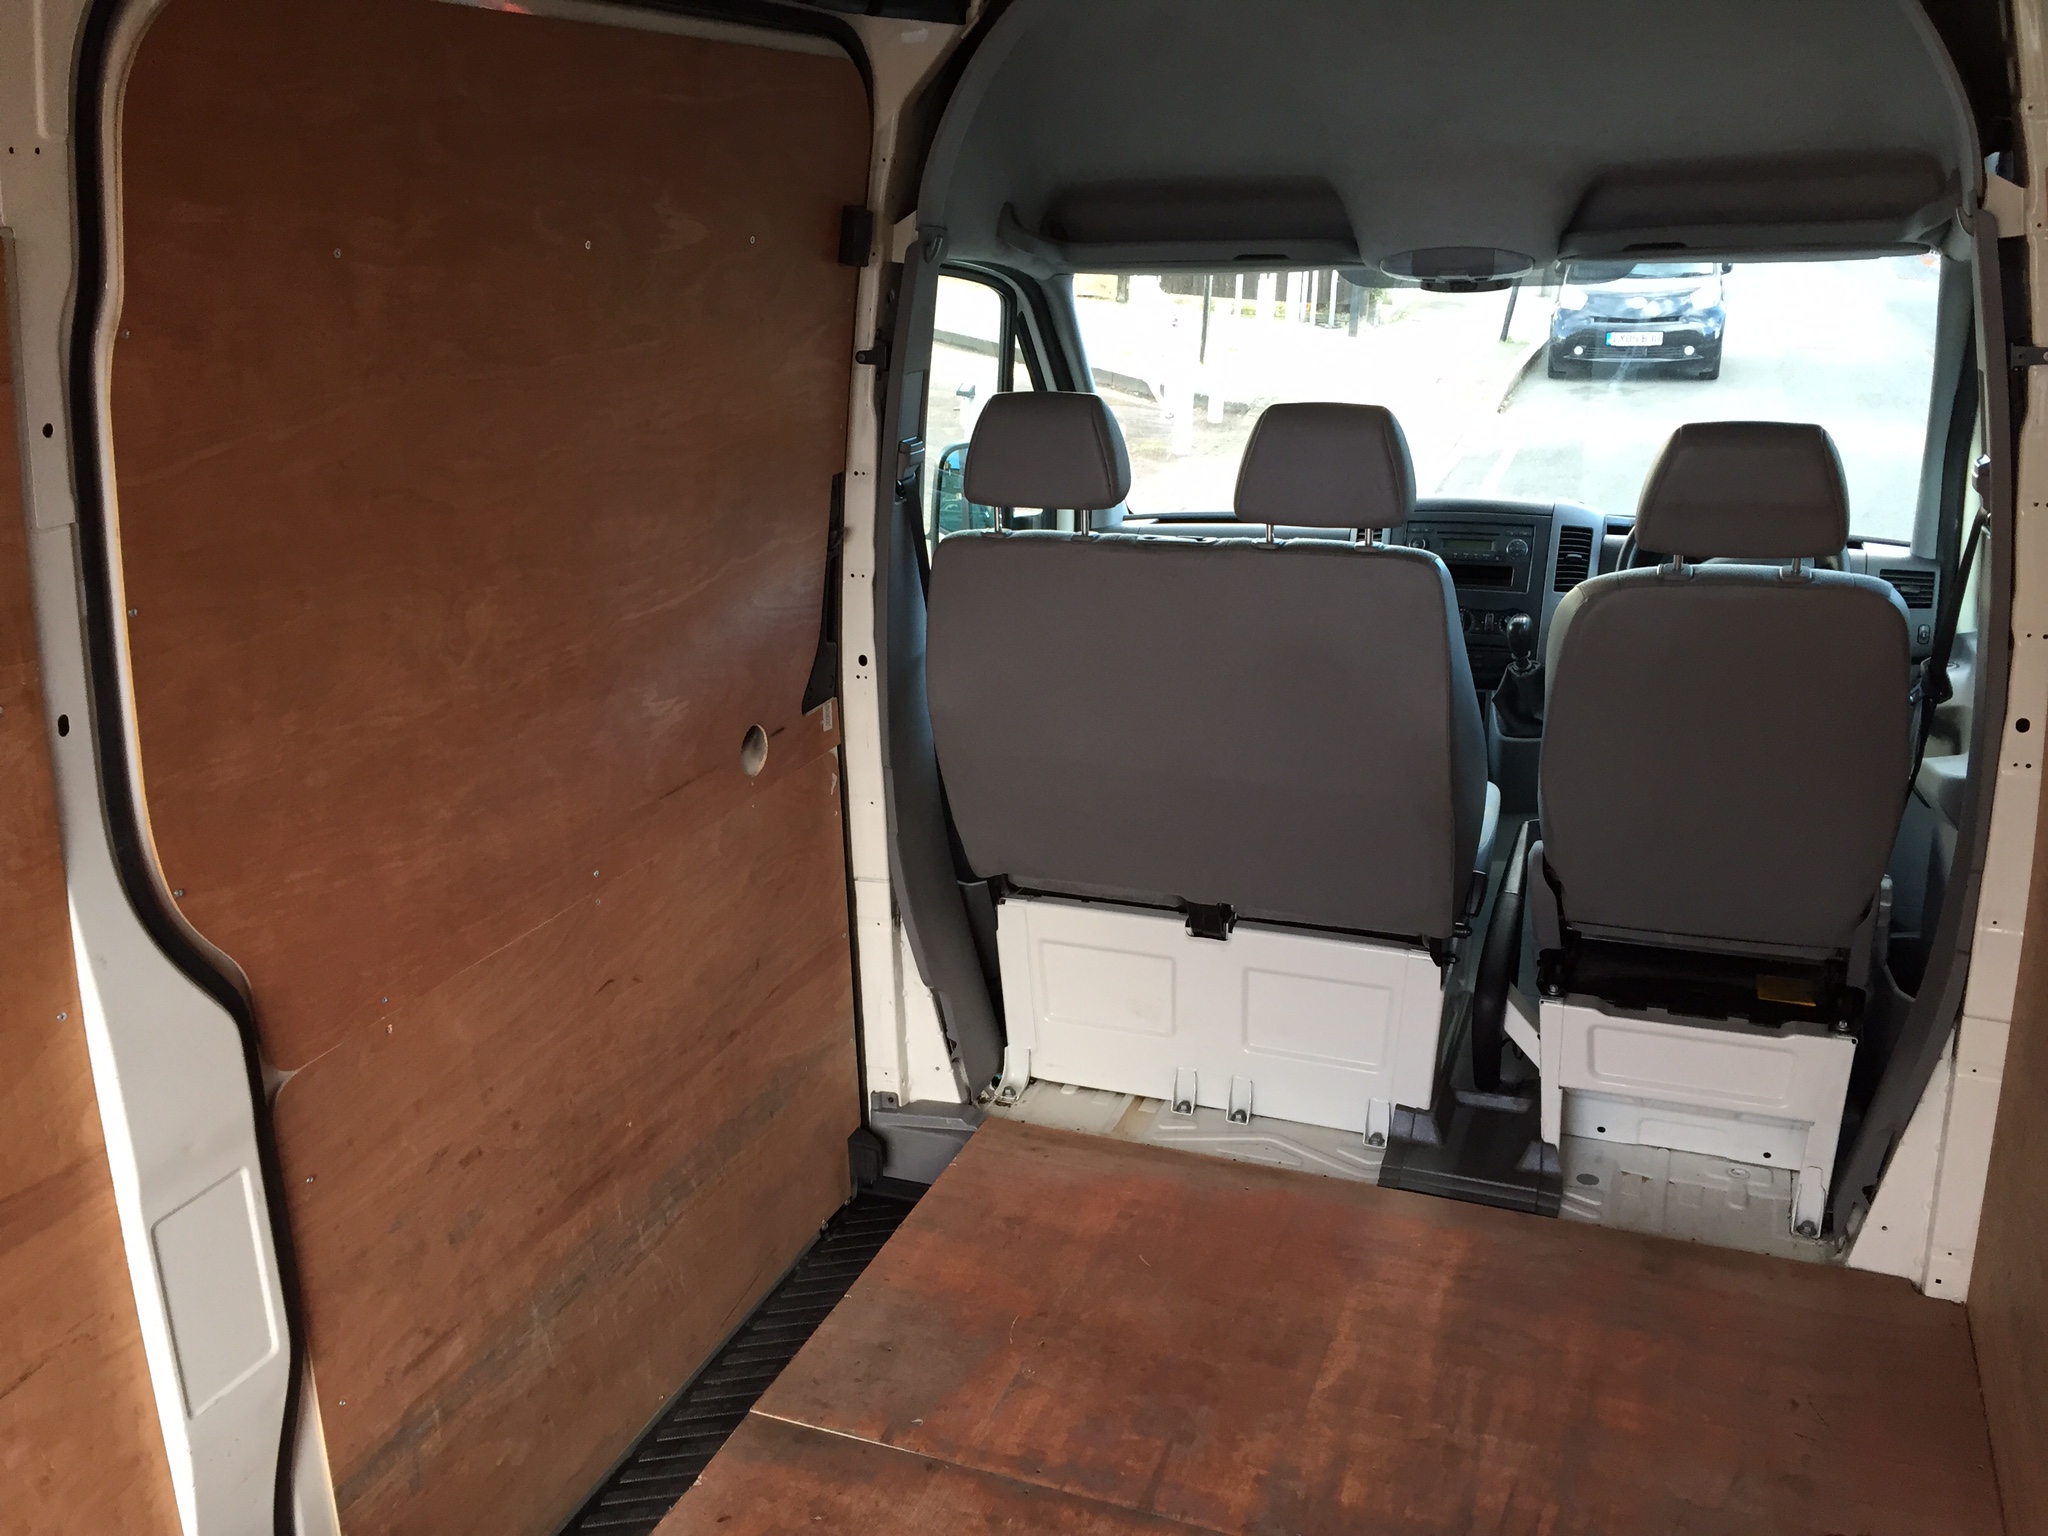
The first part of the job, was to remove the old plywood lining from the van, clean it and inspect the damage underneath.
The origin ply kit was well worn and the floor needed to be replaced, due to a big hole at the rear, which had been patched up using cardboard.
Unfortunately, the previous owner opted to screw through the van body to secure the floor with self-tapping steel screws, leaving 3-4mm rusty holes behind. I decided to rust proof these with some Hammerite Red Oxide Primer from Halfords, fill the holes with stainless steel pop rivets and spray the underside around the holes with Hammerite Underbody Seal Aerosol.
Paint sparingly, especially around the doors, as you could create more work for yourself later on. For example, I layered on the red oxide paint around the holes made in the sliding door frame, only to realise later that this area was going to remain exposed (not covered with carpet or plywood). So now I have to take out the rivets, fill, sand, prime, paint and polish.
Some Windows
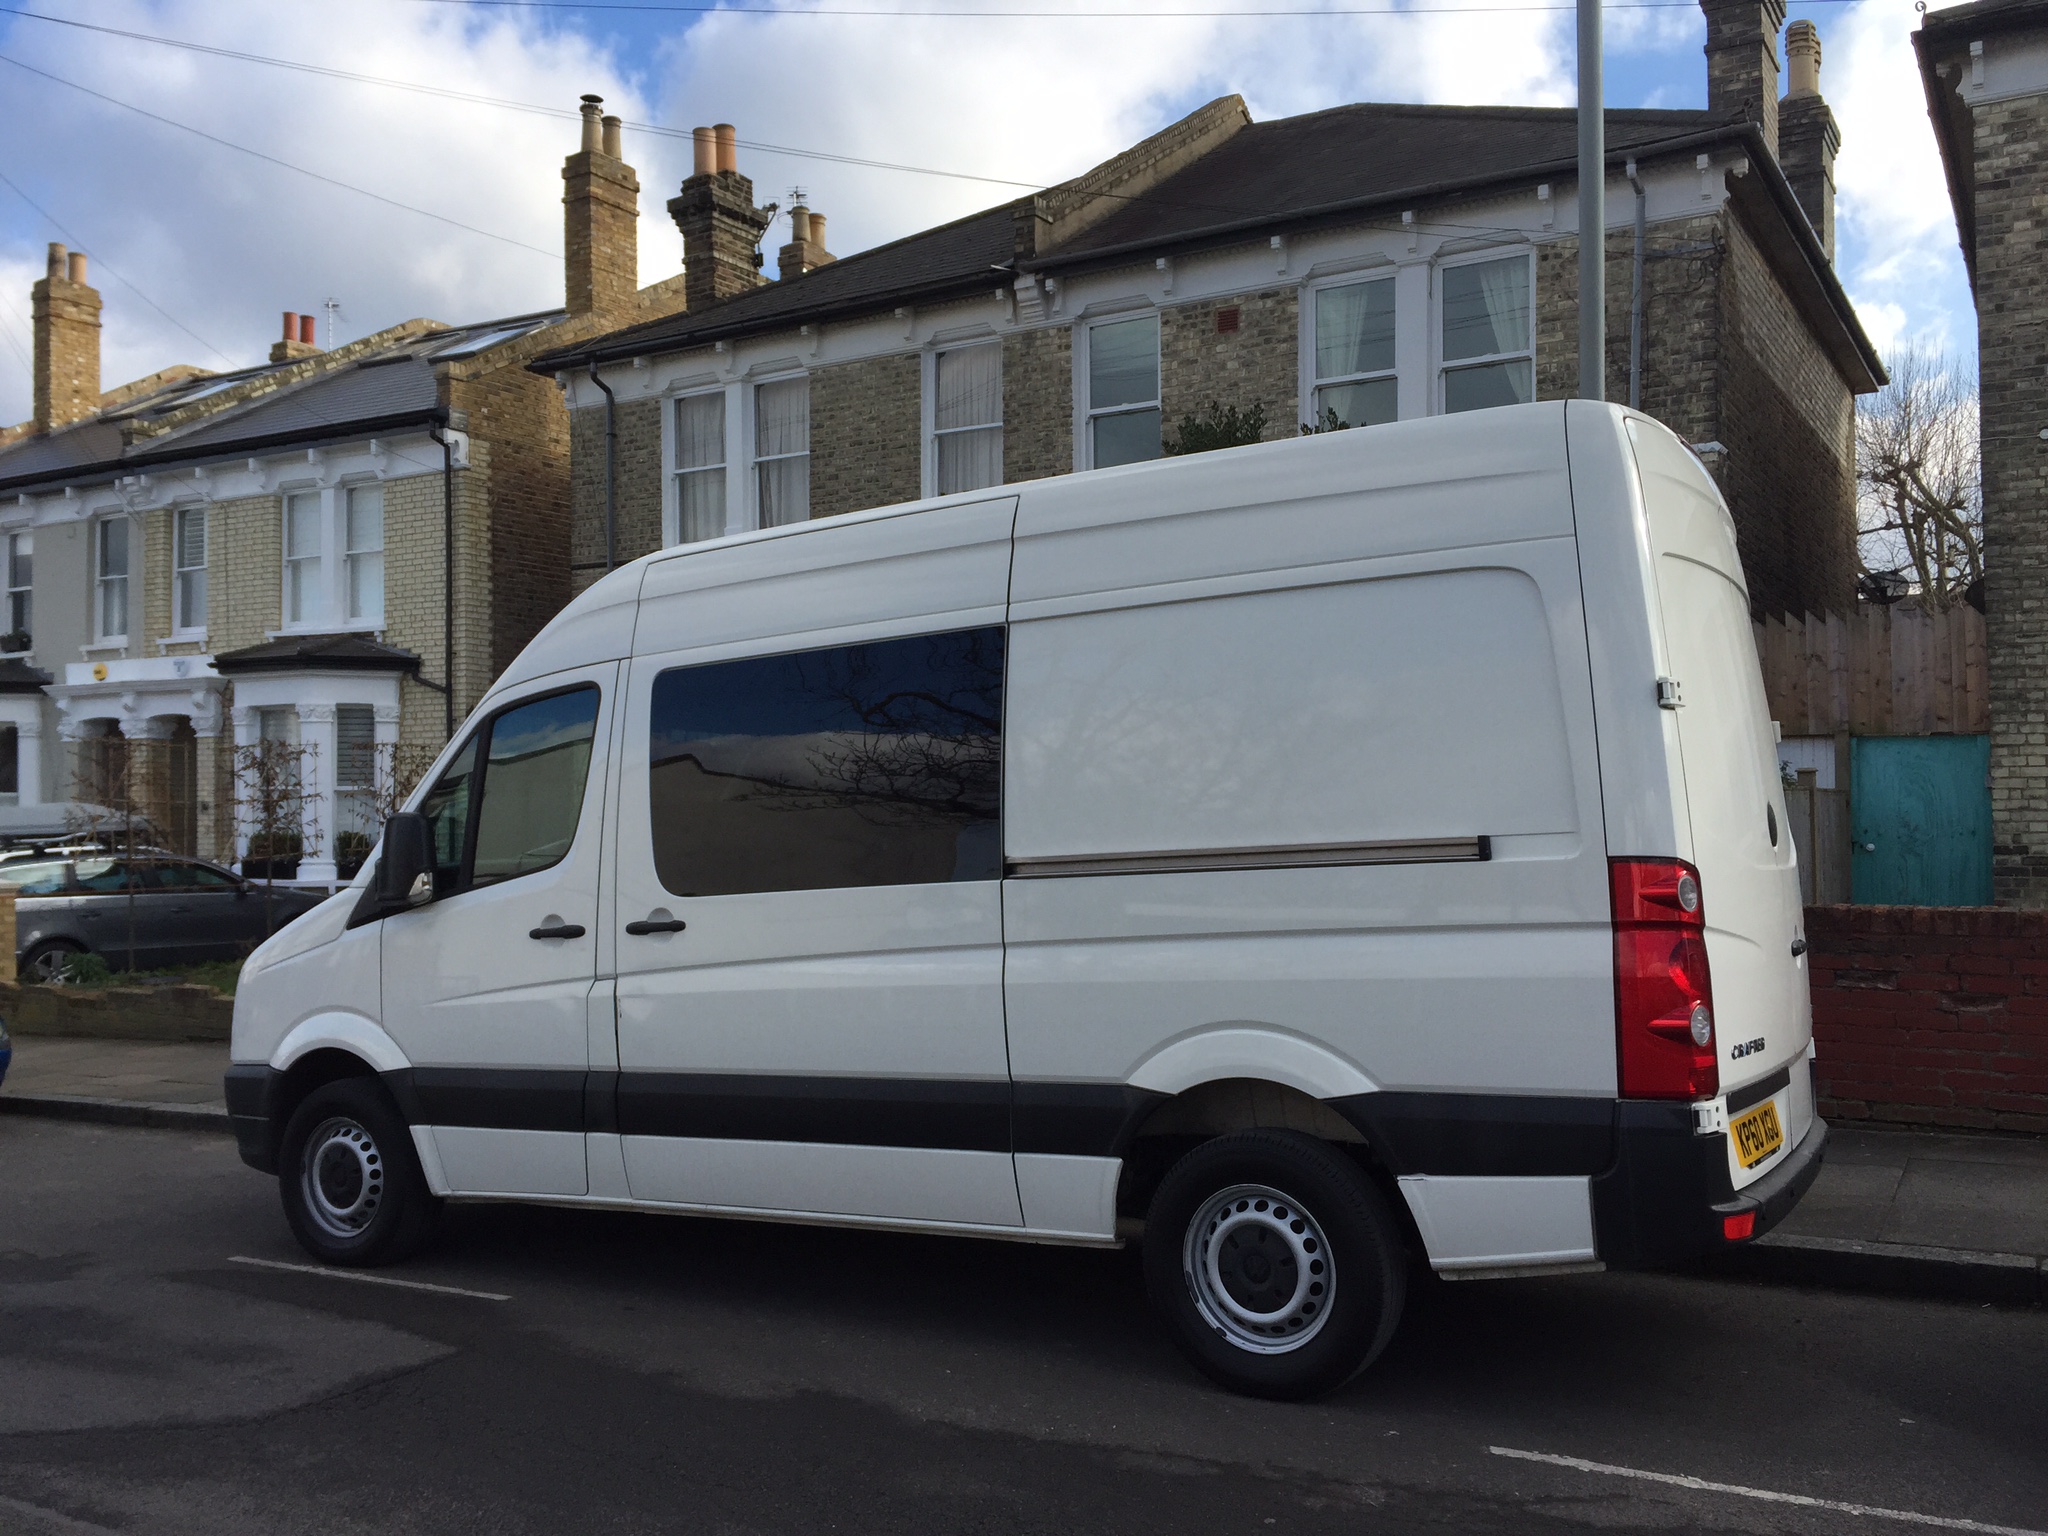
We decided to have three windows, one in the sliding door and two on the O/S. I was not comfortable with cutting large holes in the van, so I outsourced this piece of work to Fastline Autoglazing. They did a great job, so it didn't look like I was driving a delivery/surveillance van around any more:
Making the Floor
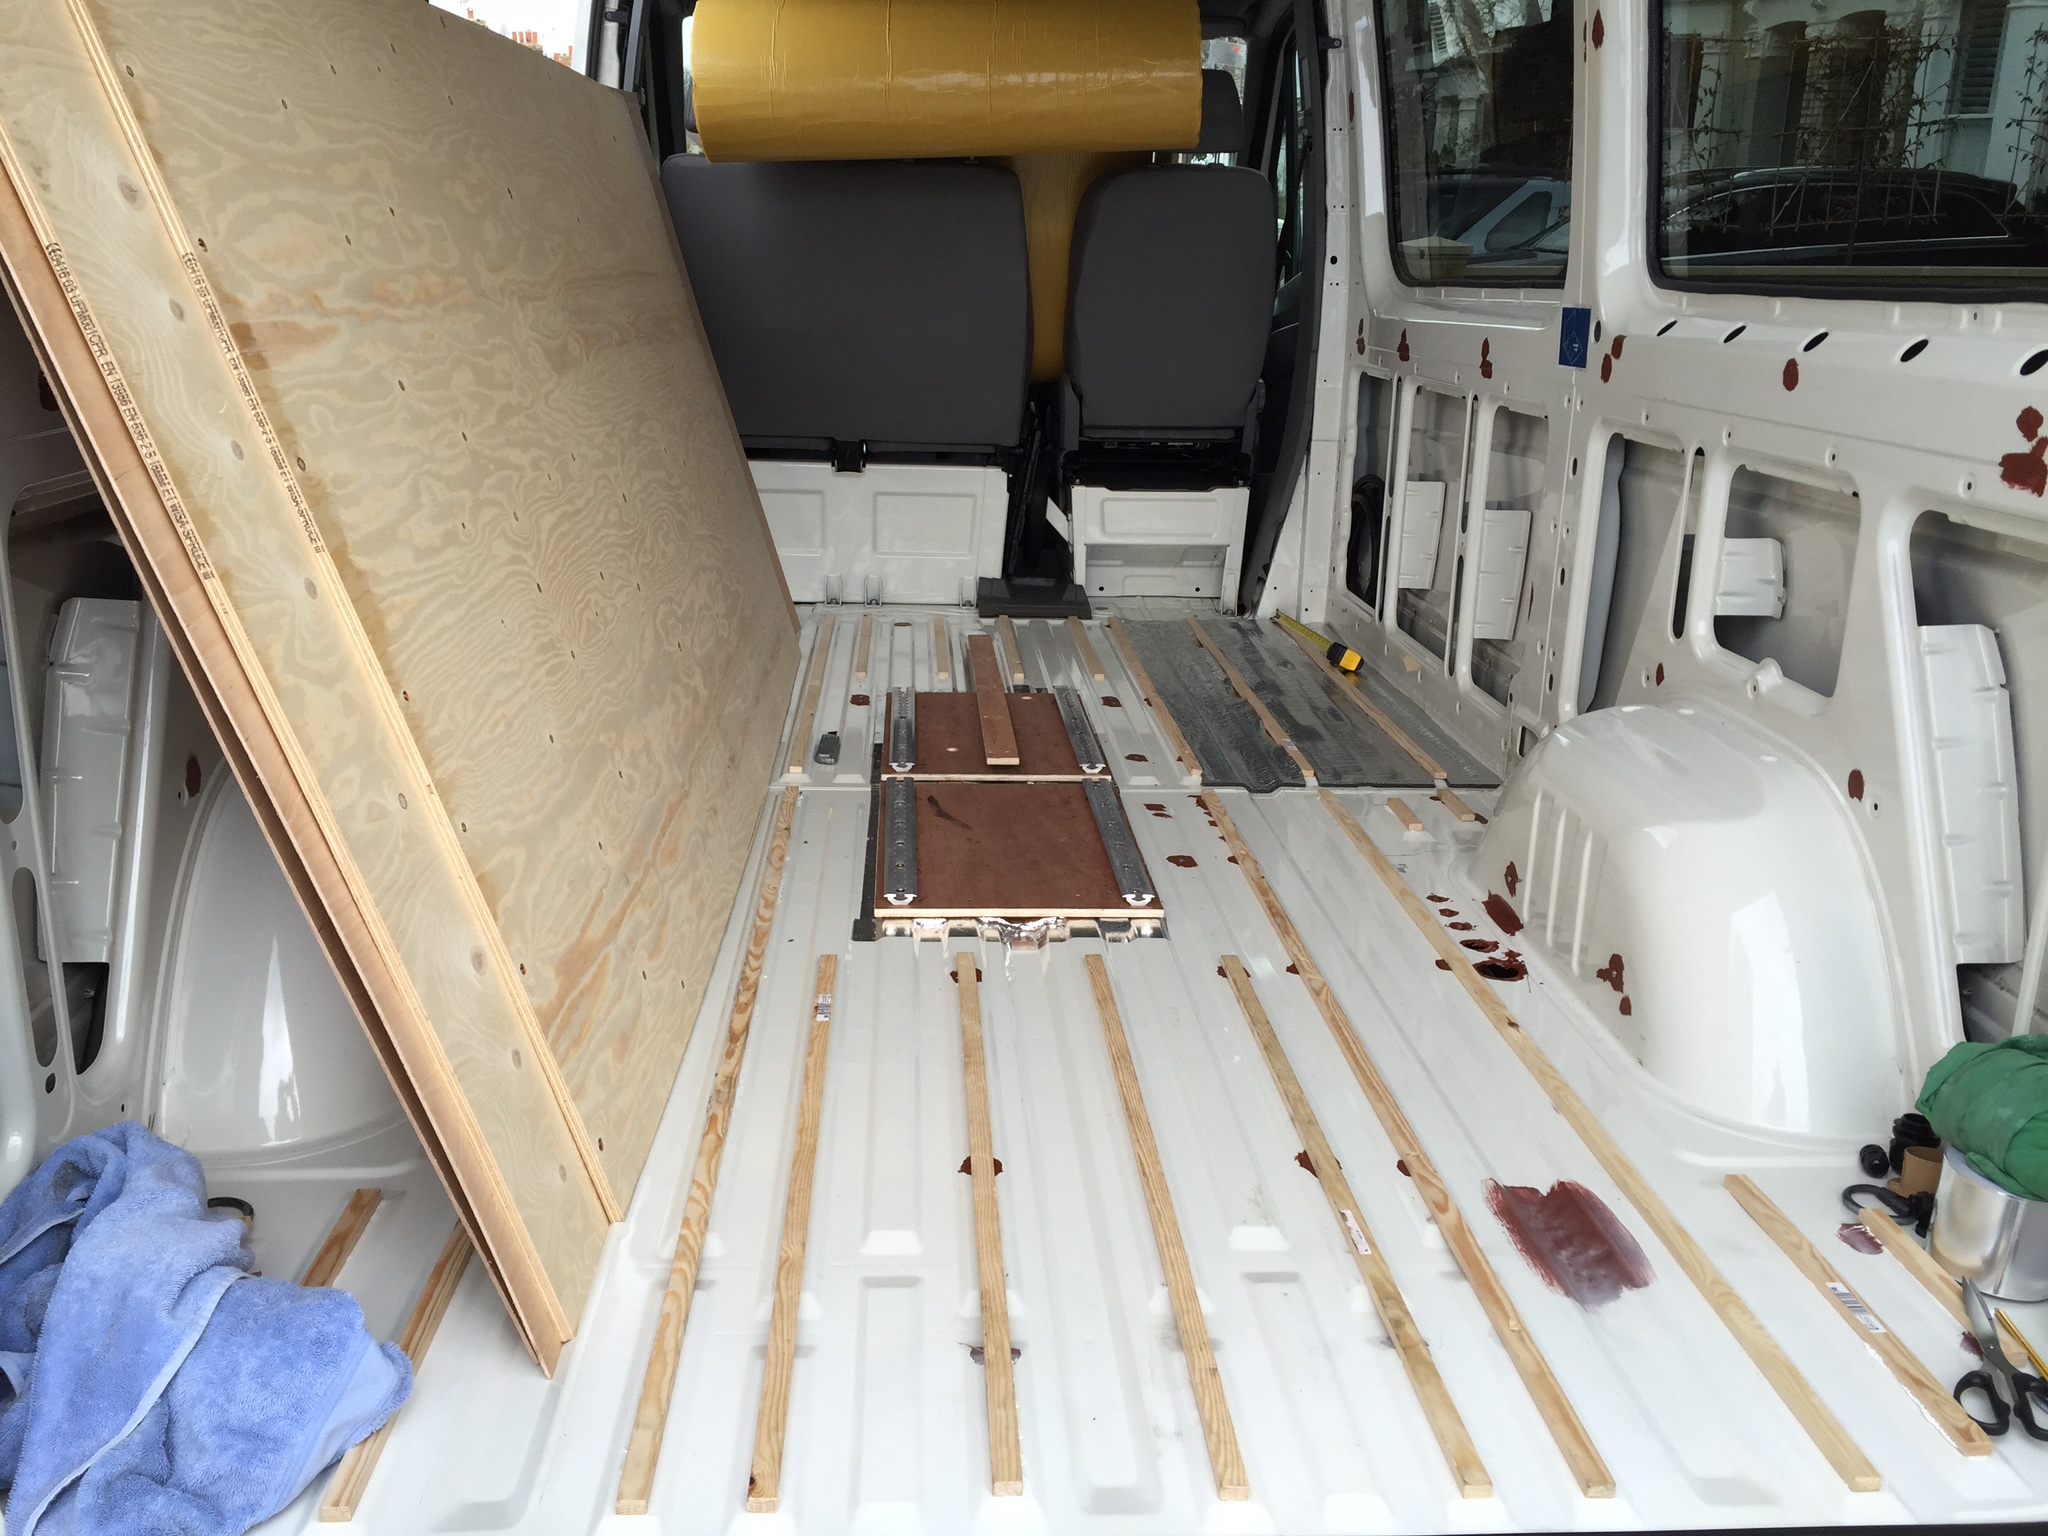
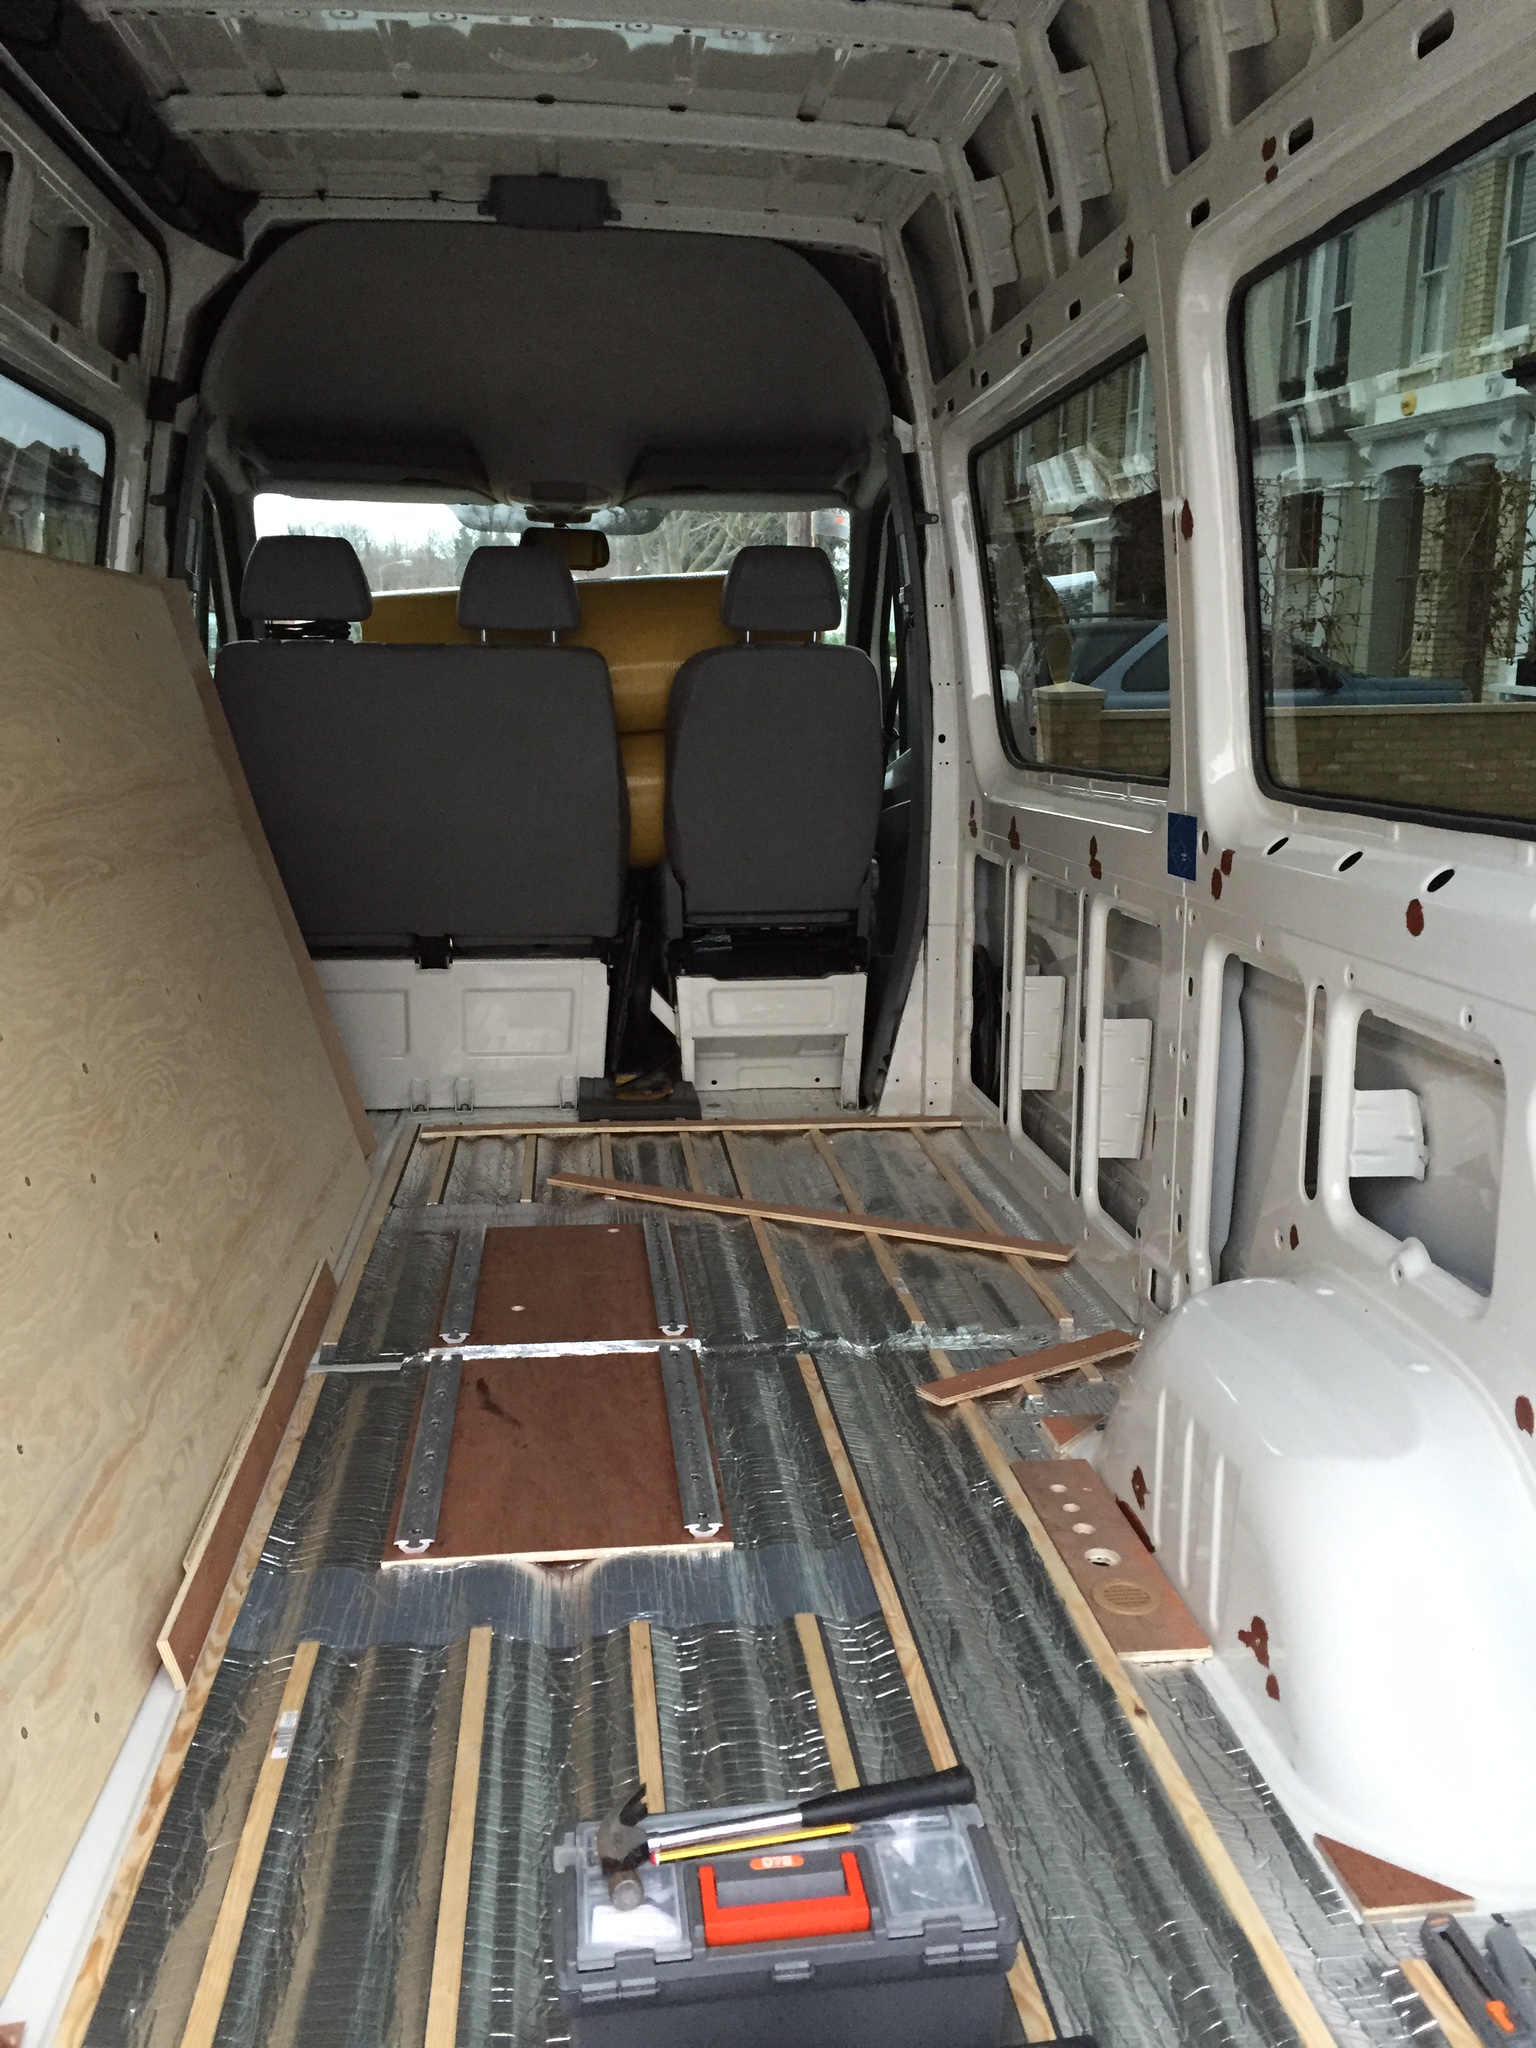
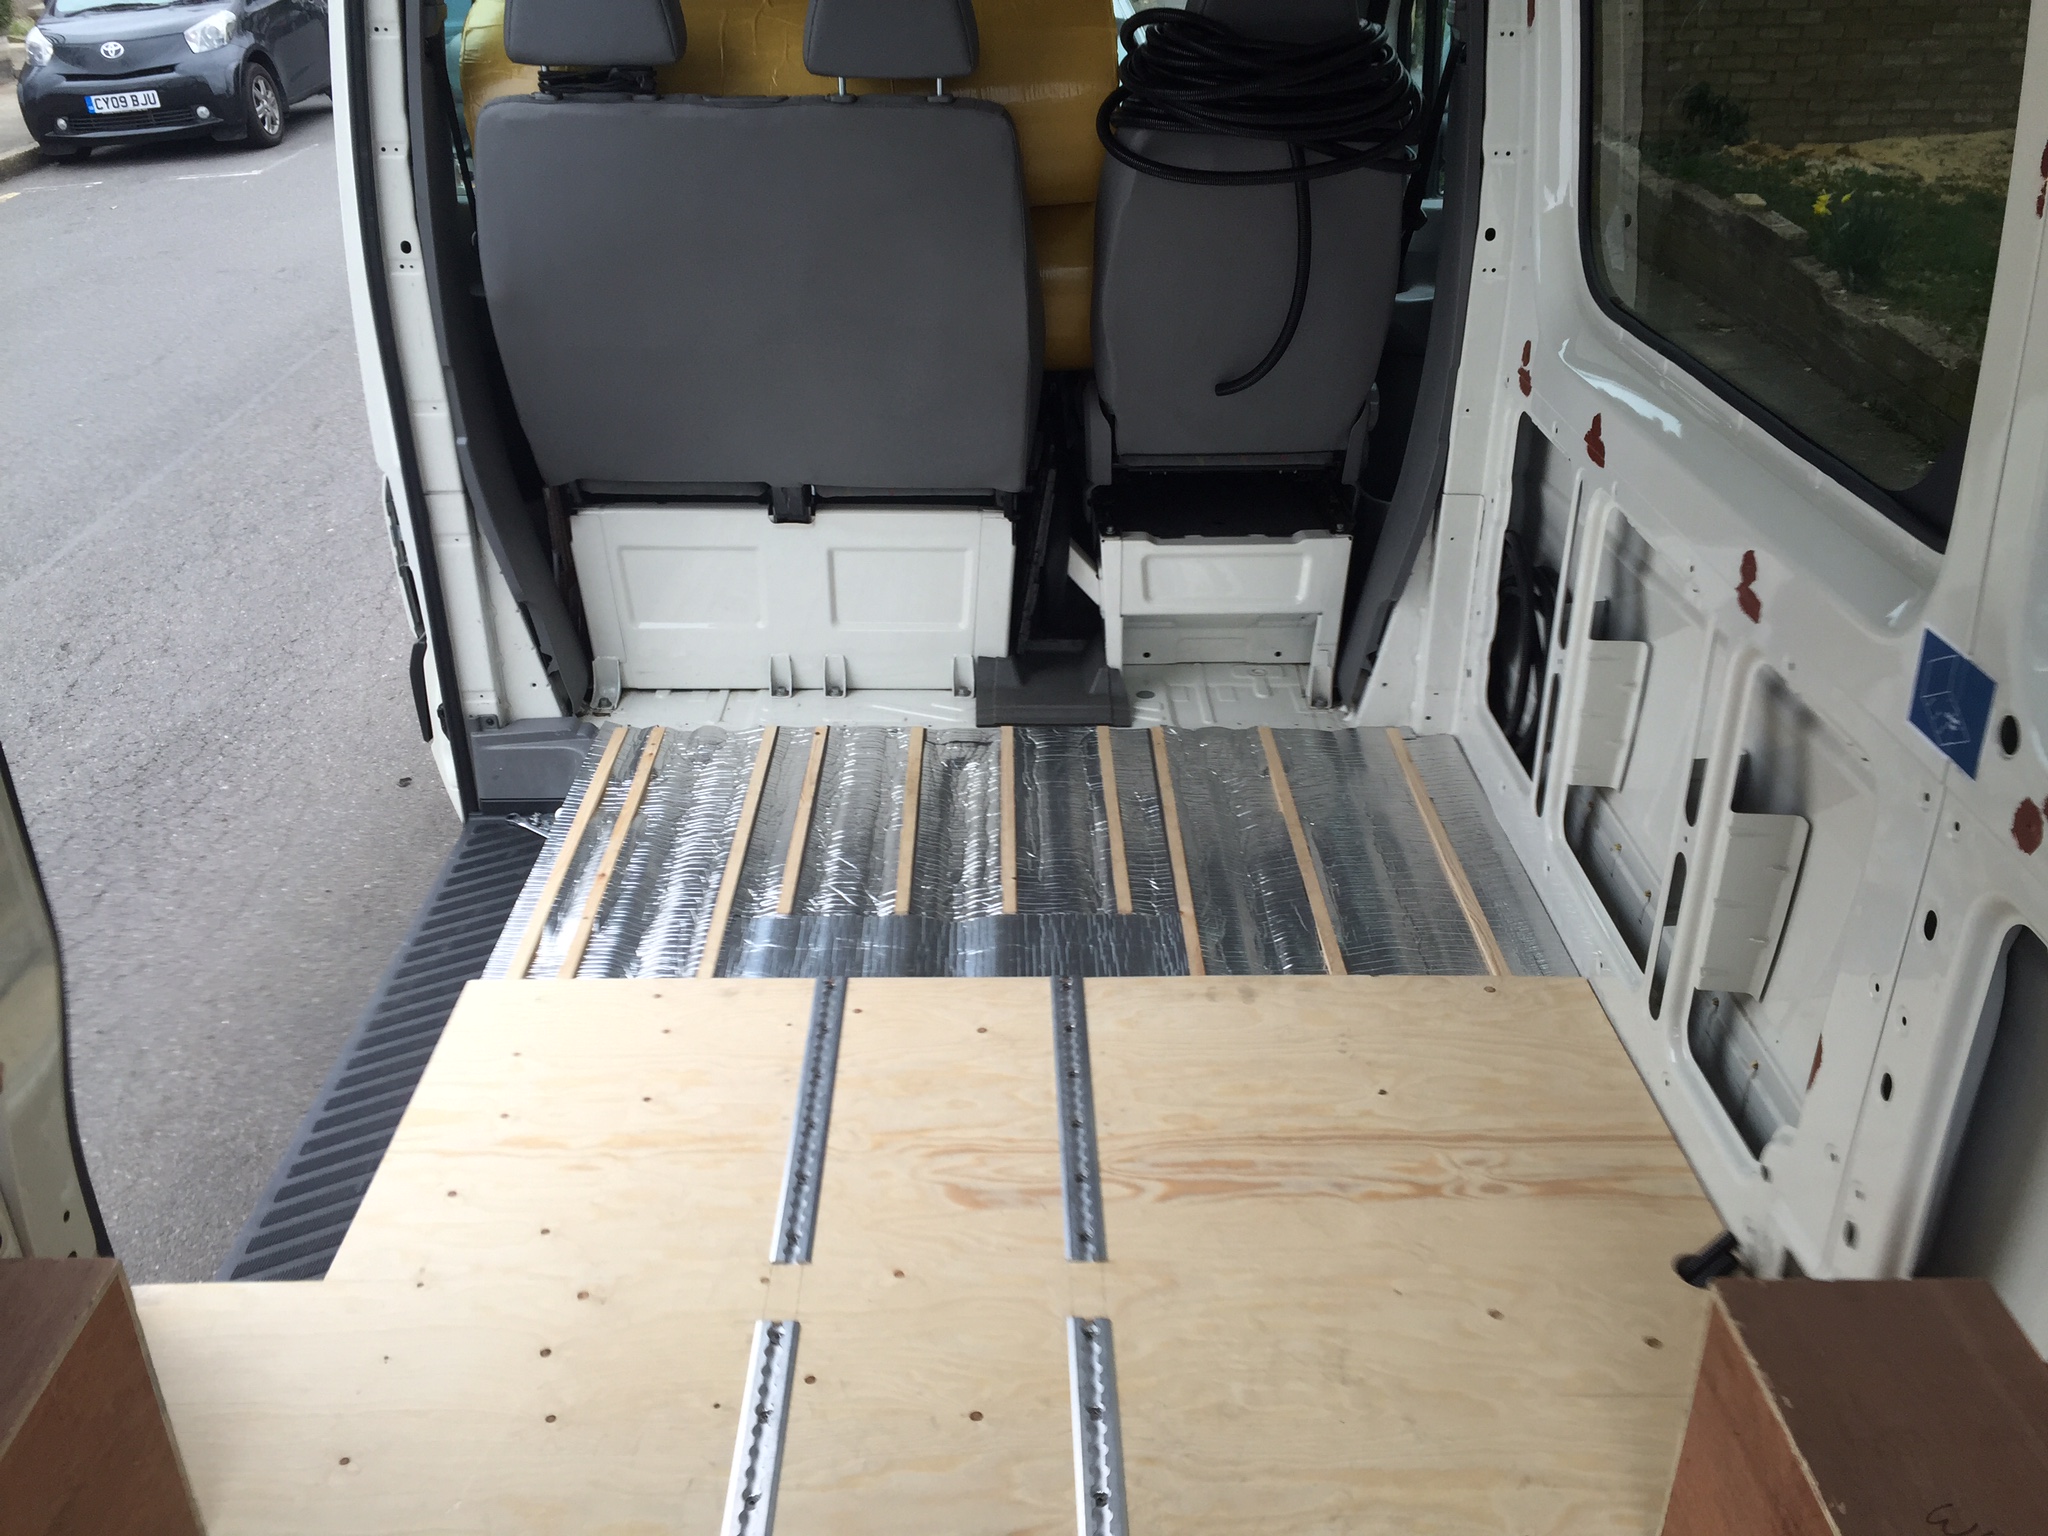
I decided to fit Unwin low-profile seat rails in order to be able to add additional travel seats in the future. If I was doing another van now, I would probably leave this job to the professionals. I ended up making two separate rectangular 12mm plywood supports and measured out two 330mm parallel lines on each. I then insulated the floor underneath with thin aluminium tape and between the raised floor ridges, strips of Thermoliner insulation. After that, I aligned both plywood supports with the floor ridges as best as I could and drilled holes through the floor for M6 bolts to go through.
Get an Unwin rail tracking jig from somewhere as this will make it easier to align the rails and make them perfectly parallel. Also think ahead how you are going to cut your floor plywood sheets around these rails. Note down where your rails start and and how long your plywood sheets are. Ideally you would want your ply sheet to come up tight against the end of the rails. Also, before drilling the holes in the van body, have a look underneath where the bolts will come out. In my case, I ended up with some holes inside hollow support beams, which made it almost impossible to fit and tighten the nuts. Finally, don't put the nuts on until you've finished the floor, as you will need to remove the rails before sliding the floor sheets in.
The next job was to glue down the timber to support the plywood floor. I used Richard Burbidge Pine Stripwood 12mm x 21mm x 2400mm for this and glued them down with Sikaflex 221 white adhesive.
Make sure to have enough bricks or something heavy to weigh down all the strips and get a better bond.
I also made some holes by the O/S wheel arch for utilities (e.g. fresh water, waste water, gas, electrical and installed a 75mm floor vent). I screwed in cable glands of appropriate diameters (M16/M20/M32) to receive the pipes/cables at a later stage. My plan is to route water and gas underside and bring all the pipes through these glands into a sort of a utility closet, which will have the gas manifold and would probably house the water pump as well.
After the glue set, I insulated between the supports with peel-and-stick Thermoliner insulation, which is an expensive material, but well worth the money.
Once the insulation was in place, I routed 2x25mm corrugated conduits to from O/S to N/S of the van in the deep trenches between the raised floor ridges to run electrical cables later on. I am planning to pull the cables through using light string and a vacuum cleaner.
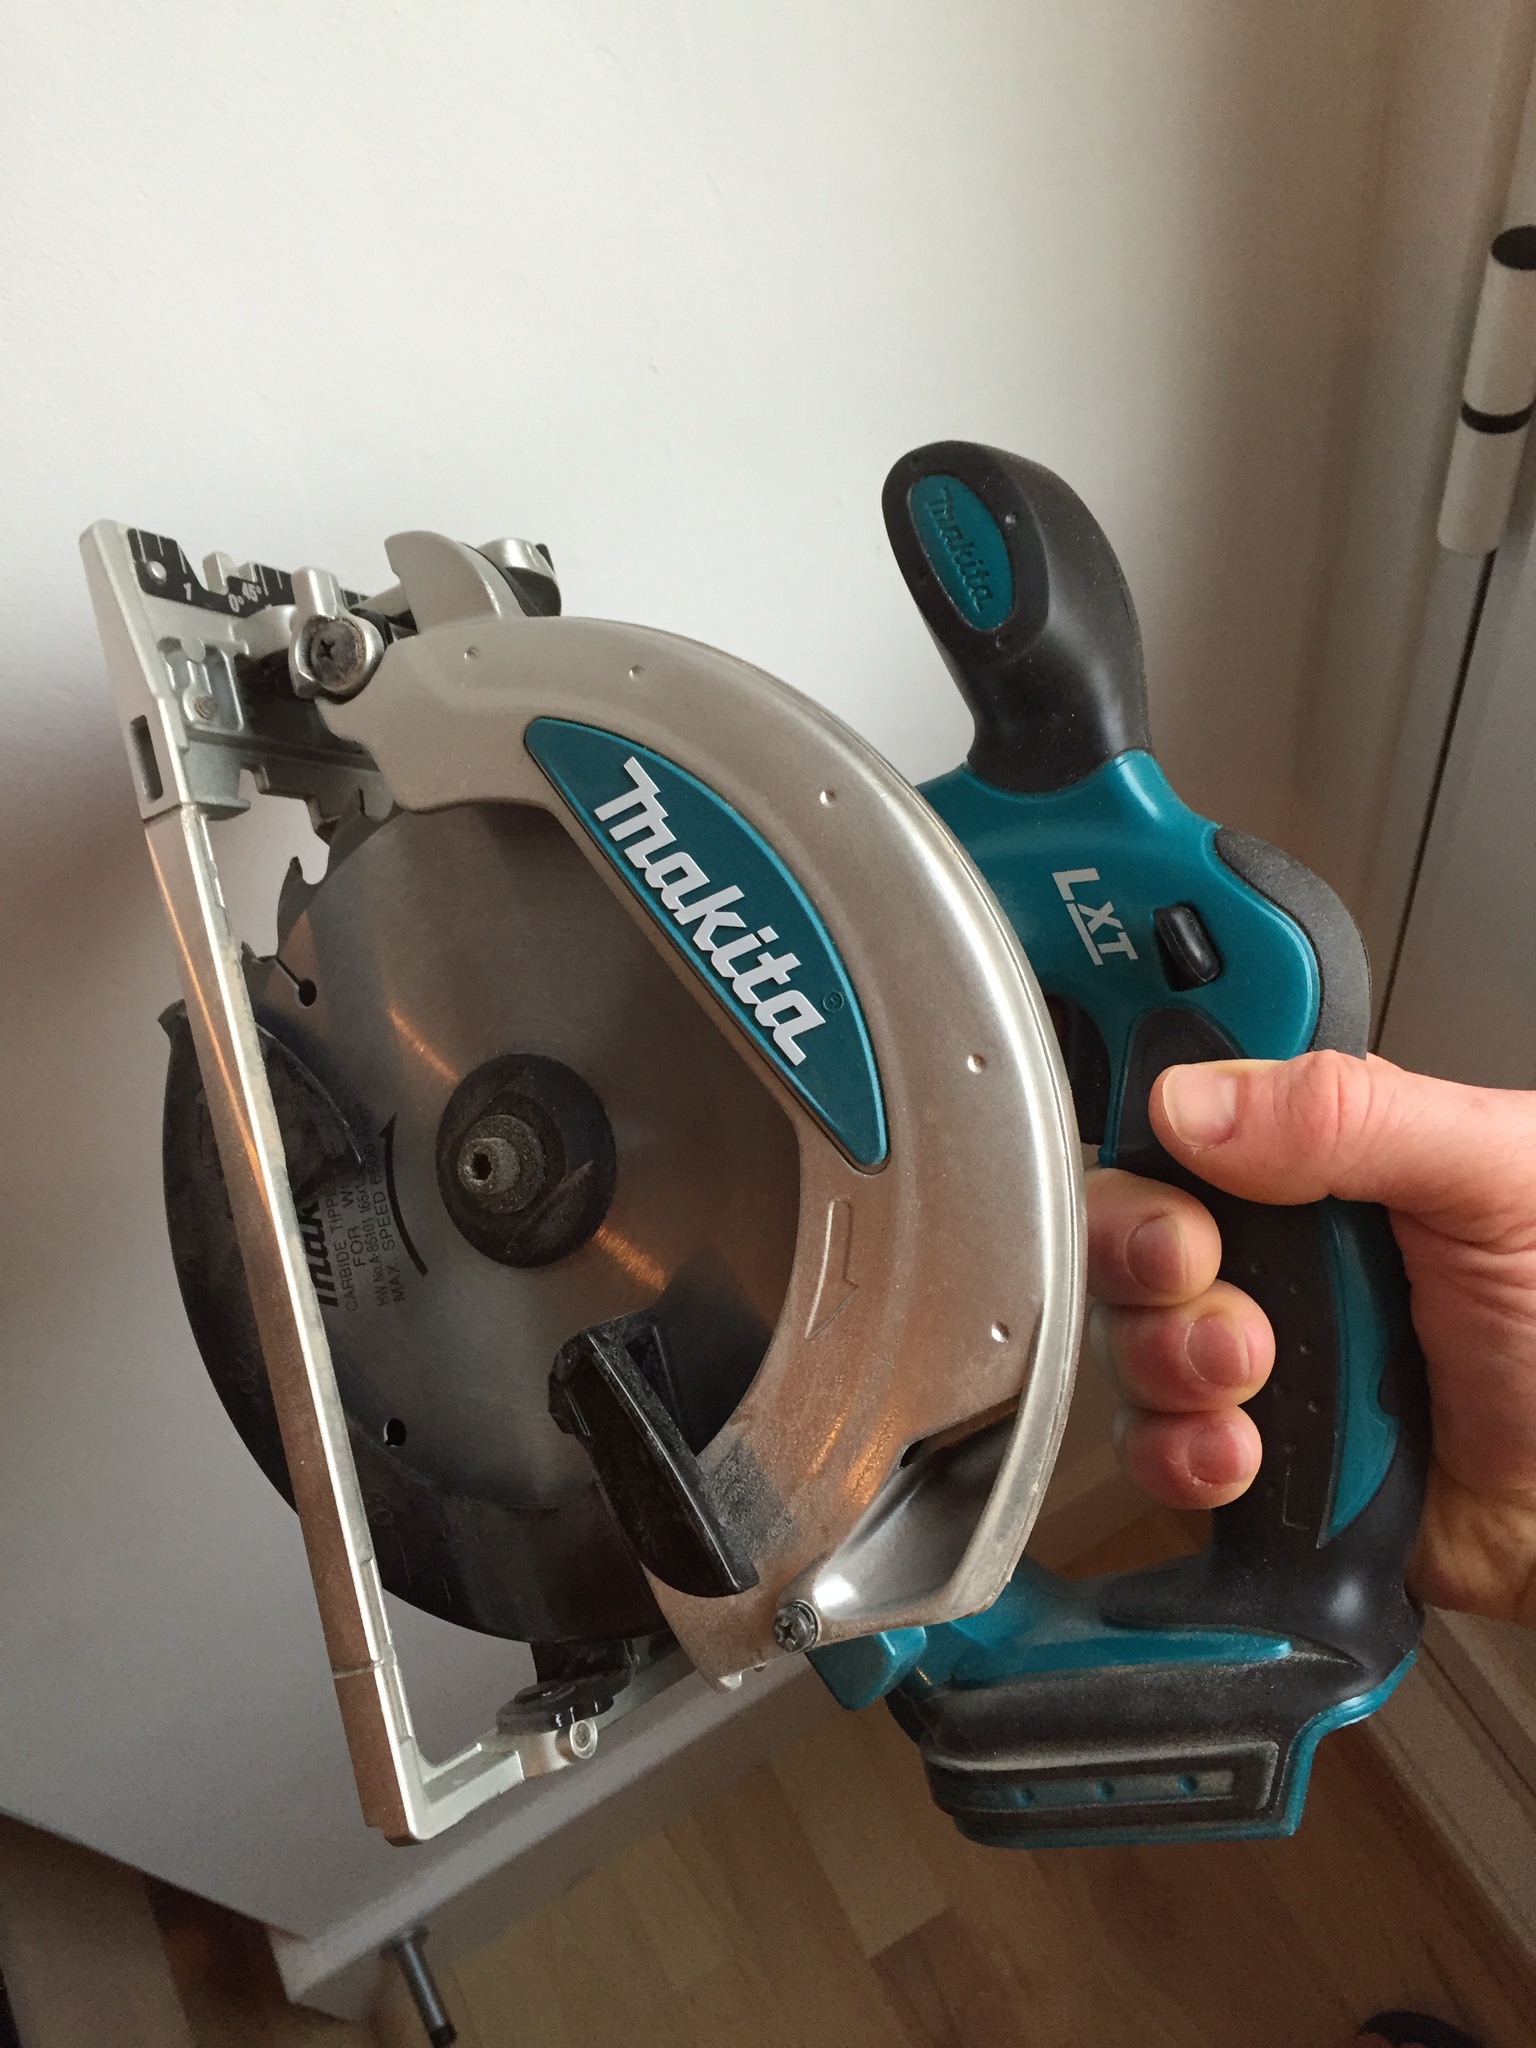
The next step is to get one of these, if you don't already own one:
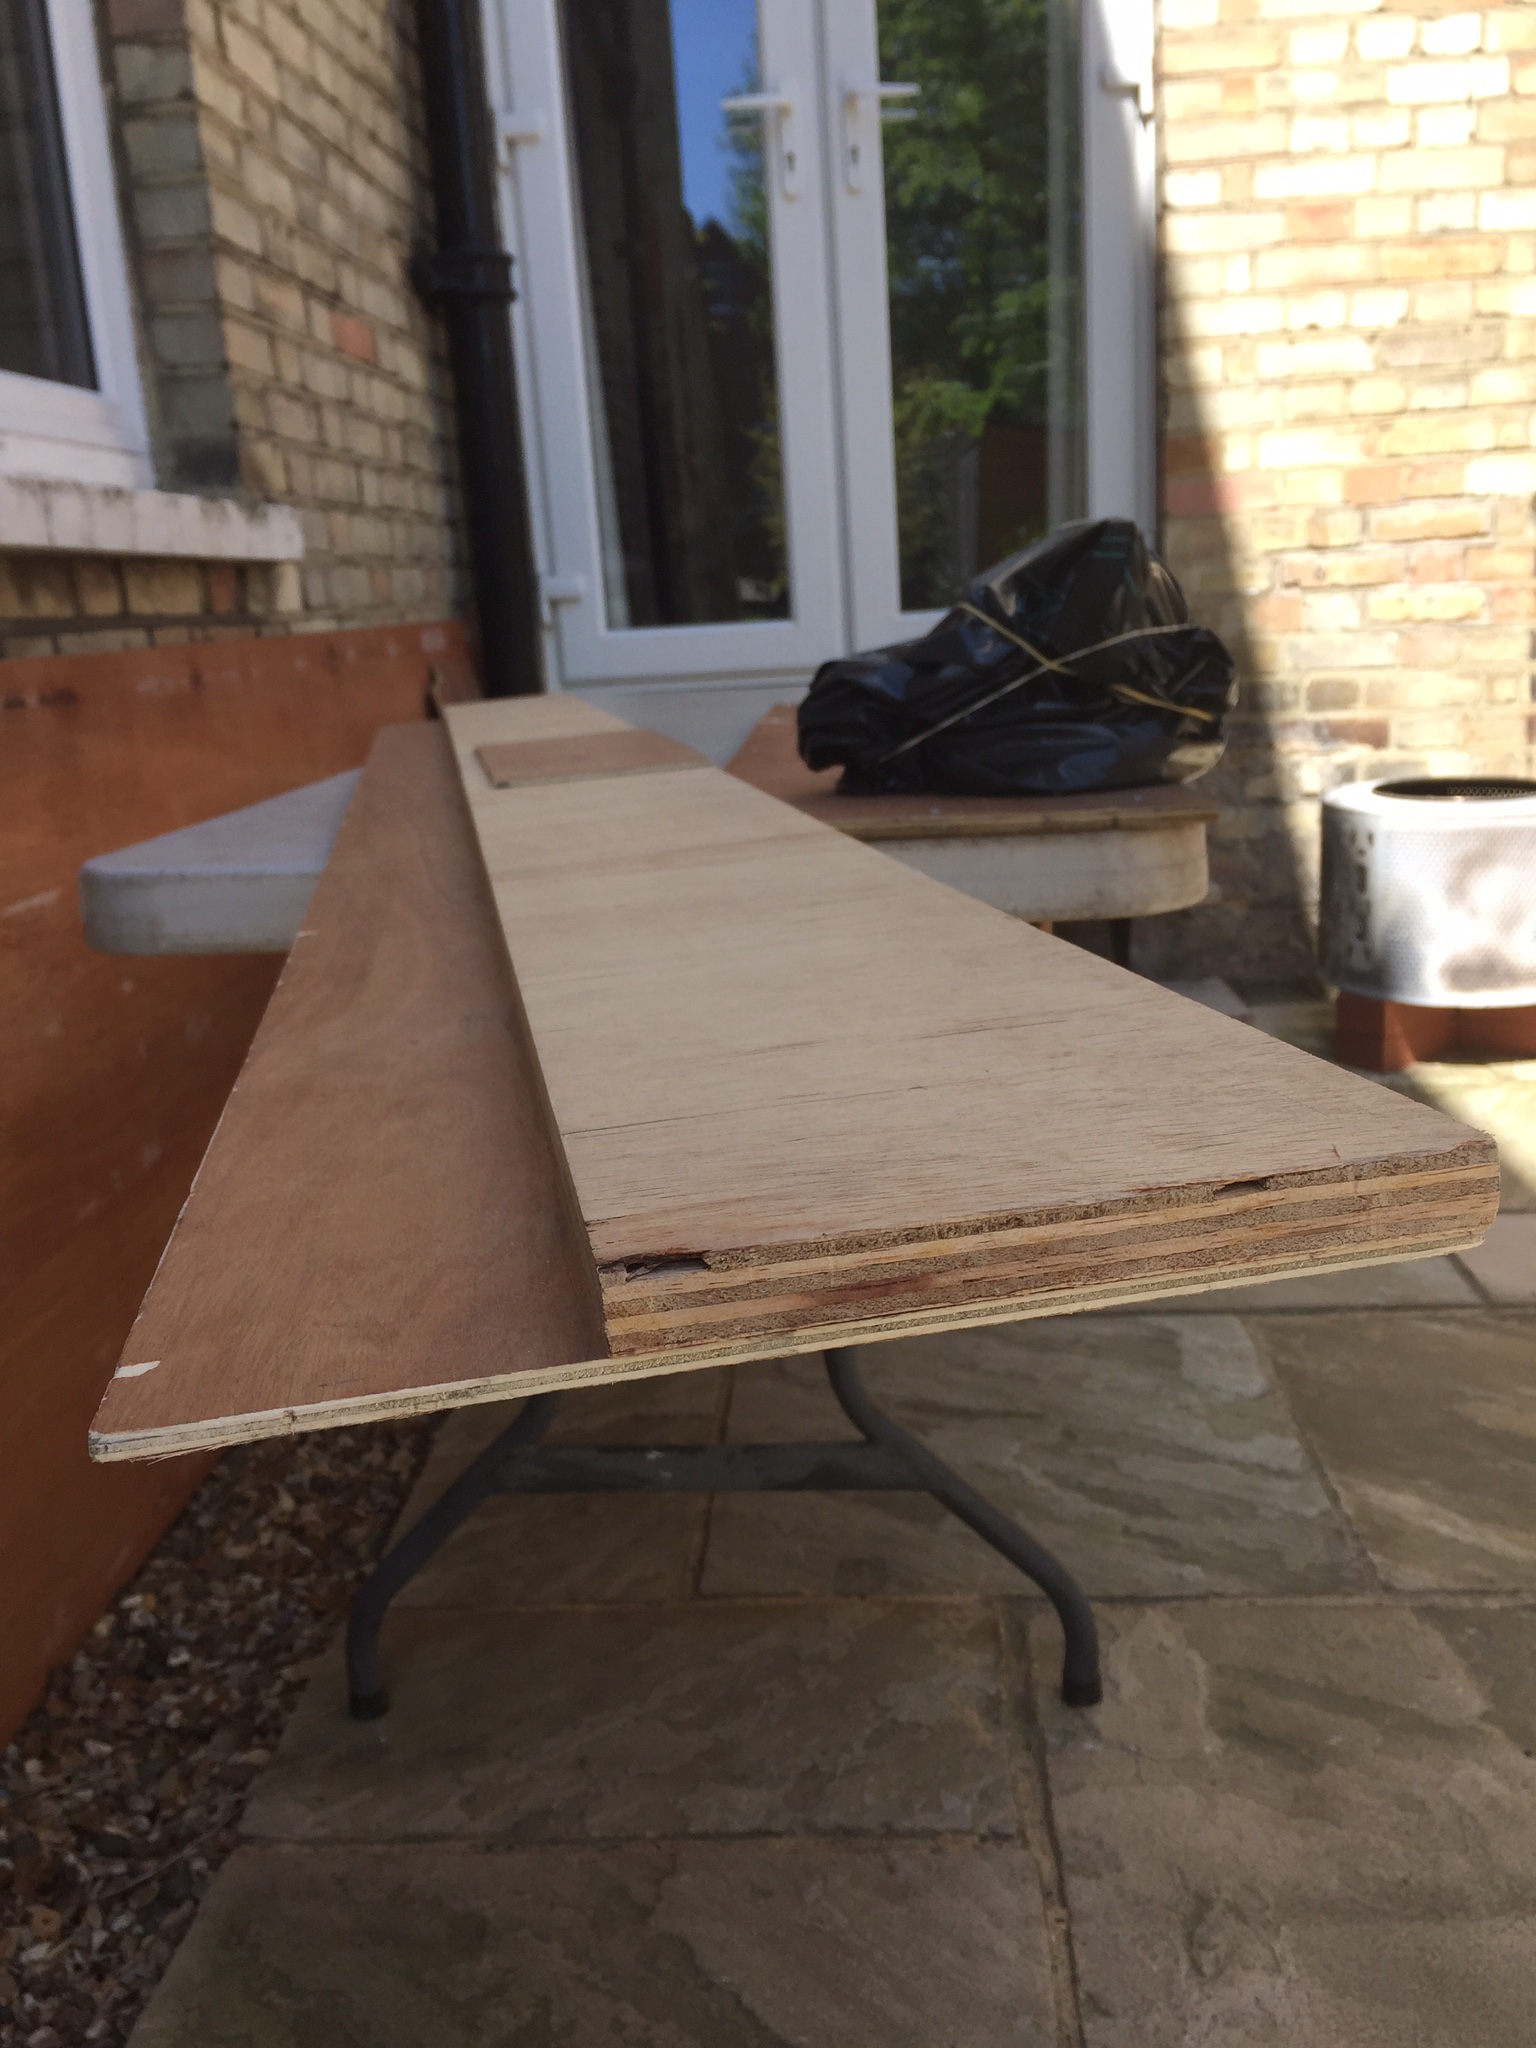
Also build/buy a straight line jig, so you can cut straight lines, otherwise it all very quickly becomes boring and expensive. If you are building it yourself, have a look at this video:
In any case, this is what I made from left over bits of plywood:
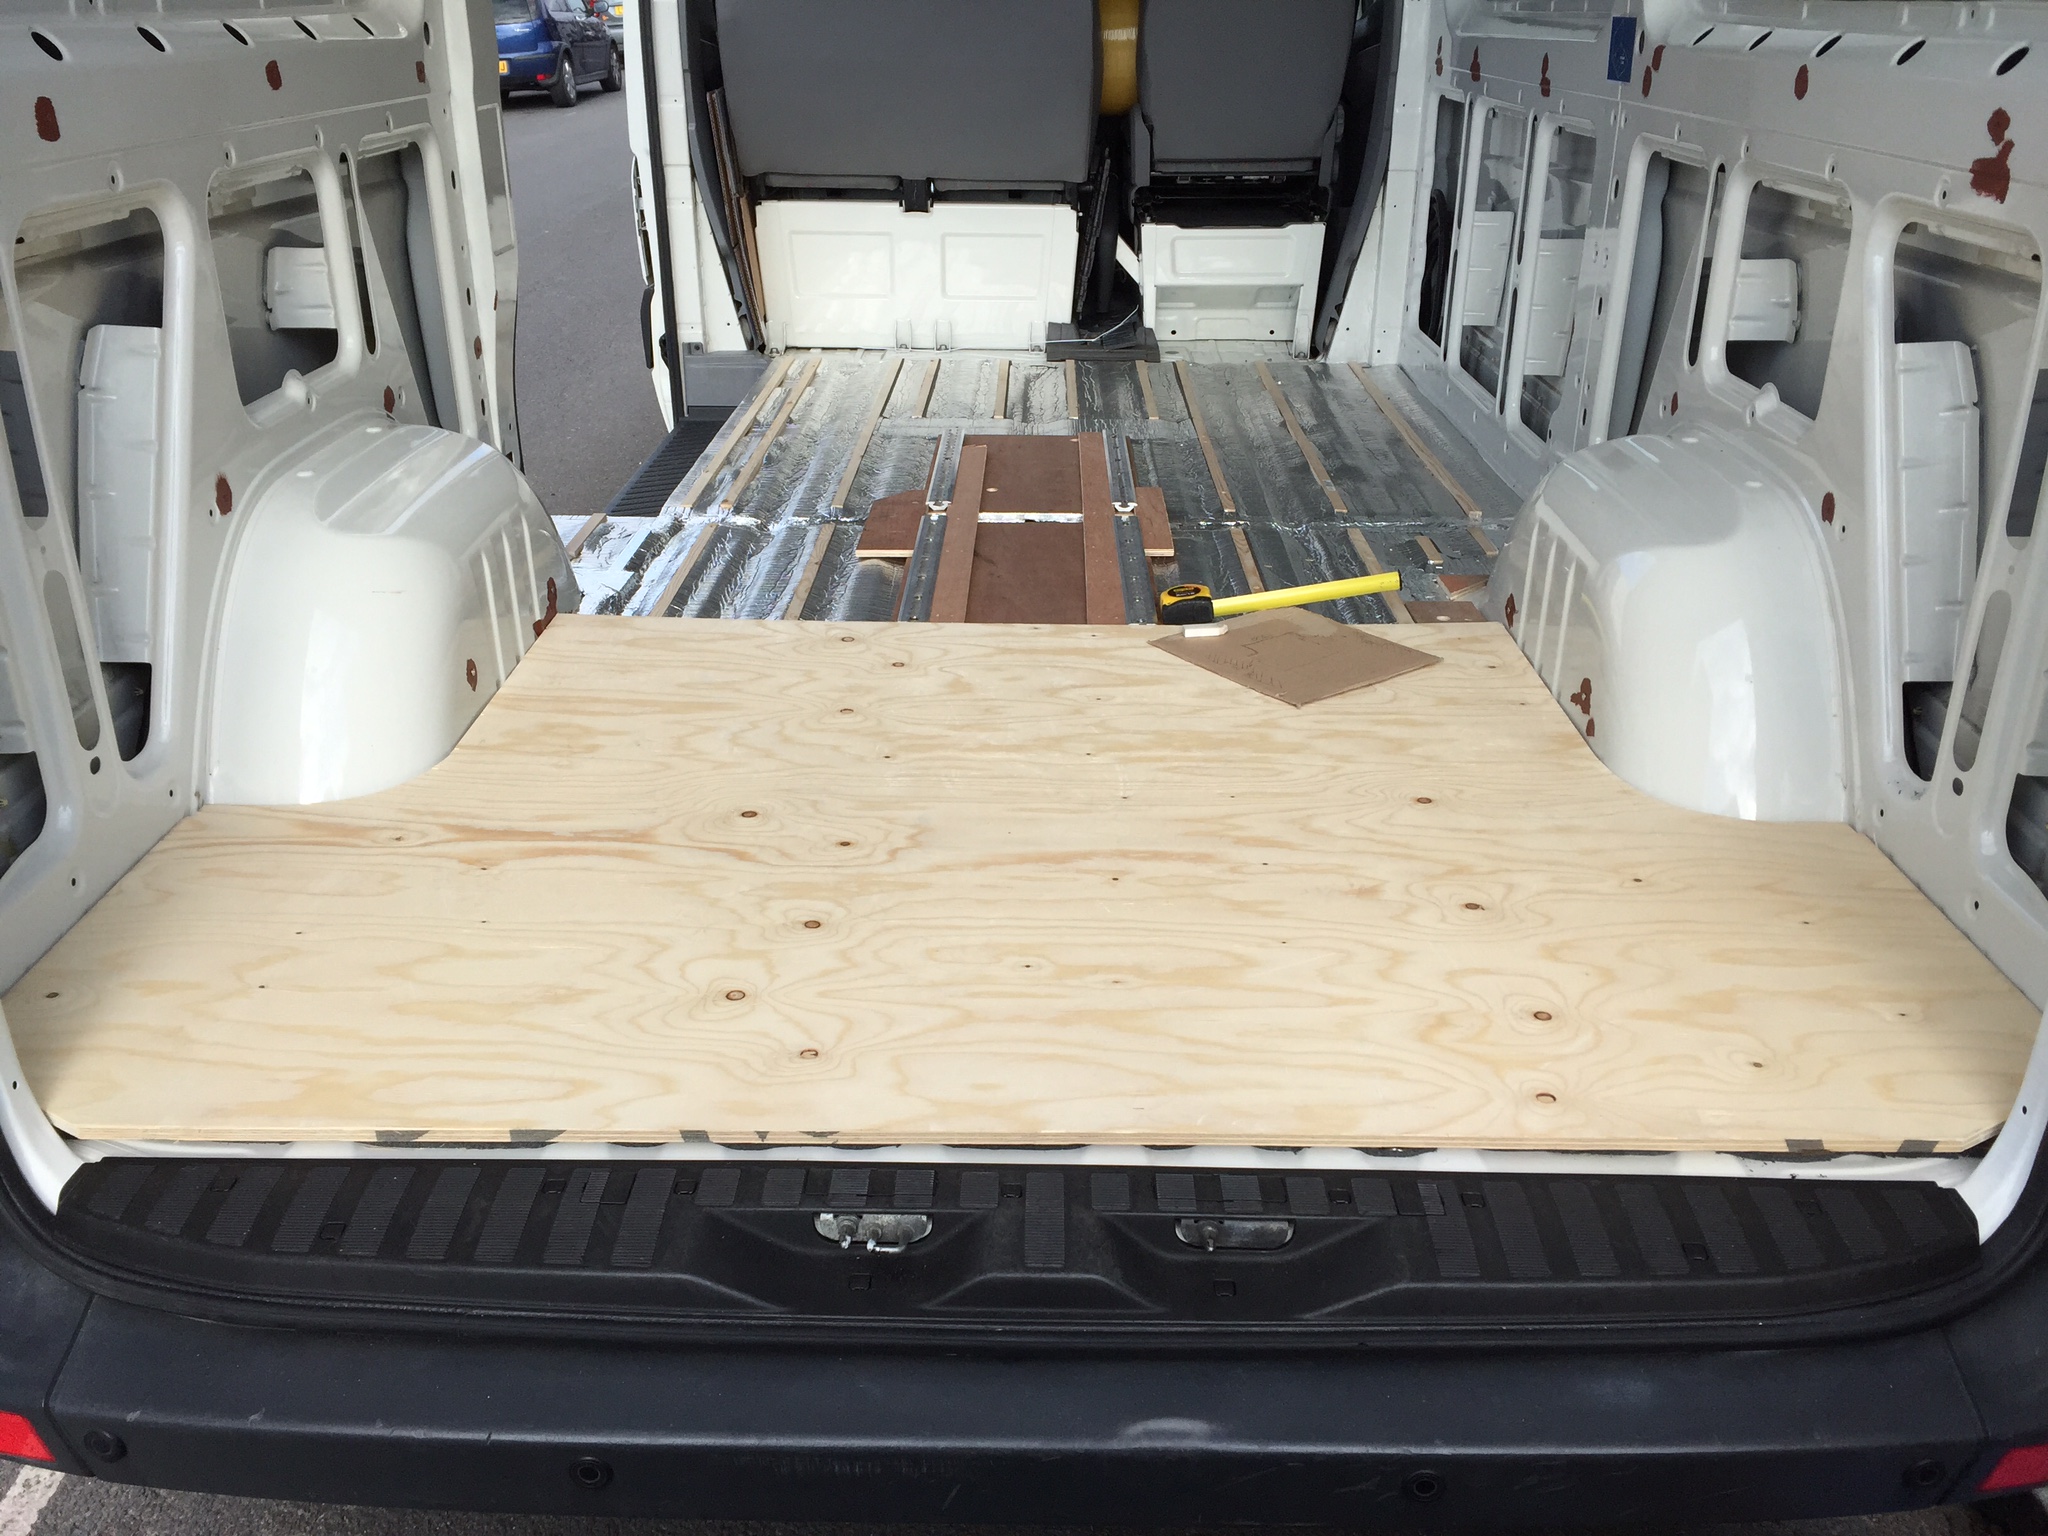
I used WISA-SPRUCE PLY 2440X1220X12MM sheets from Travis Perkins for the floor, which I've cut to run parallel with the wheel axis. All in all, I needed three sheets for this MWB van (~ 3.2m long).
Measure twice, cut once, as the saying goes.
The low-profile Unwin rails should end up sitting flush with the 12mm floor. I didn't install the last piece until I replaced the front bench seat with a single passenger seat on a swivel.
Once the floor sheet was down, we tightened the seat rails down with the supplied bolts, nuts and washers.
Because I already tightened the nuts once before laying down the floor pieces, some of the bolts got bent slightly due to the uneven nature of the underside. When trying to use these one final time, they ended up seizing with no way to undo them without an angle grinder. Moreover, one of these bolts was inside a bulk head, with only a small hole to reach it. We decided to leave those as they were. With six bolts holding each rail, it should be OK to have two of these a bit loose.
If I were to do the floor again, I would probably order a ready made version from eBay Mercedes Benz Sprinter, VW Crafter Van Floor Medium Wheel Base 2006 onwards and just cut out the rail openings. It would save time and frustration, although probably cost more.
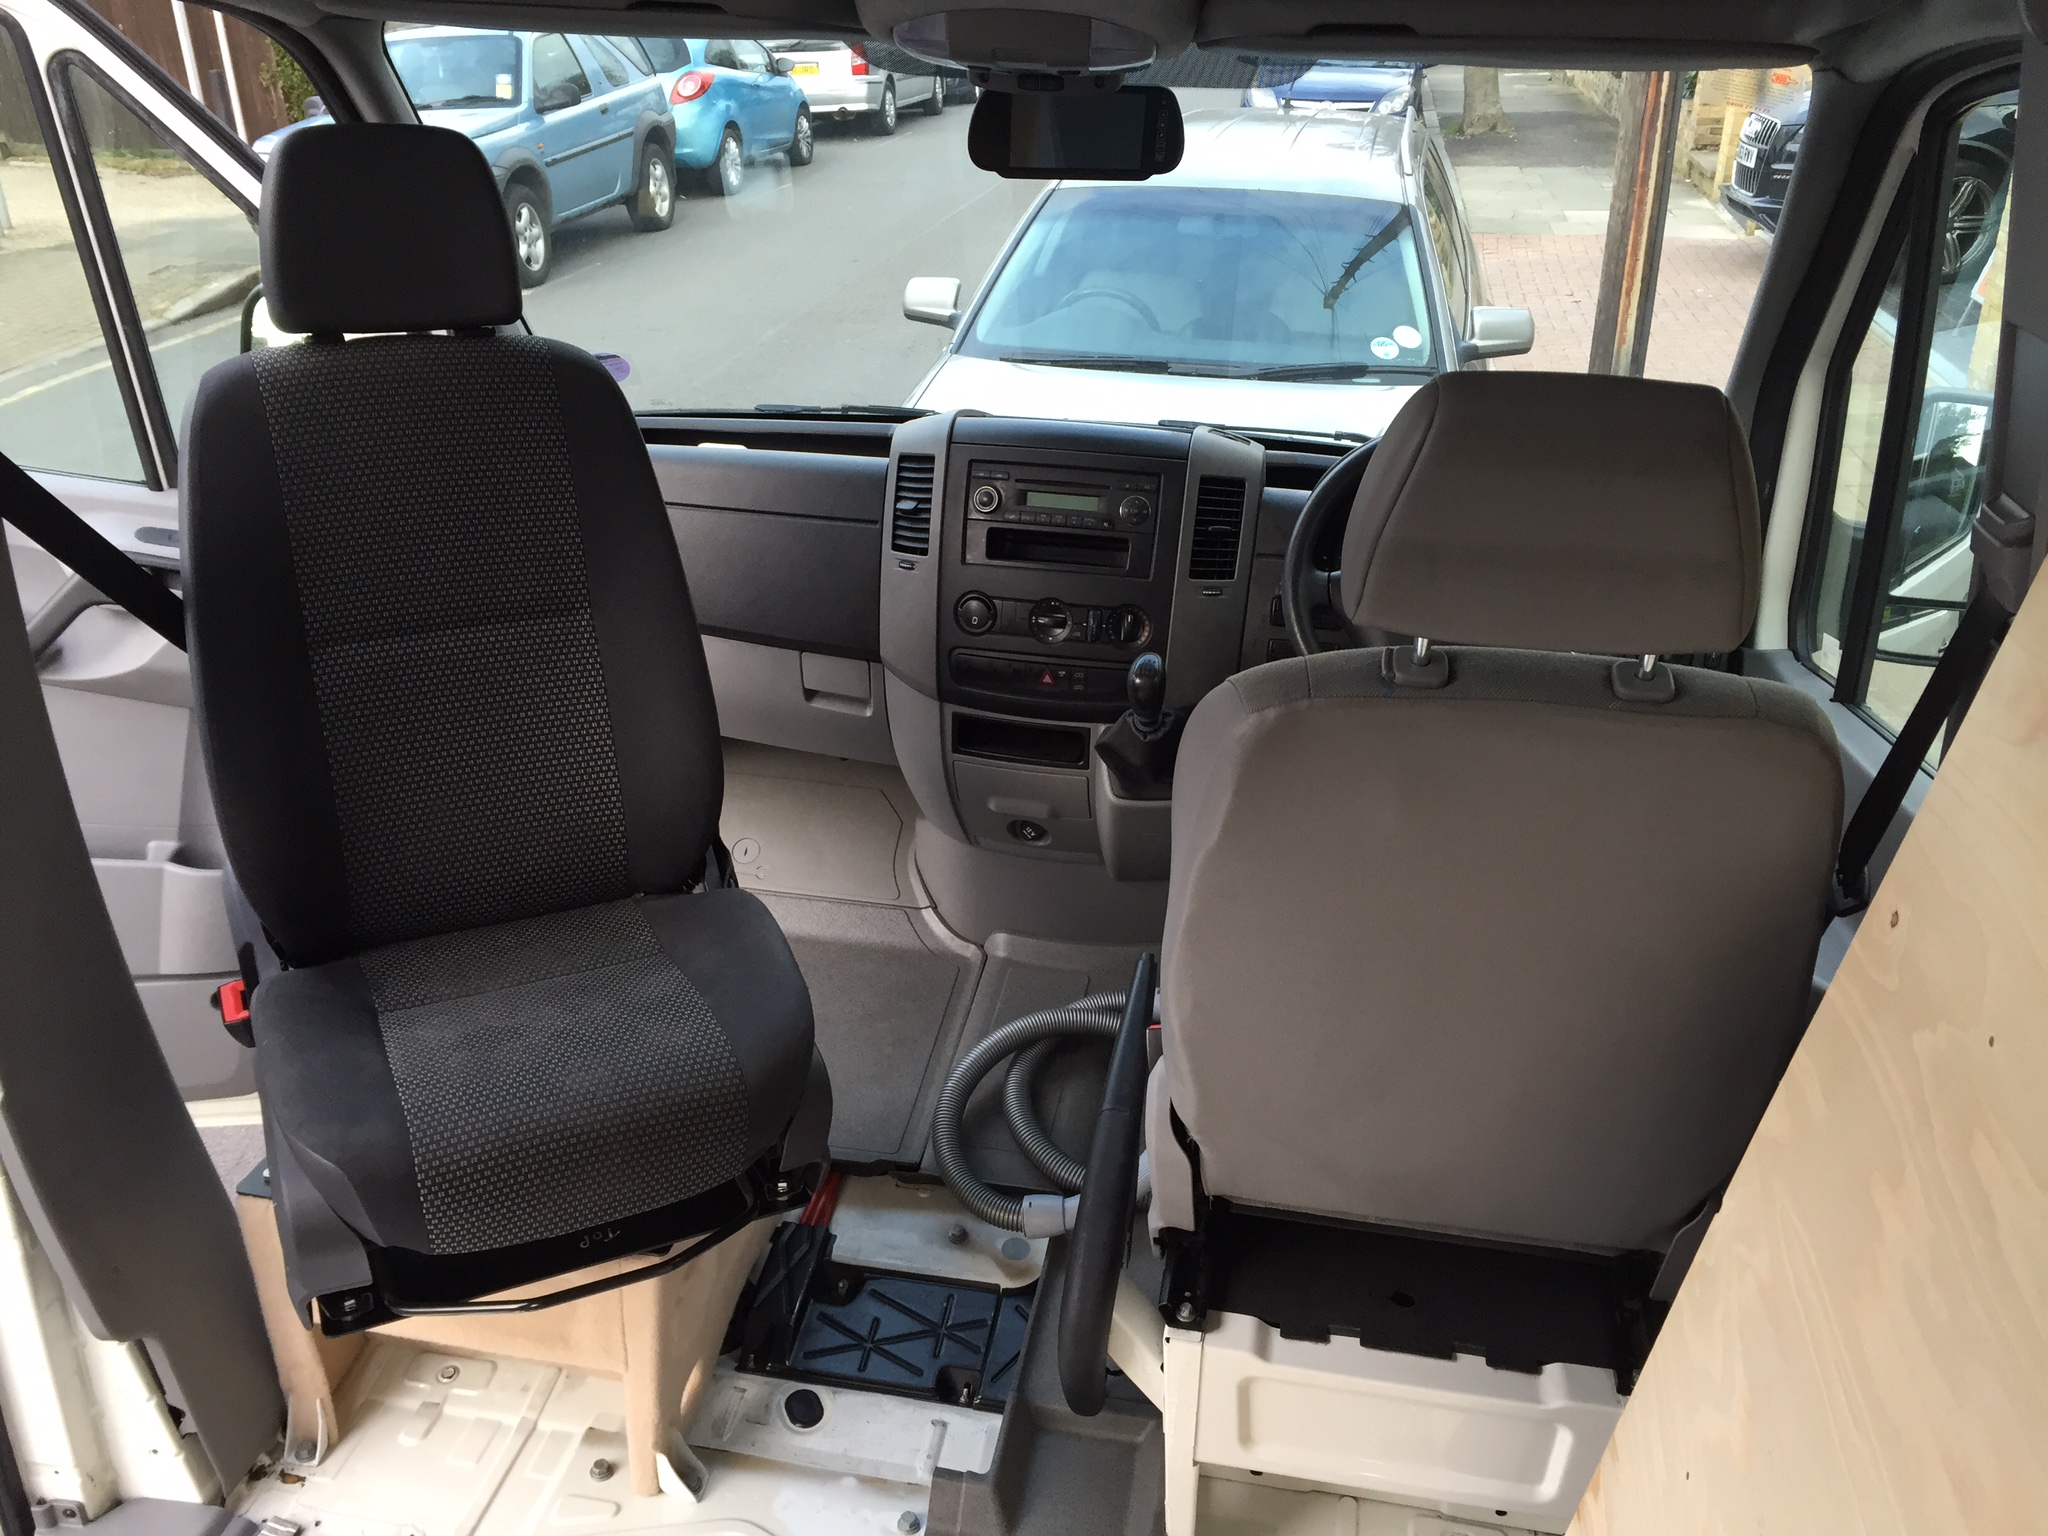
Single Passenger Seat
Since my wife and I are planning to be the only people using this thing, I decided to replace the front double bench seat with a single passenger seat I acquired from eBay. The seat and base box were actually from a Sprinter of similar vintage and so were compatible, as Crafter/Sprinter essentially share the same body design.
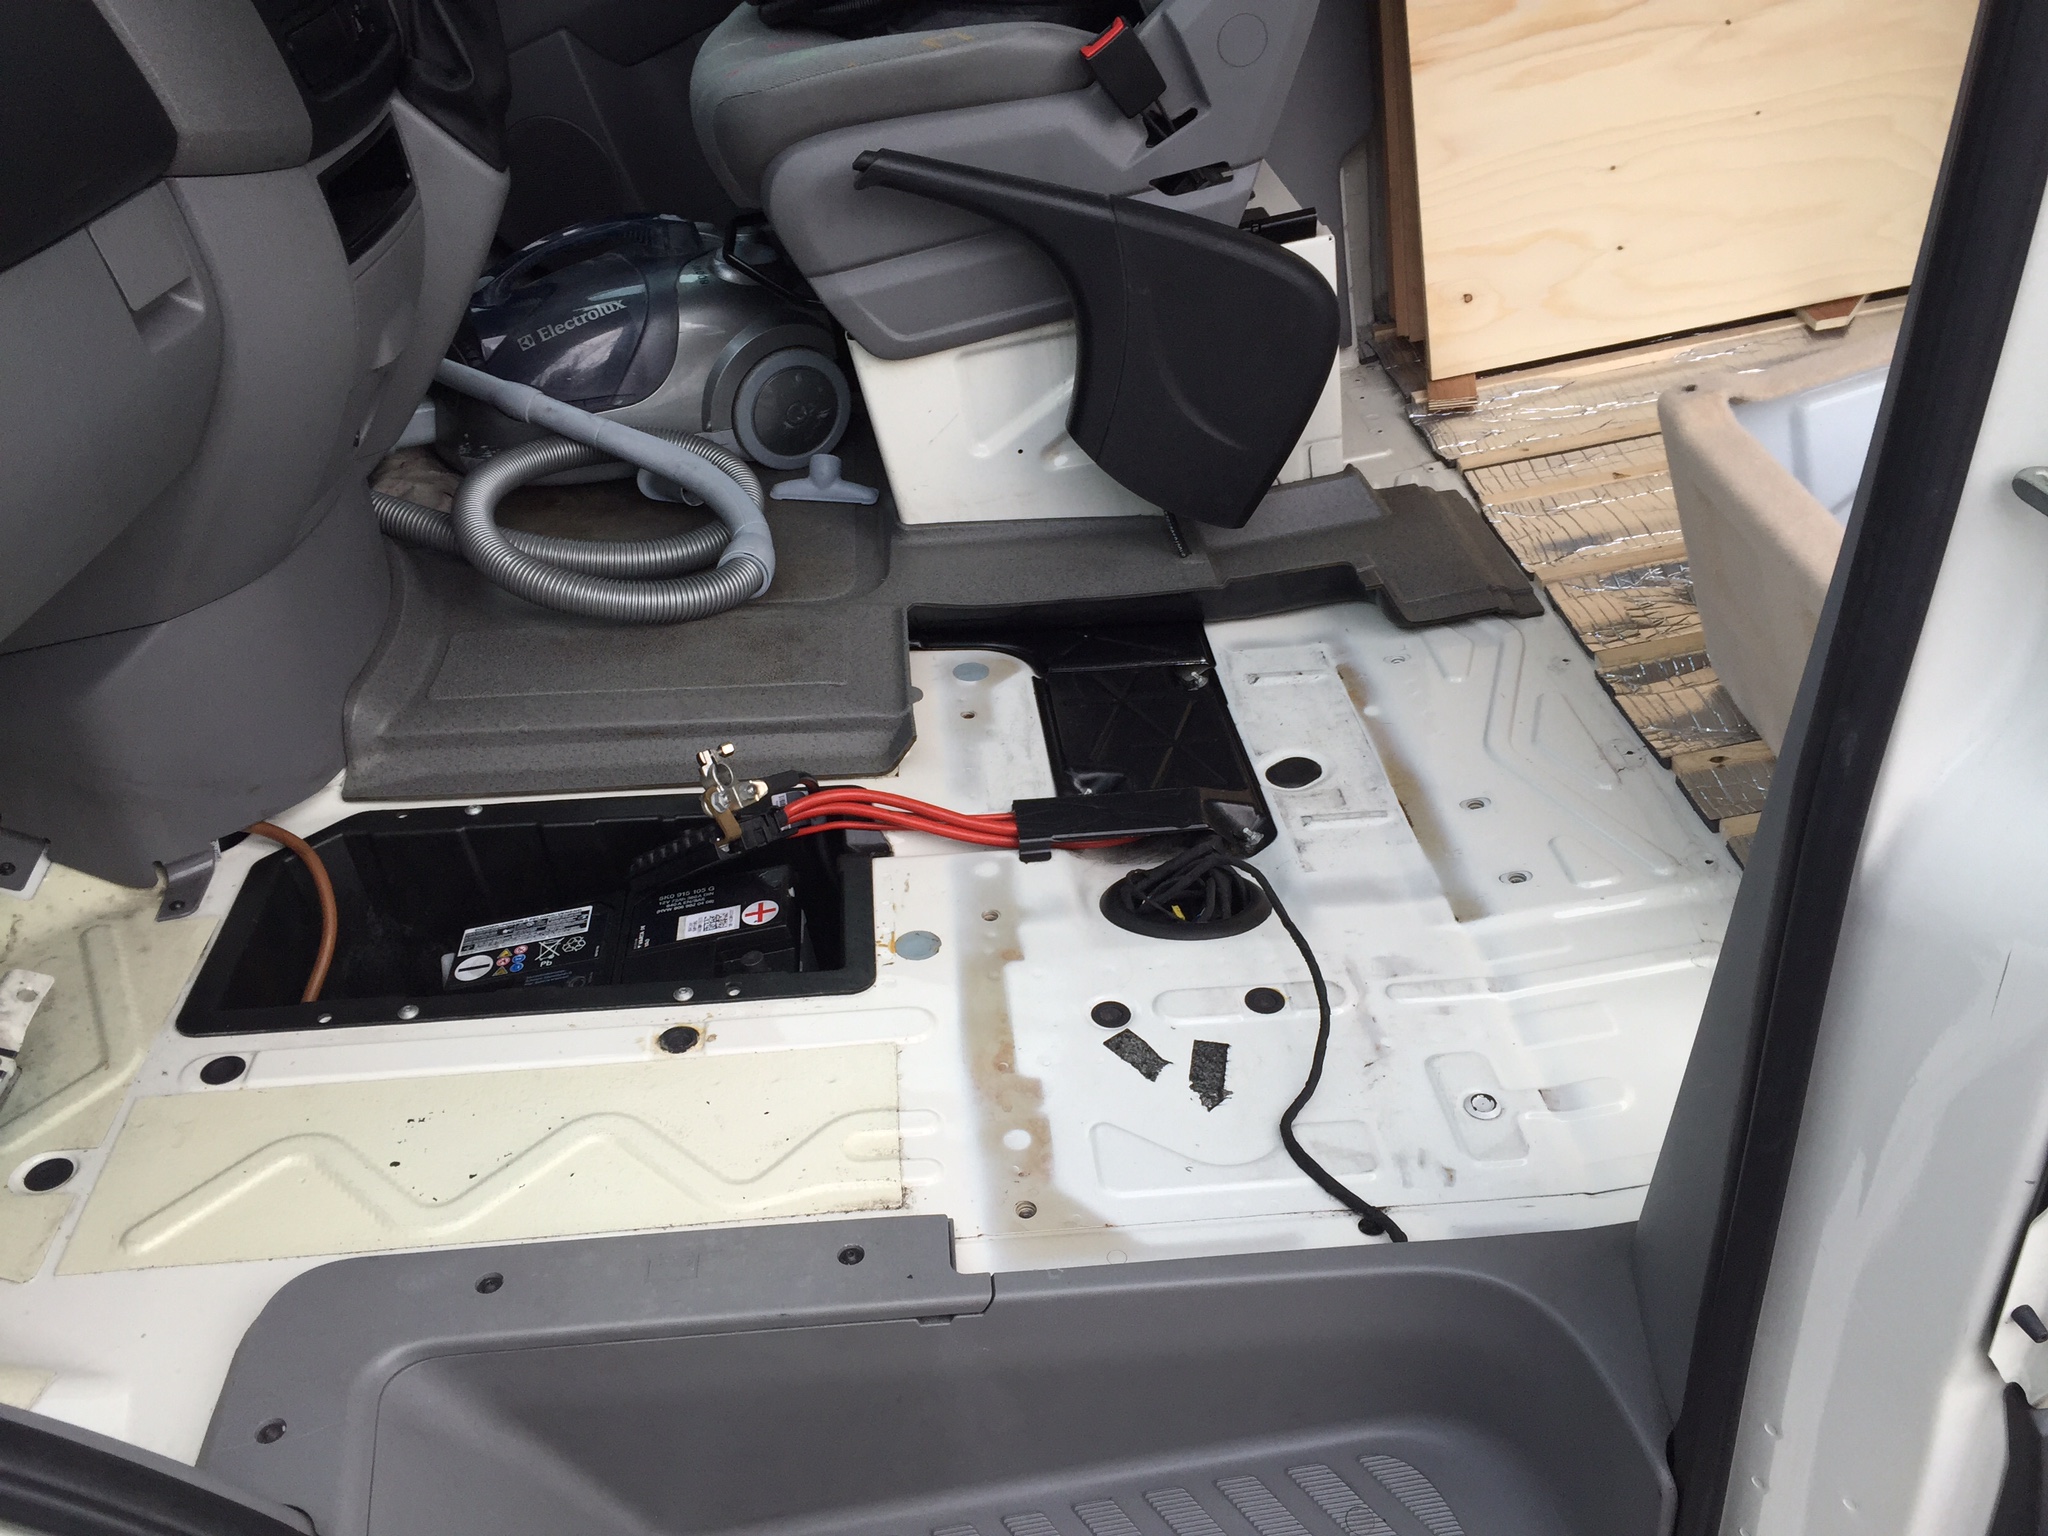
Removing the bench seat is the easy part (six M8 bolts from memory), cleaning five years of grime accumulated underneath took a bit longer...
The seat is has a bum sensor in it, so it is connected to the ECU to warn you about air bag(s). If you unplug it and then turn on the ignition, you will get a permanent dash warning light, which will need to be cleared using VAG-COM (VCDS) or a visit to VW. Buy yourself a
MERCEDES SPRINTER/CRAFTER PASSENGER SEAT REMOVAL MODULE (SRS LIGHT ELIMINATOR)from eBay and make sure to connect it to the ECU terminals under the seat.
Available at the time of writing, this is the exact bit of kit I used.
Update 2017: you could try this seller instead or alternatively a simple3.3 Ohmresistor across the wires to the ECU, see first comment. There is even this product, if you keen to stick to the yellow airbag wiring theme.
Next, the carpeted seat base box was bolted down:
I used Vanliner carpet from AS Trim as well as their hi-temperature adhesive in a spray can.
Carpeting around these base boxes is tedious and time consuming. I think next time I'll pay someone else to do it.
I installed a seat swivel obtained from Wyvern Seating and bolted it all down as follows:
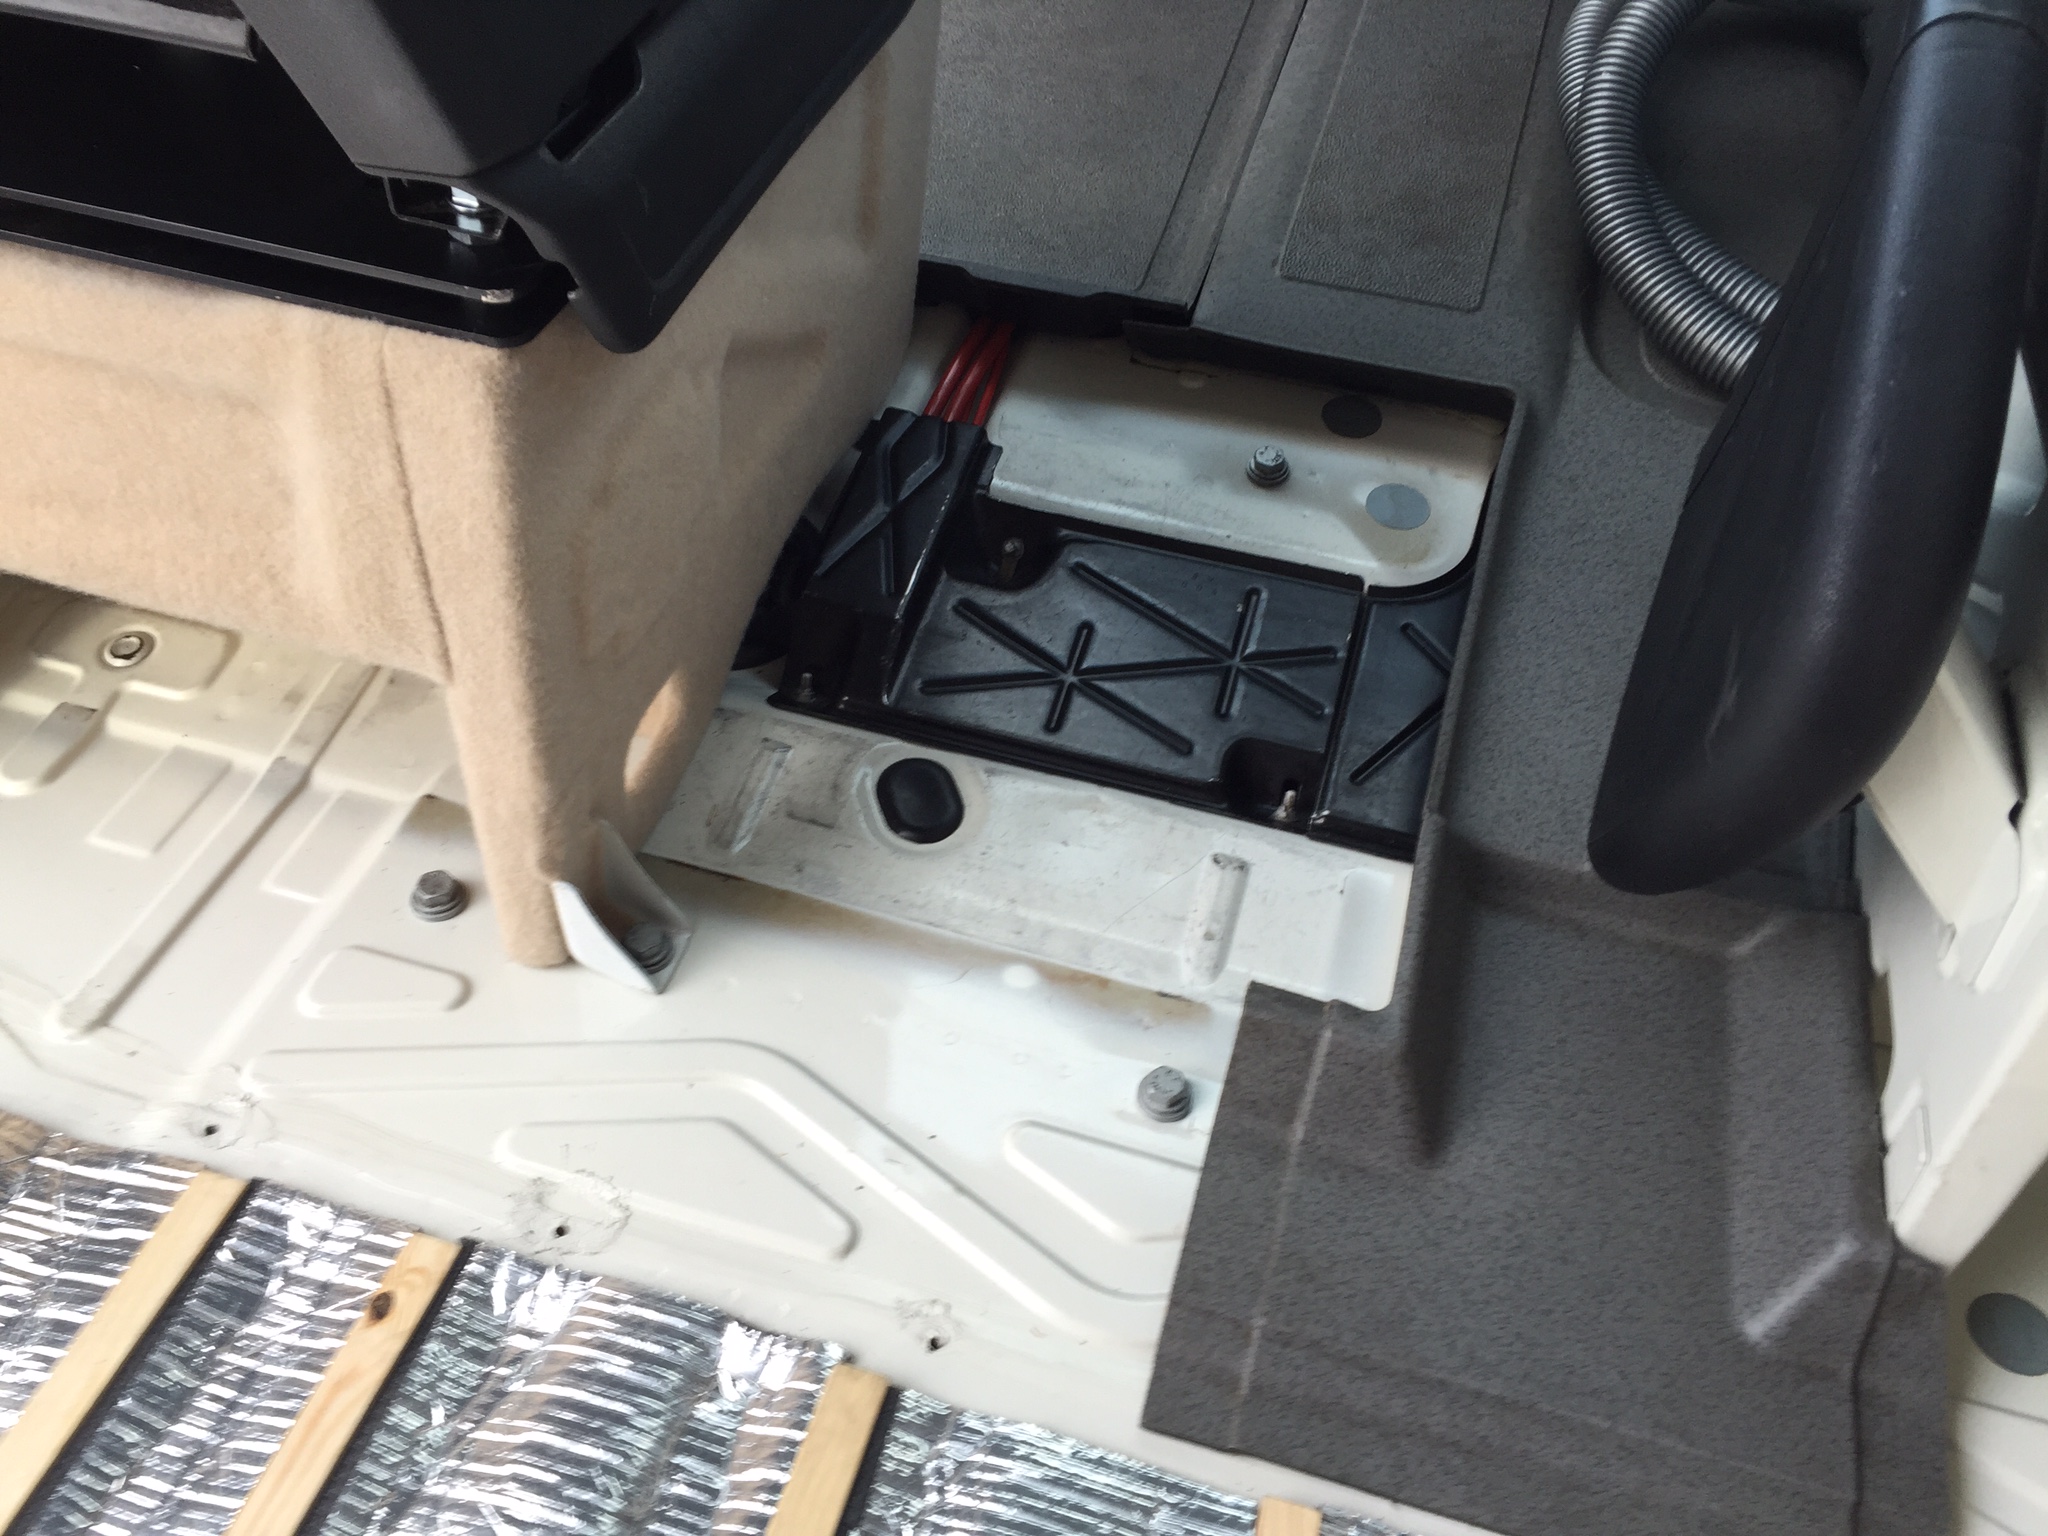
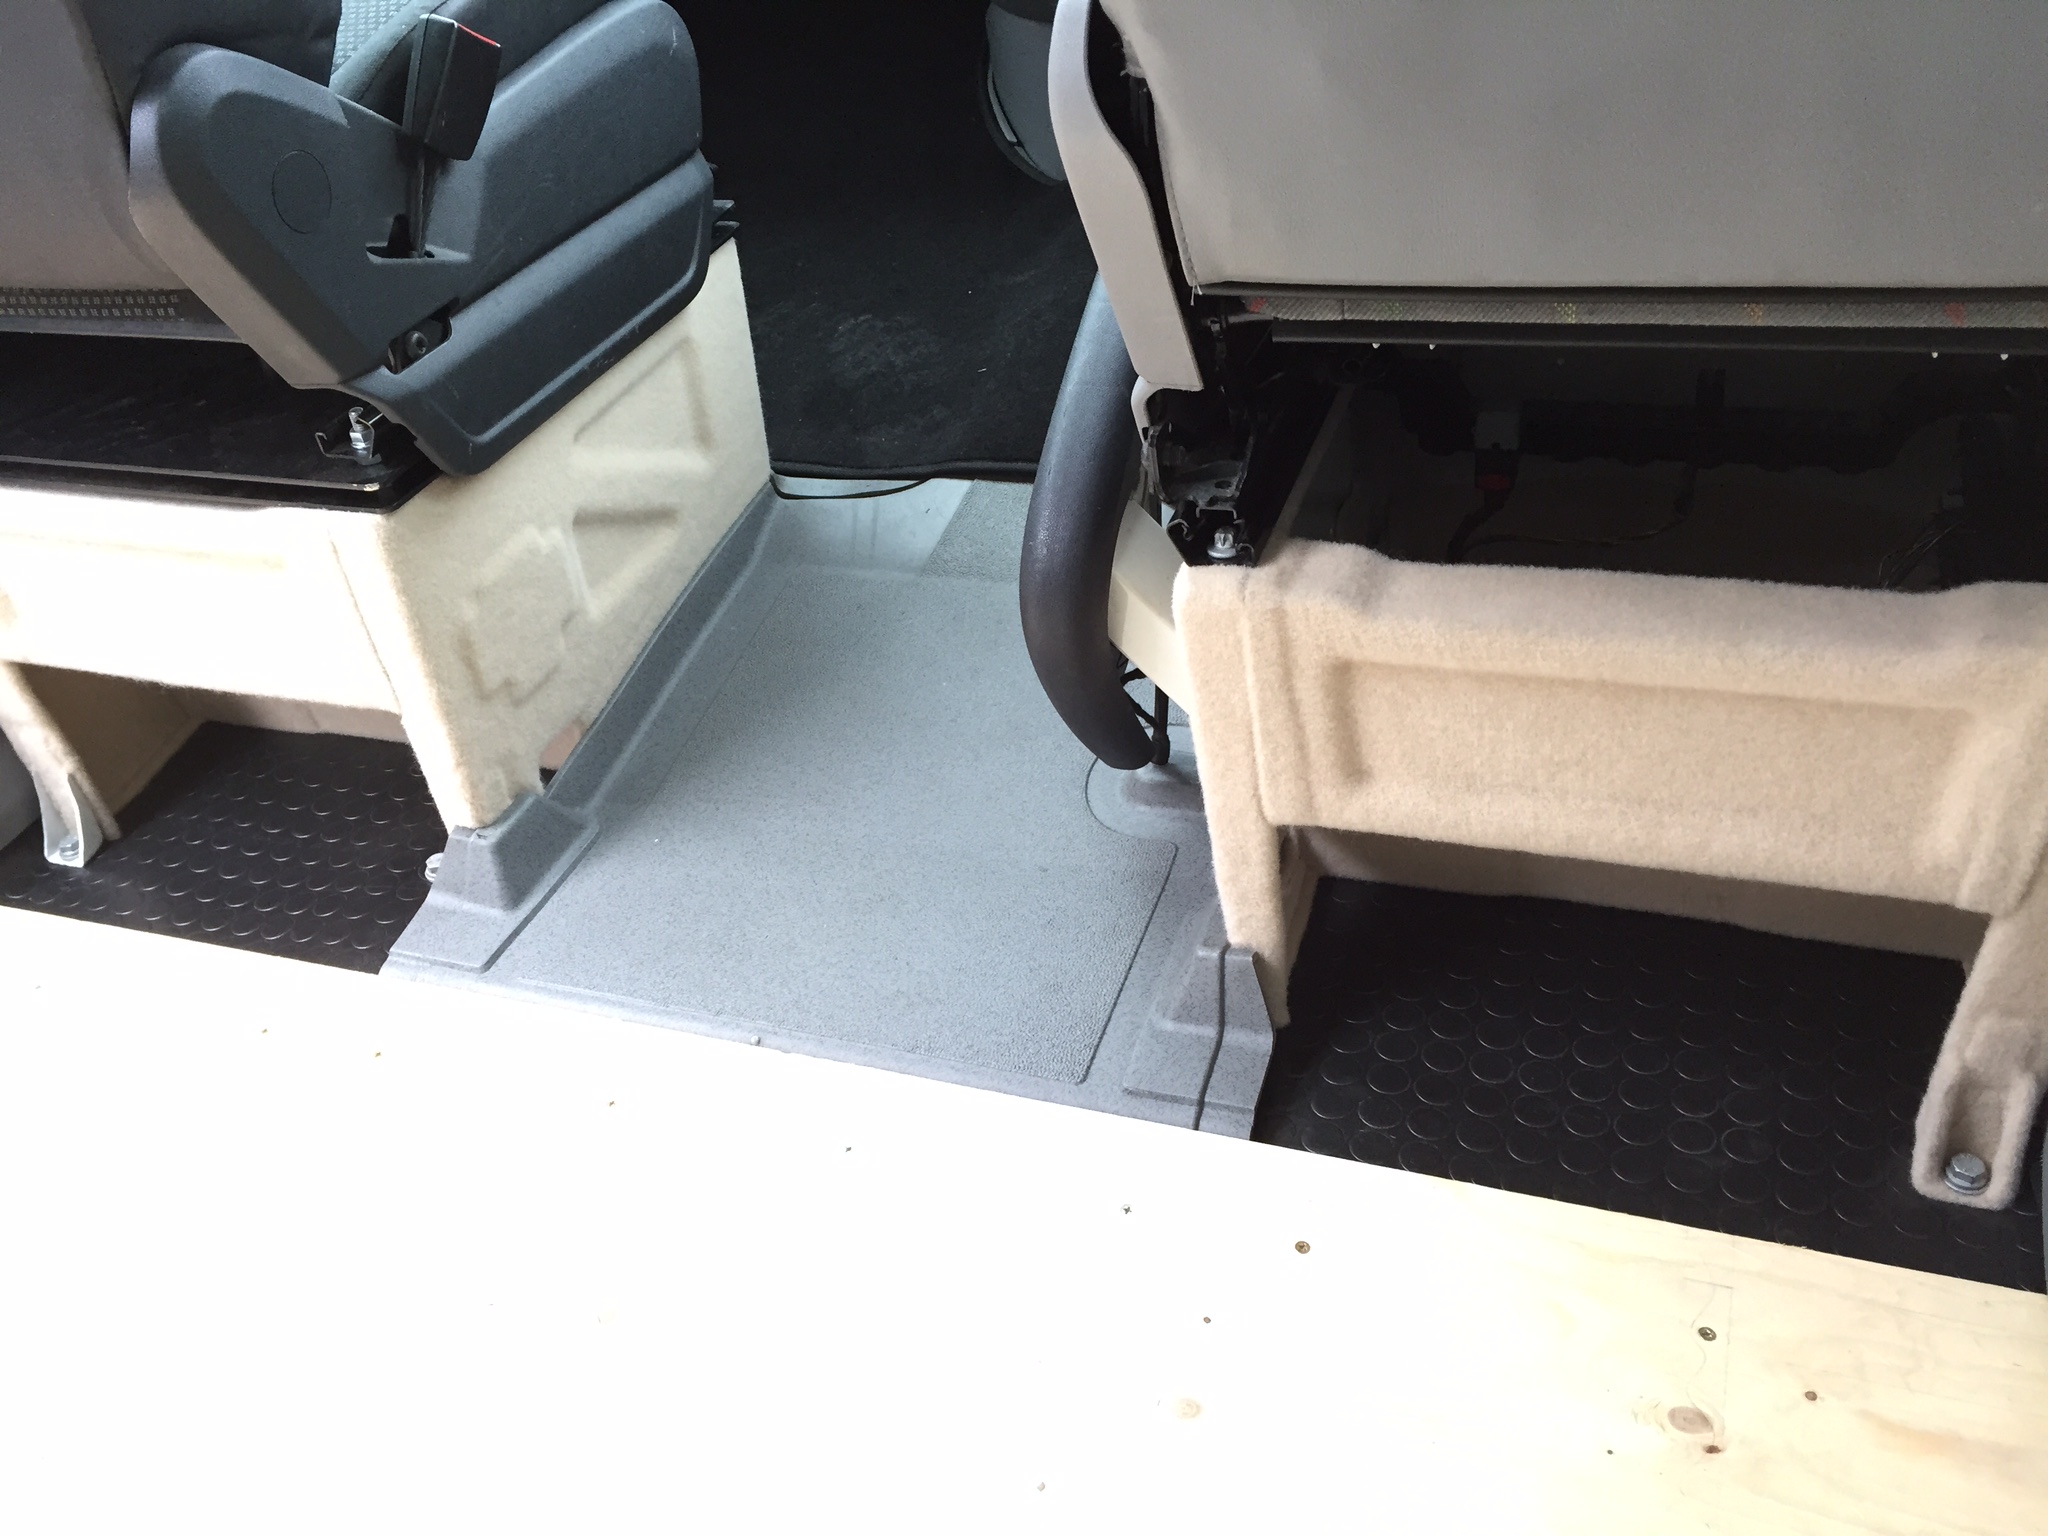
Although once the double bench seat was replaced, I realised the original floor lining would also need to be changed, otherwise there will be an ugly gap:
To get around this, I replaced the two-part floor with the single passenger seat version, obtained for a very reasonable price from ABC parts in theNetherlands. The final assembly with the last plywood floor piece looks like this:
Keeping it Warm
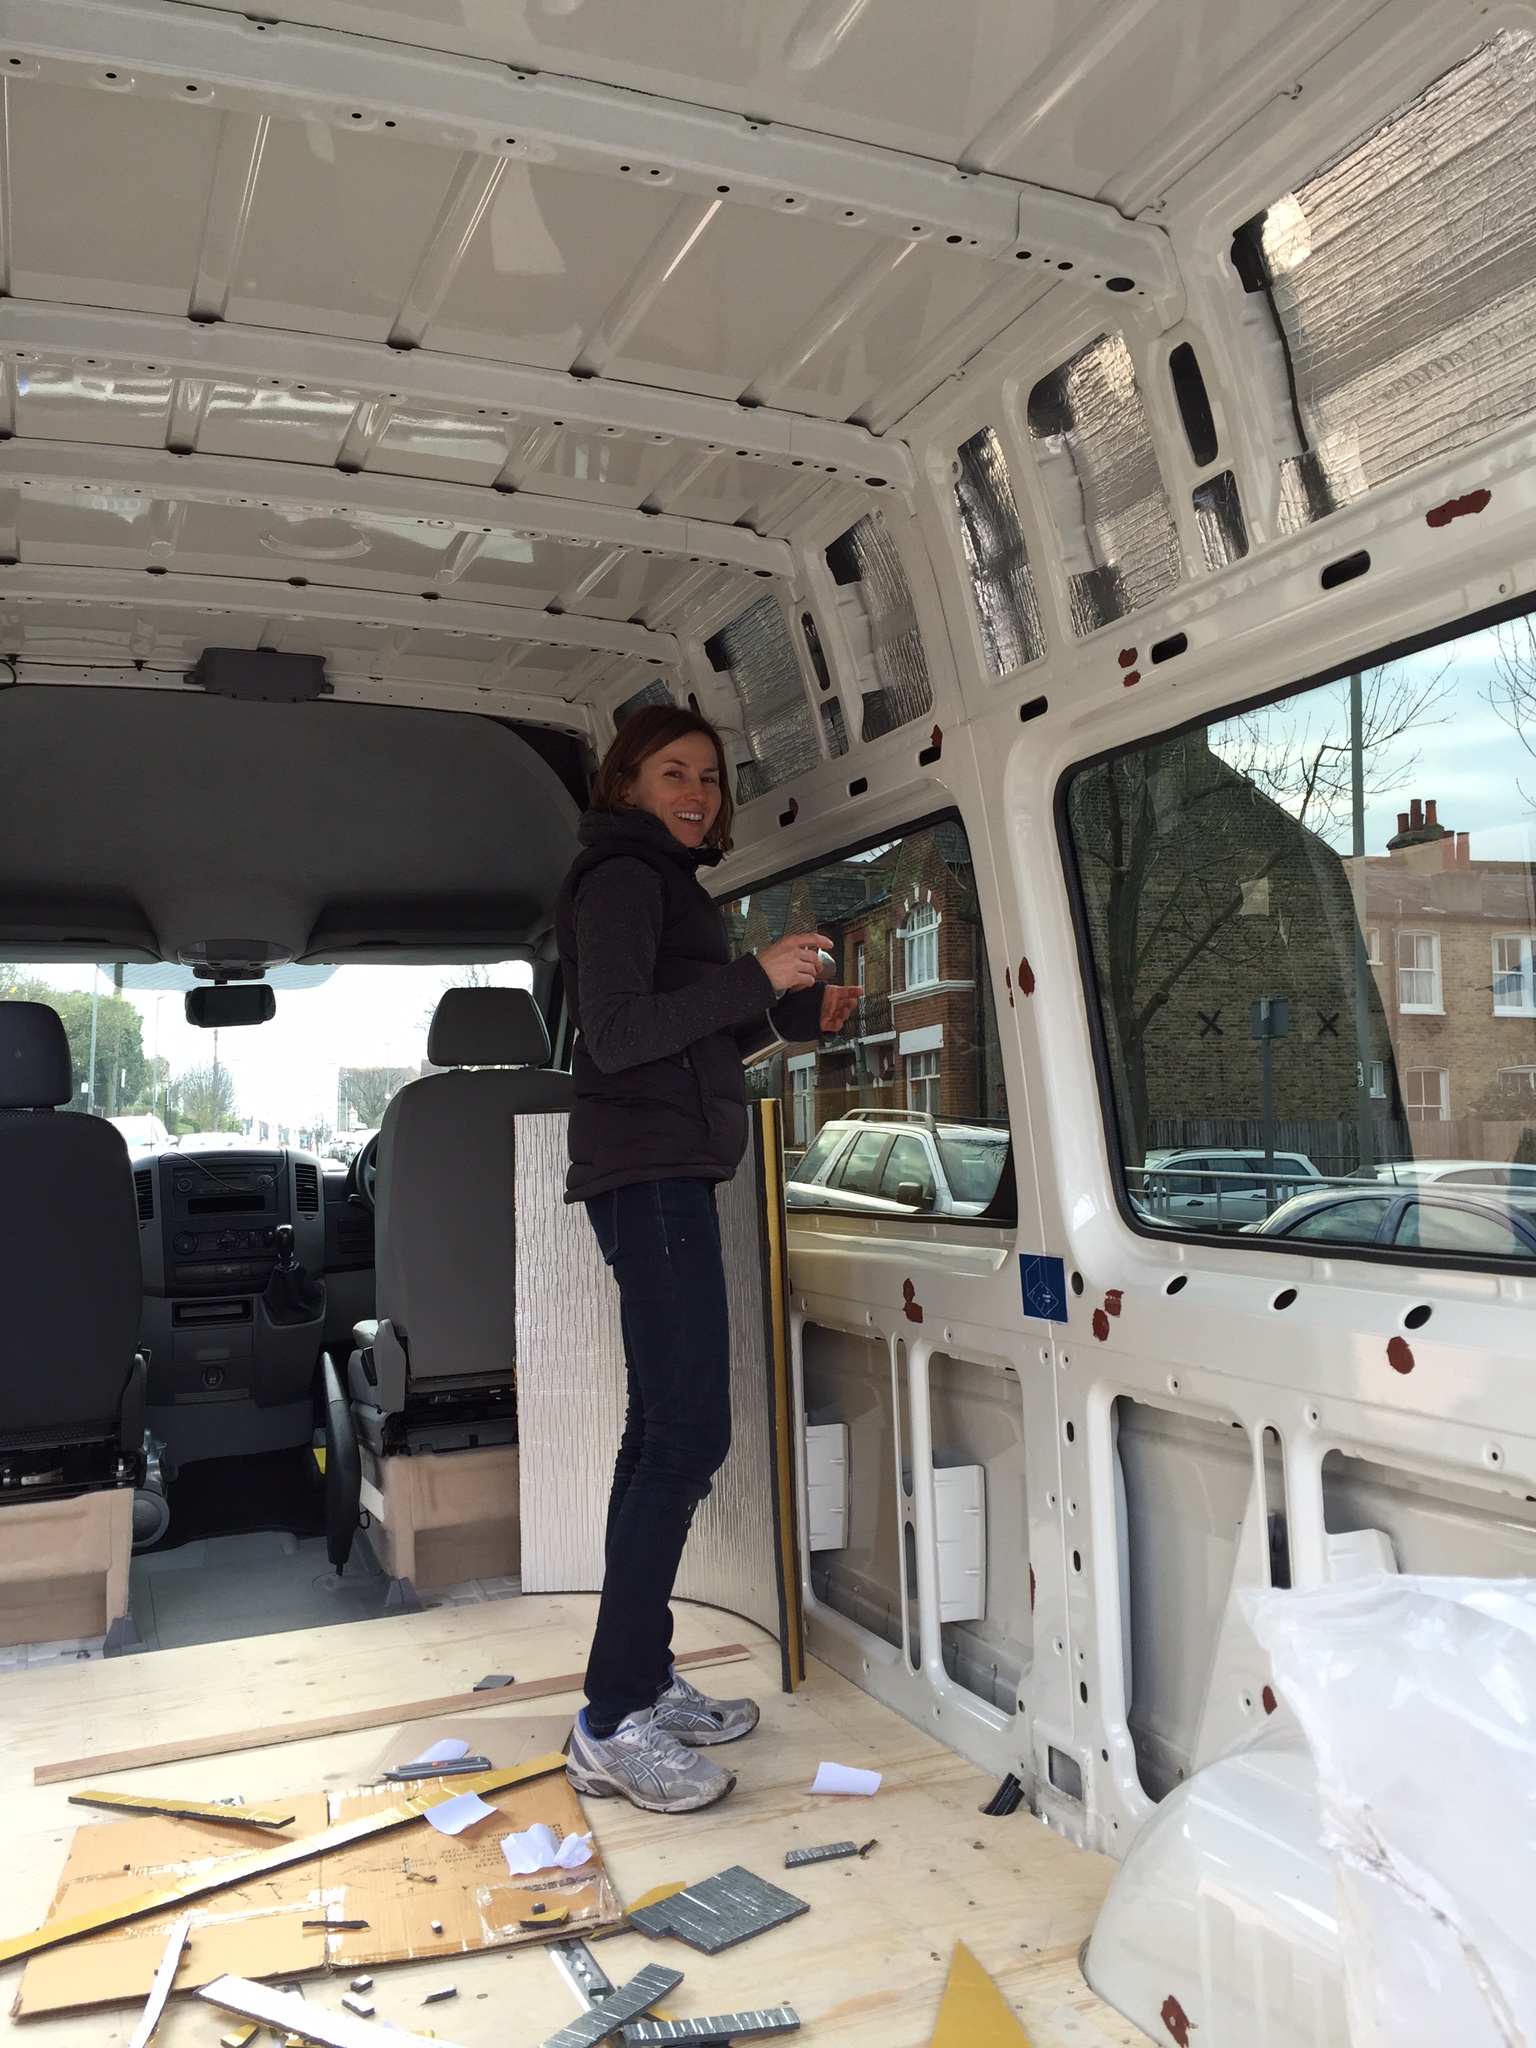
Having already insulated the floor with Thermoliner obtained from Harrisons Trim Supplies, the remainder of the van needed to be insulated in the interests of comfort and energy conservation. This is a tedious and time consuming job, but could be quite therapeutic once you get in the zone. My wife did all the work here.
The Ceiling
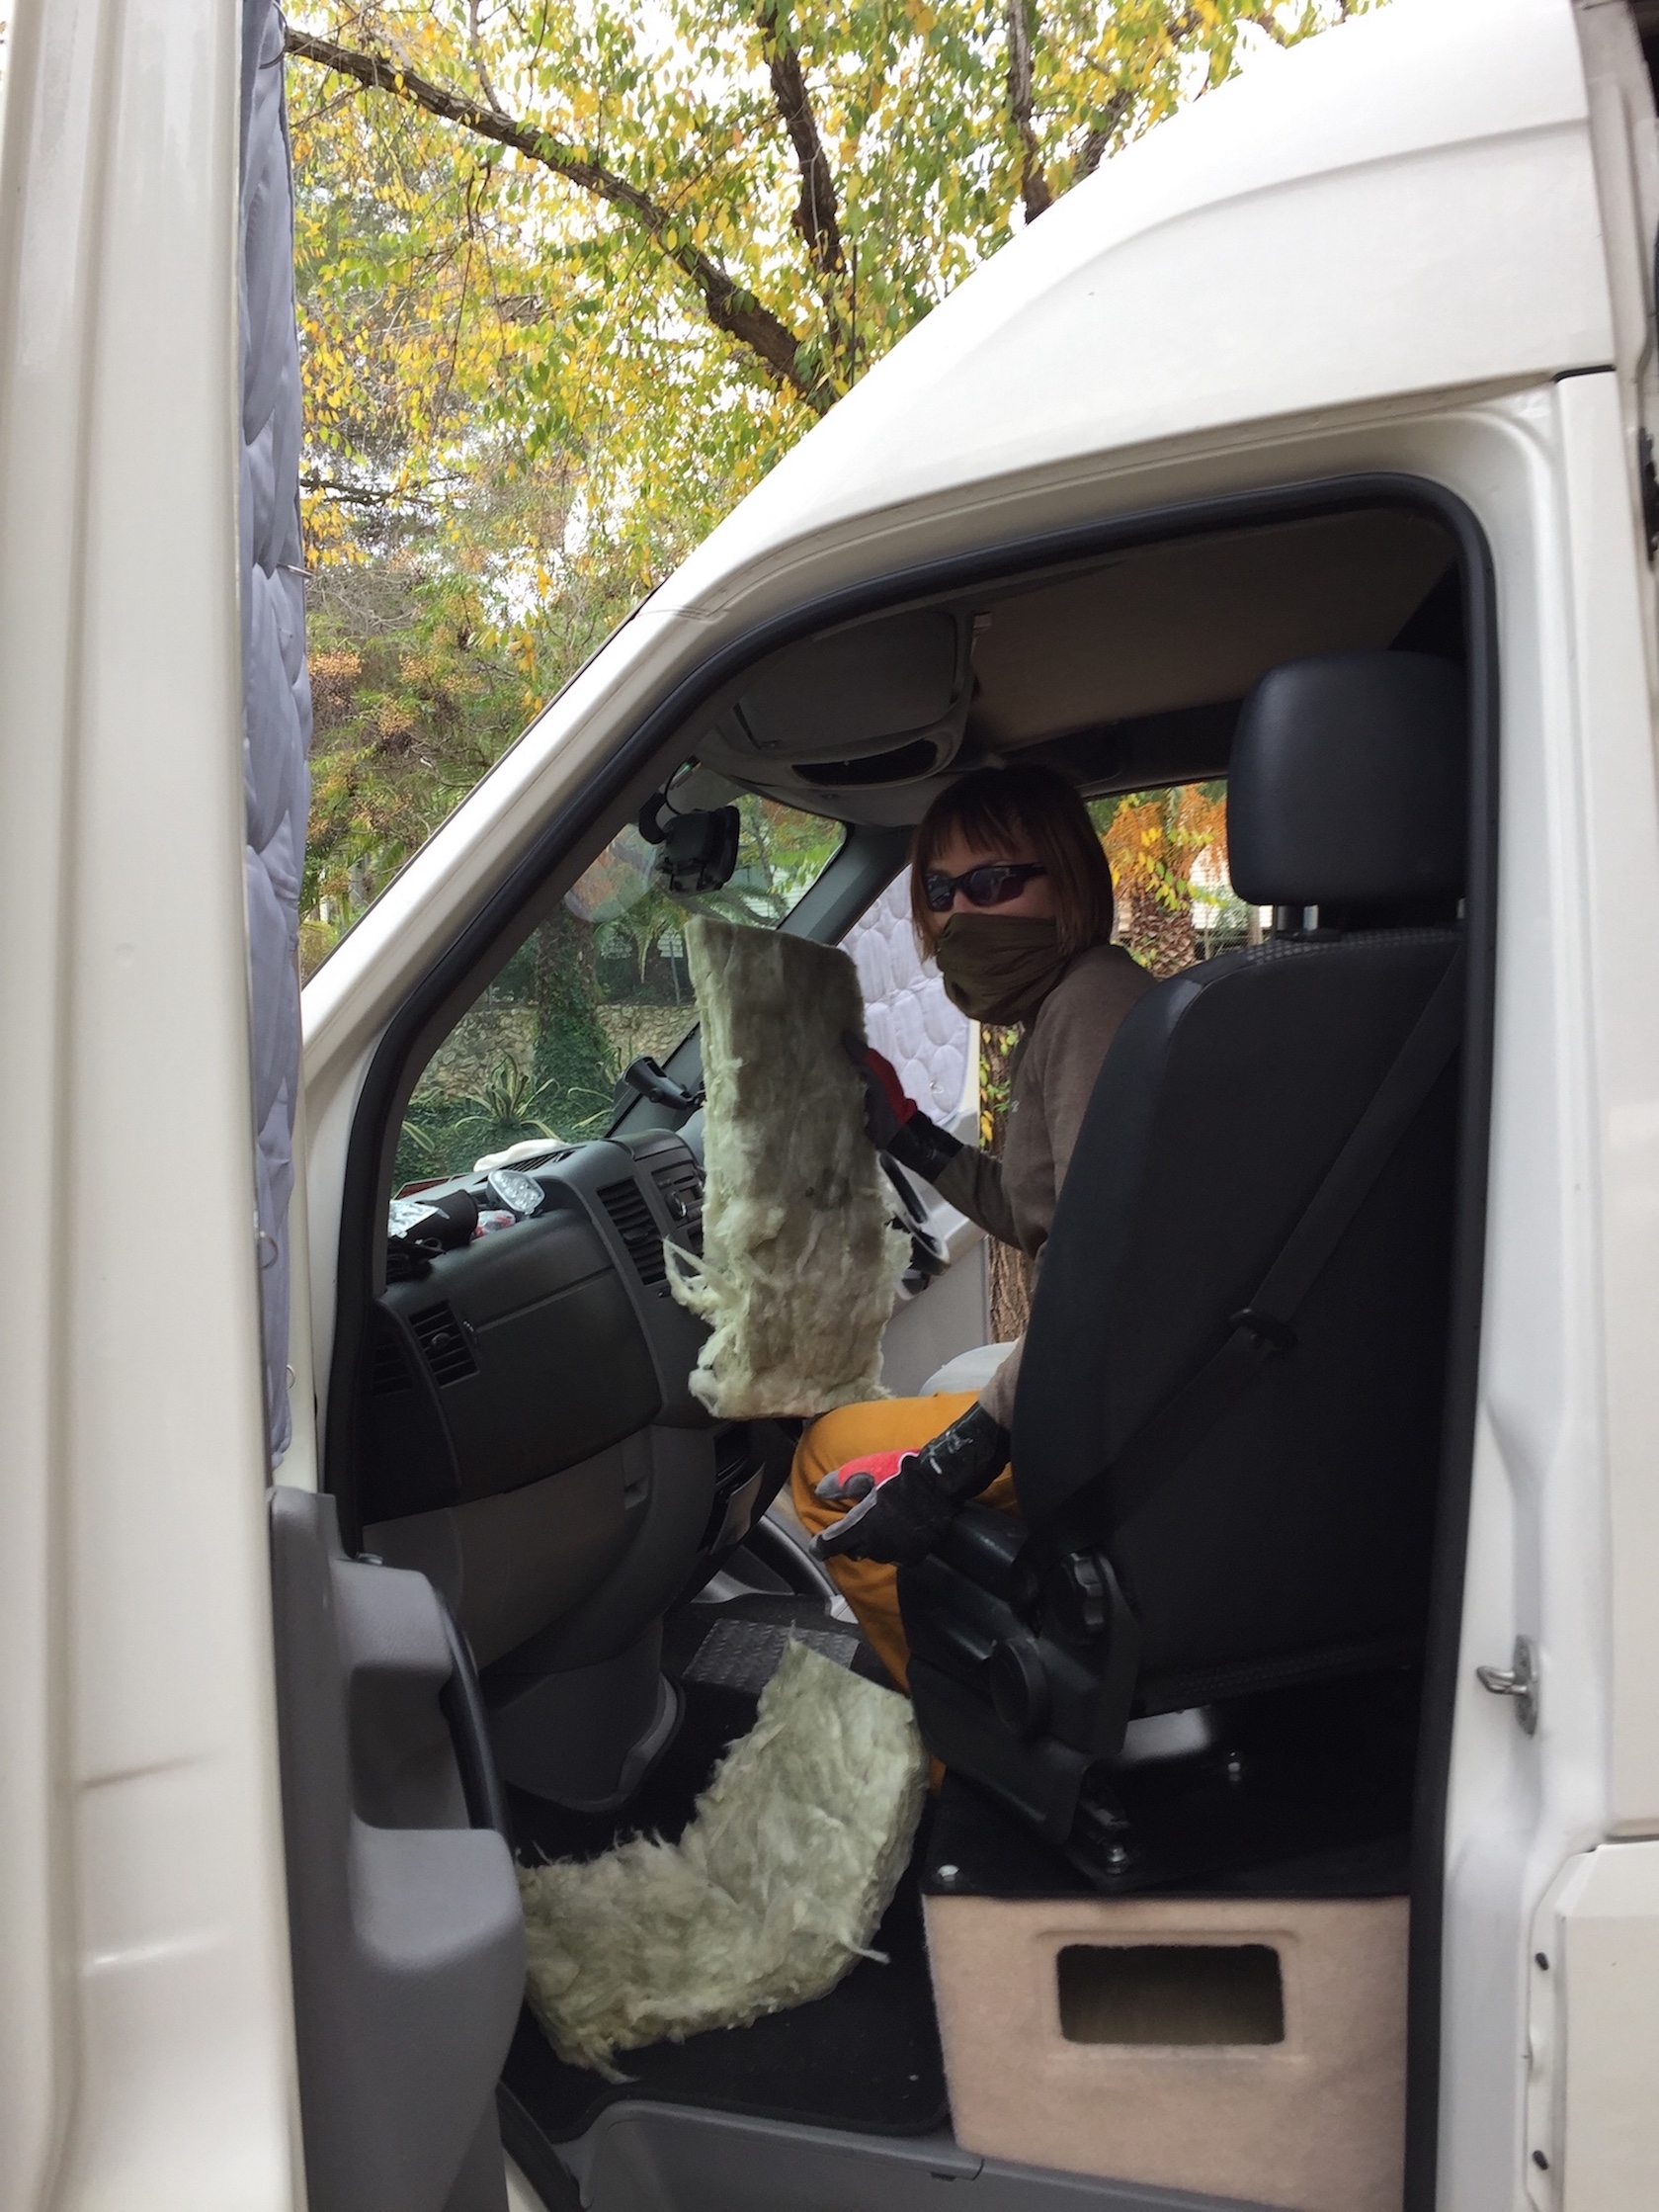
UPDATE Nov/2016: I completely overlooked insulating that great big space above the grey cabin cover/ceiling, correspondingly the interior reading light cluster has shorted out after a few days wild camping in the mountains due to condensation dripping on it. So we bought a half-size Isover synthetic fibre insulation roll from Leroy Merlin and spent an afternoon of stuffing it in the overhead space through the interior light cluster cavity. It should make things better, hopefully...
Having finished the floor, I moved on to cutting out ceiling panels. I used NON STRUCTURAL HARDWOOD PLYWOOD 2440X1220X3.6MM, also from Travis Perkins. Since the ceiling isn't going to be load bearing, this is more than adequate and keeps the weight of the overall construction down.
Measuring the panels and cutting around various obstacles was challenging, but after they were carpeted, a lot of the imperfections got hidden away.
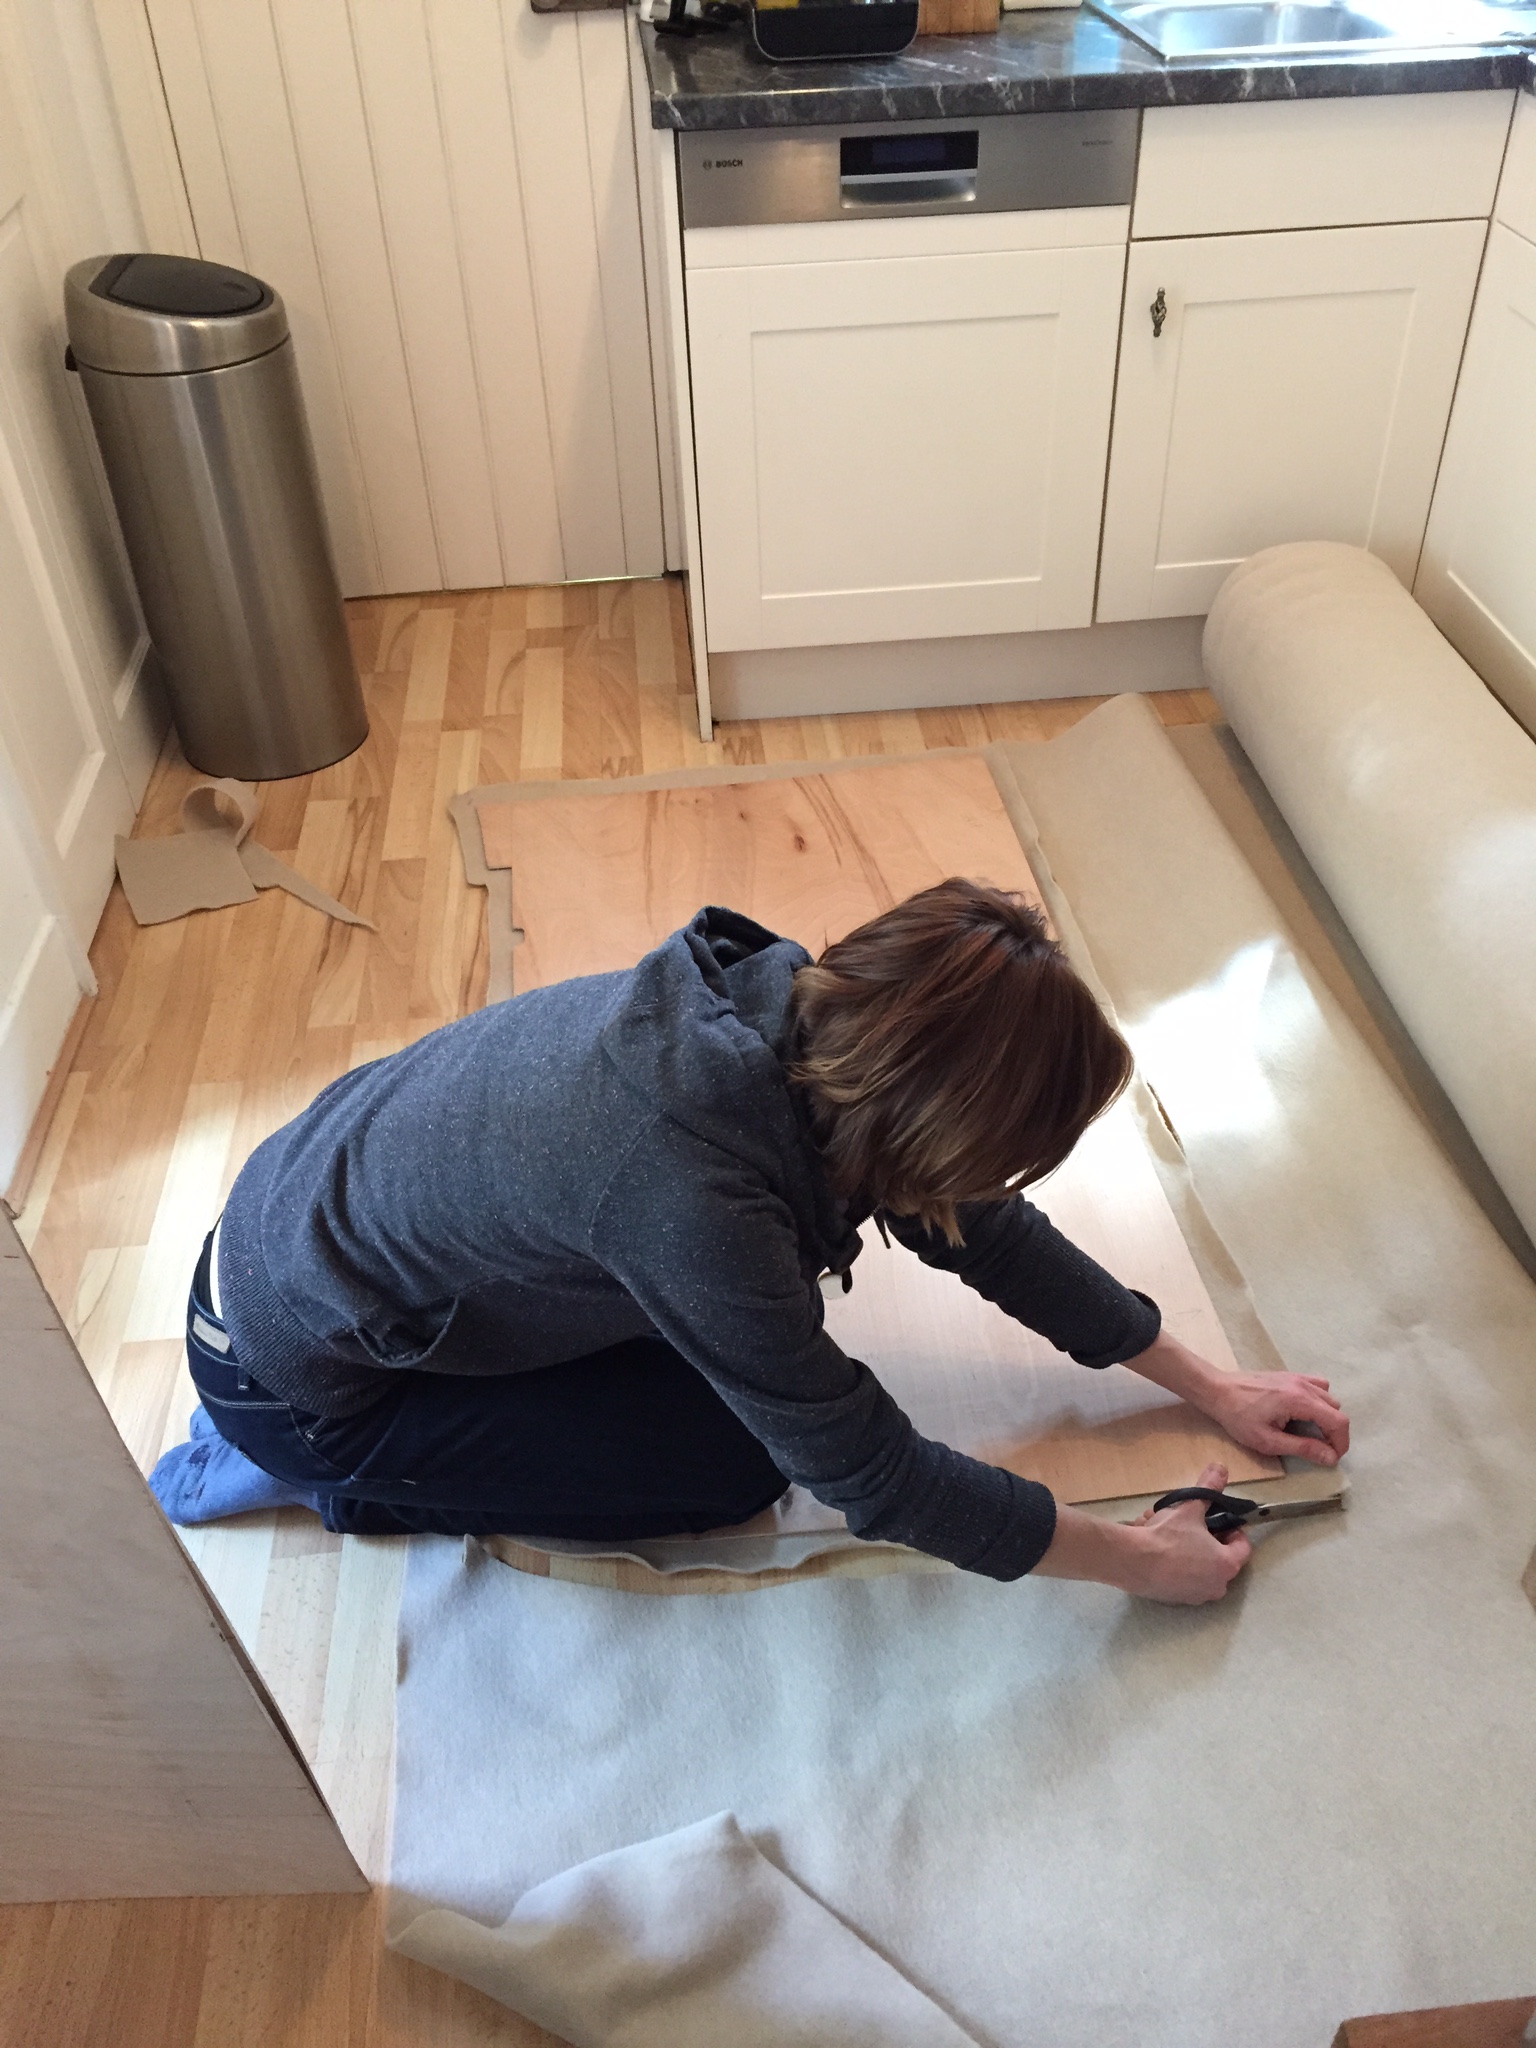
The wife got involved again at this point, taking quite a bit of work off my hands to cut and glue the carpet onto the panels.
The finished ceiling panels look like this:
These were attached to the hollow metals beams running across the roof of the van and the joins between the panels (where these don't finish on the beams) were secured together by way of a 2" strip of the same ply.
I made some notable mistakes here, so some key learnings from this part of the project are as follows:
- If pre-drilling holes in the metal support of the van to secure the panels, allow for carpet around panel edges (2-4mm), which is enough to invalidate your 2mm hole positions and also mark where the holes are before you stick the carpet on (whoops!).
- When drilling through the carpet, it will wrap around your drill bits and in most cases snap the cheaper (HSS-R) ones.
- Perhaps consider self-tapping screws as long as you can hide their heads with plastic screw caps.
- Consider using stealth clips and original manufacturer's fixing holes if not planning to ever remove the panels.
- Have plenty of good quality HSS drill bits (Cobalt), as smaller gauges (2mm) tend to get lost in the layers of sheet metal in the sides of the van.
- Consider where your lights are going to be in relation to the furniture, cupboards, etc.
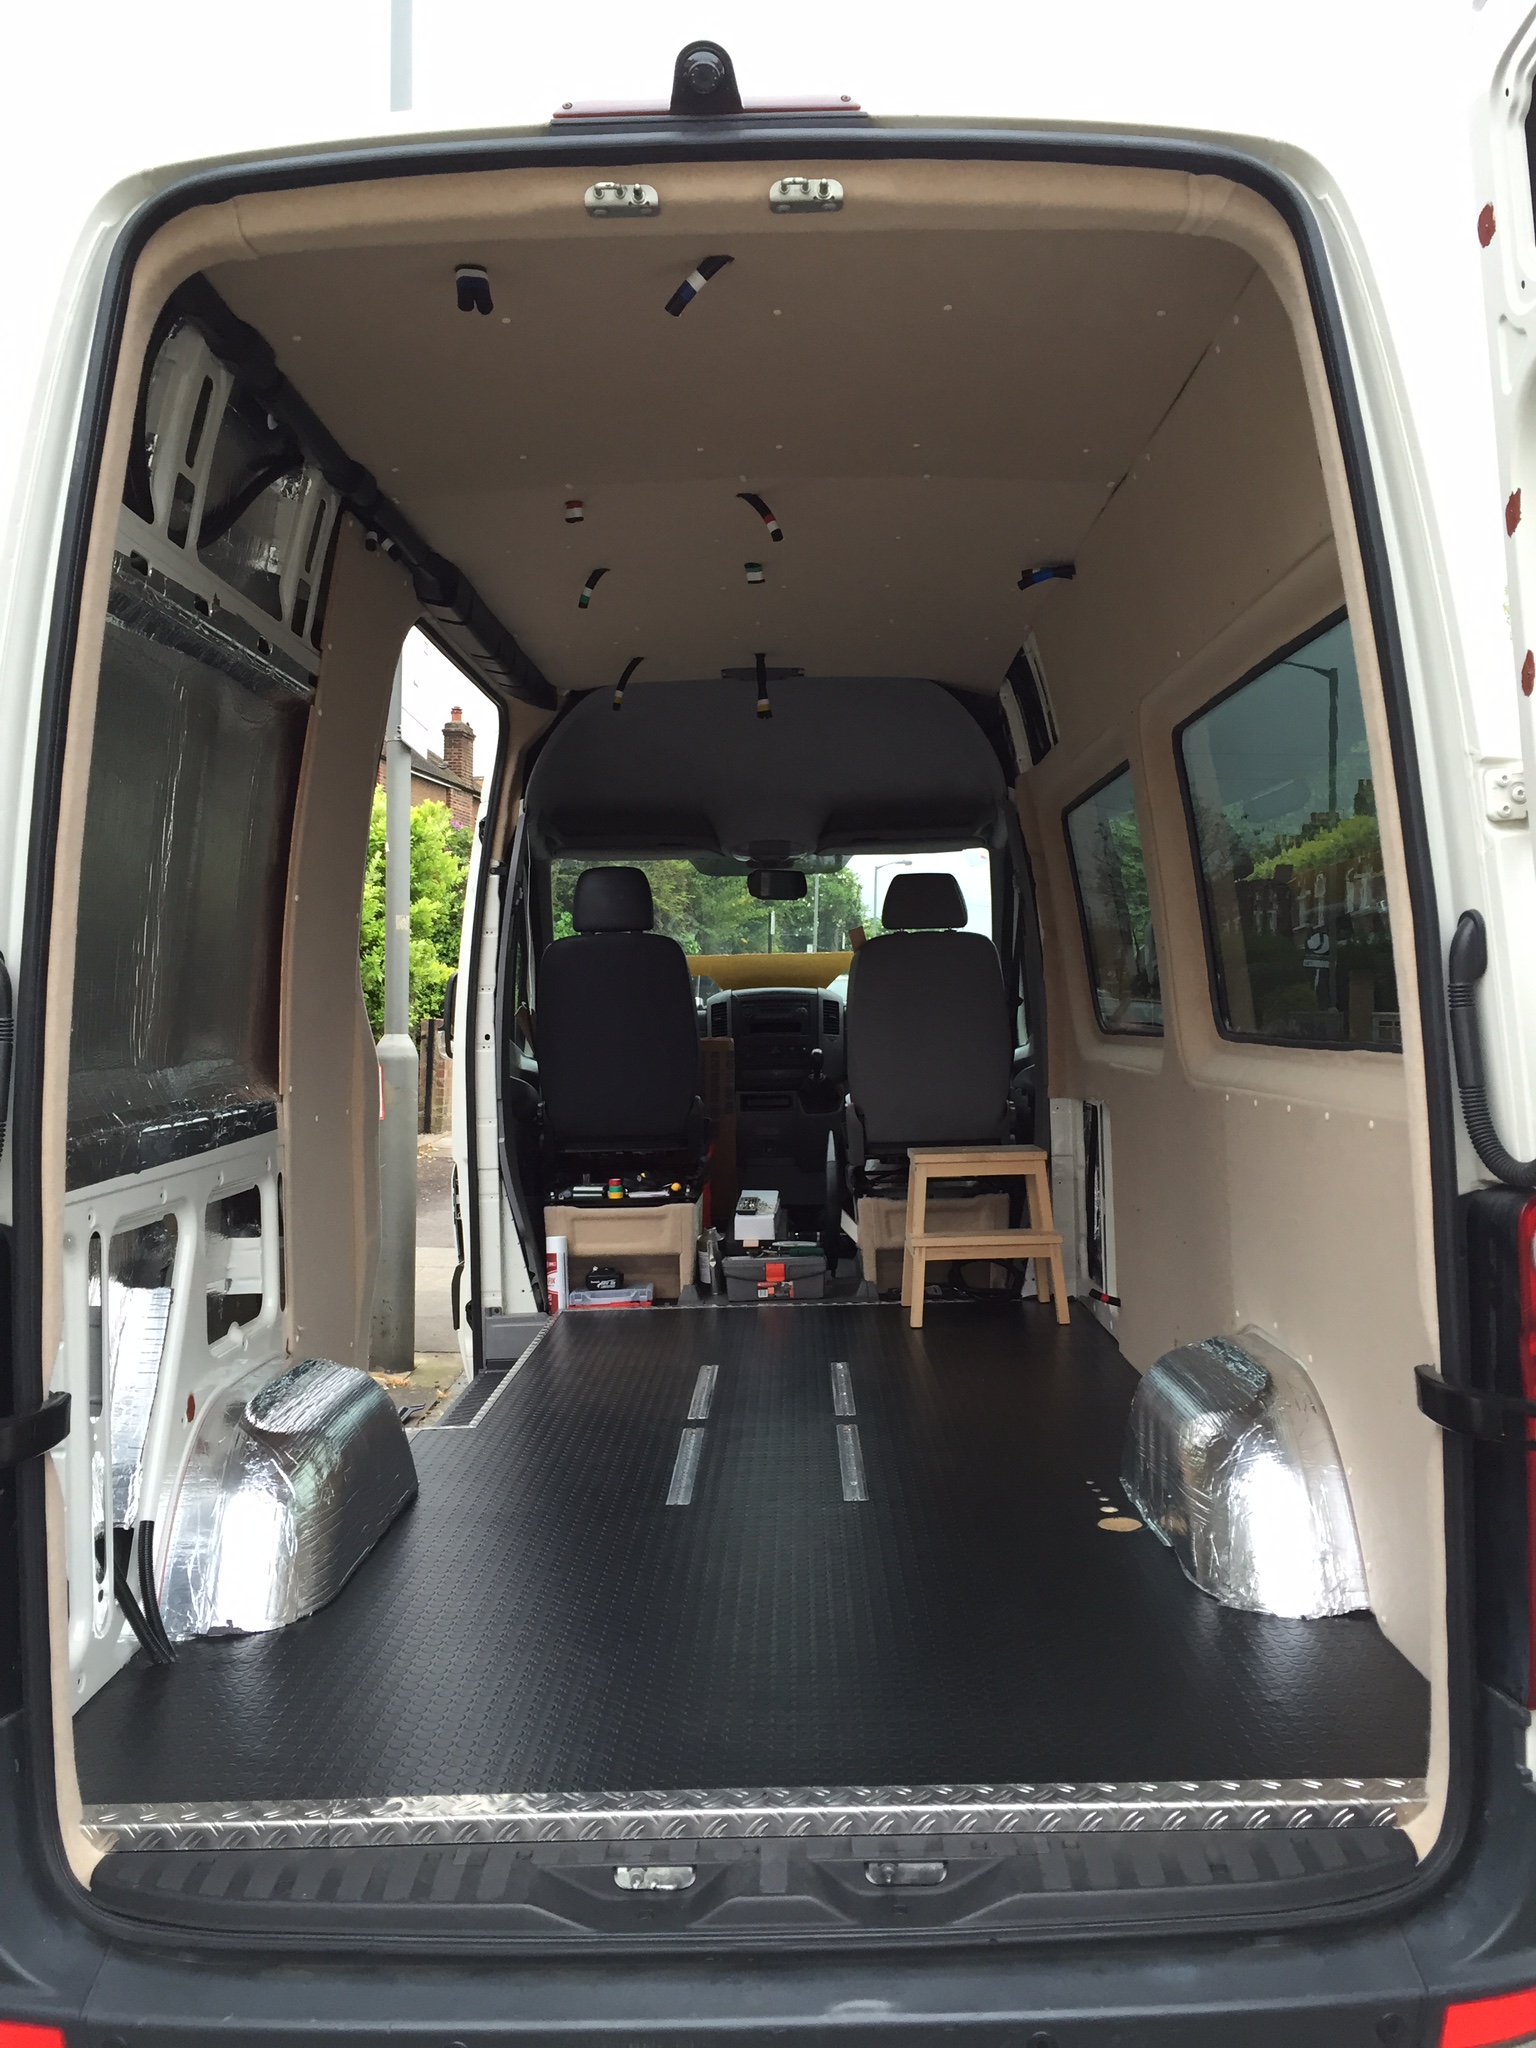
In the end, our ceiling looks like this, including pre-run wiring conduits for the lights:
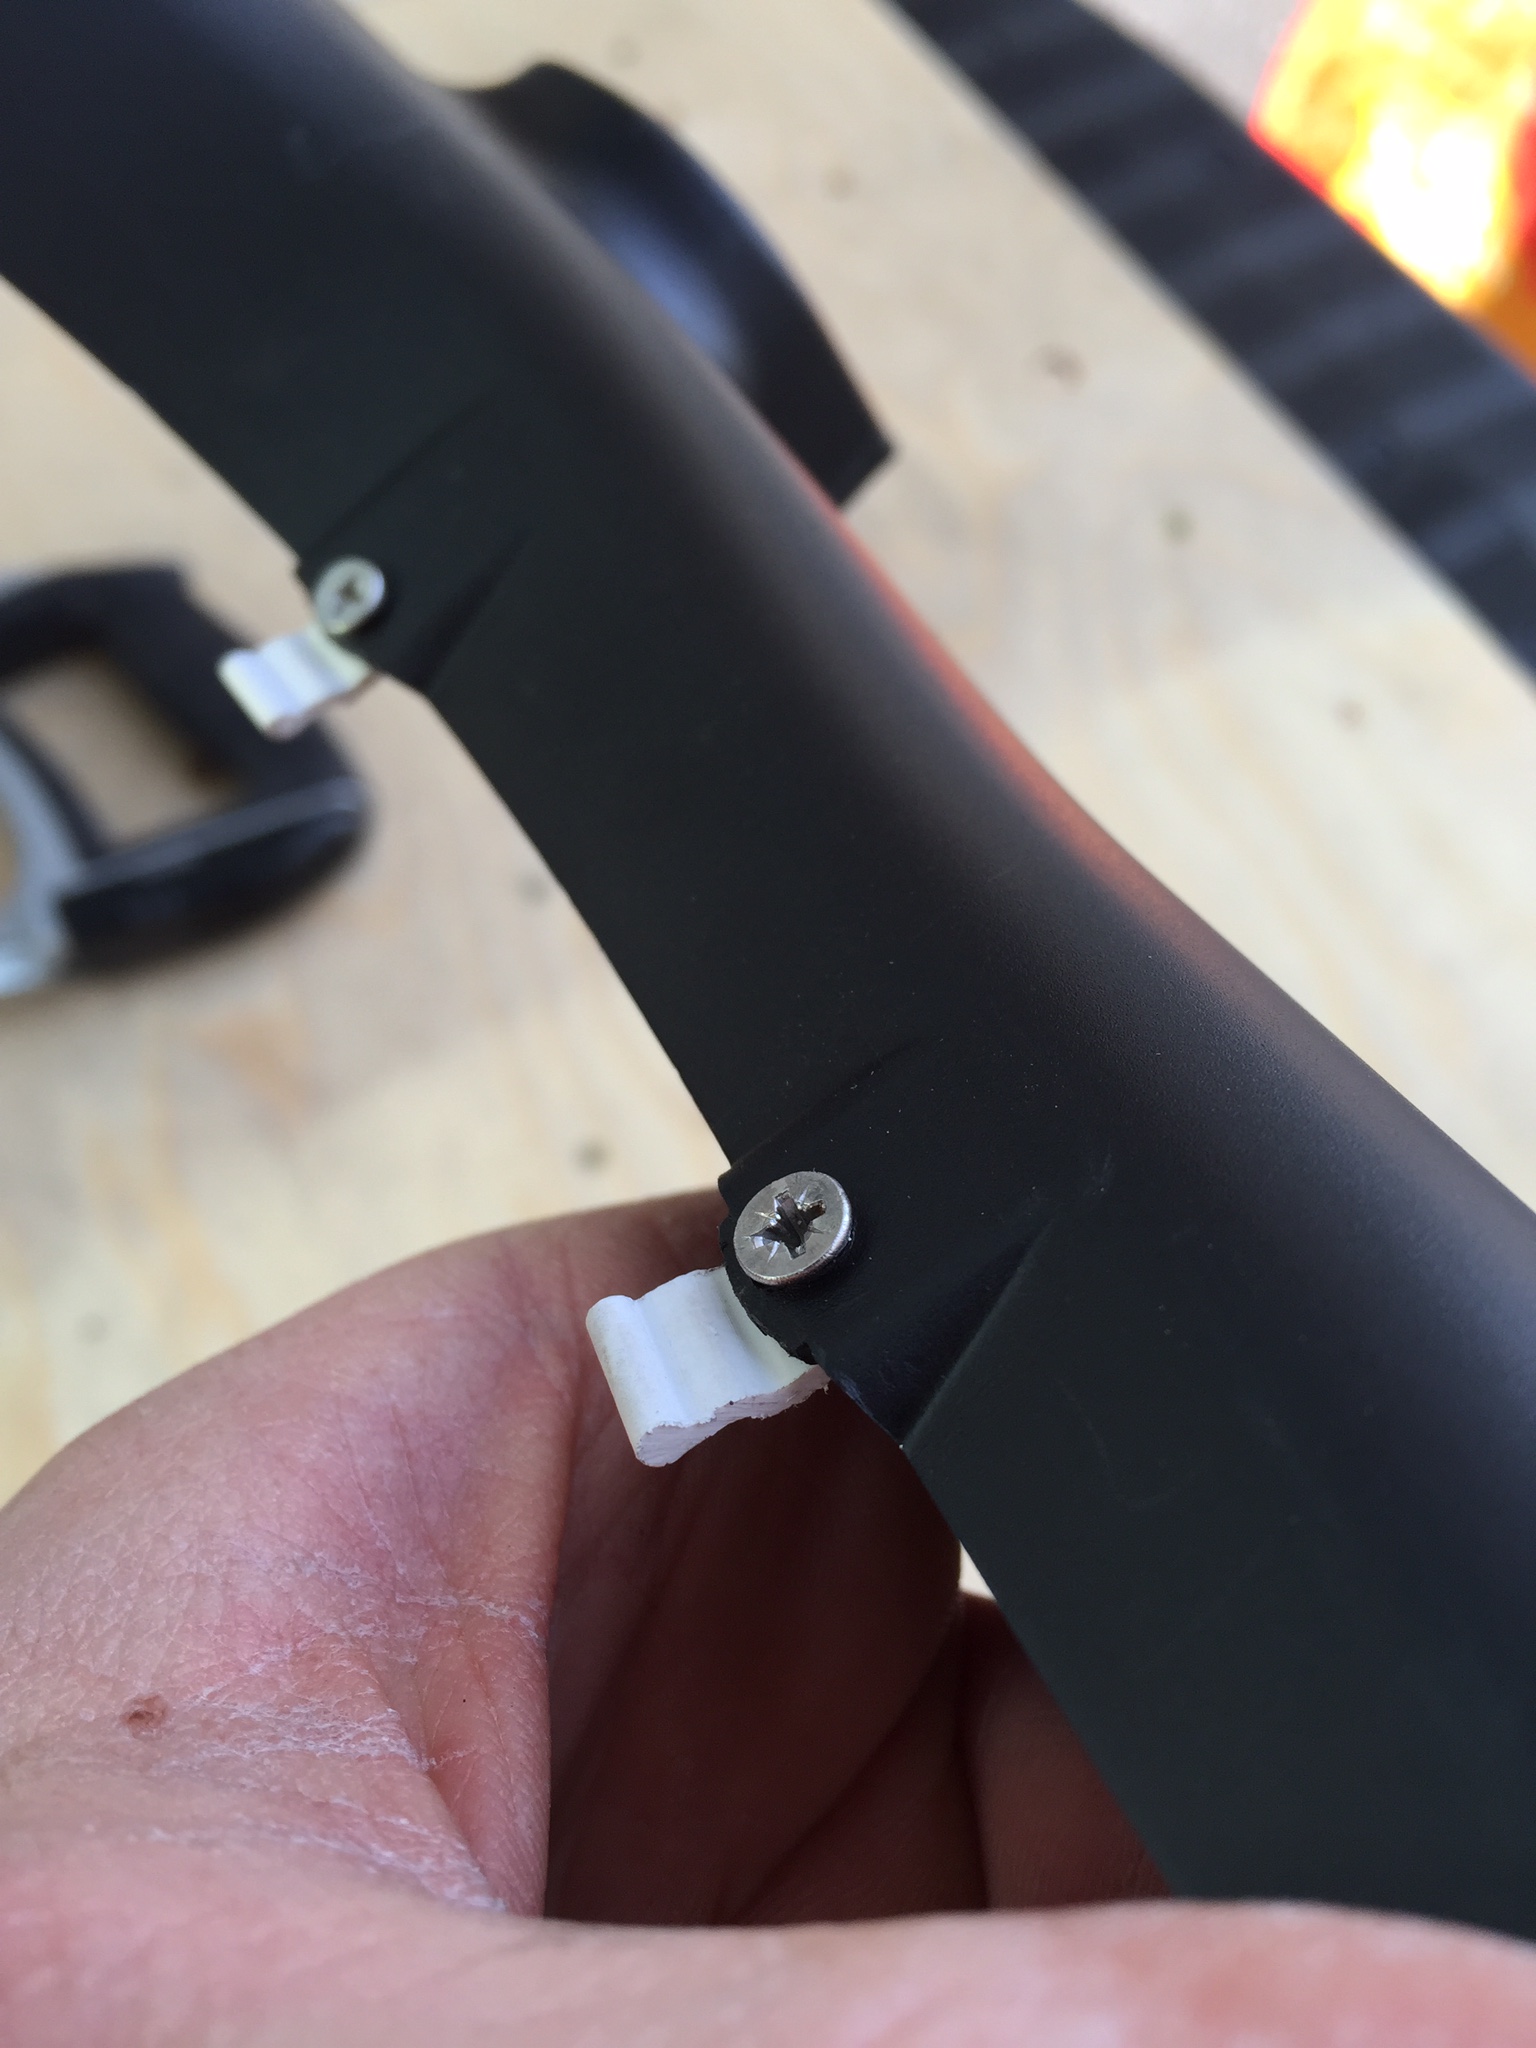
One final note on the bits around the ceiling. In our Crafter, there is a manufacturer fitted wiring conduit that is clipped along the N/S of the van. As a general rule of automotive repair, if you unclip pieces of trim, at least 50% the clips/tabs will snap off.
My solution was to chop up 16mm square plastic trunking and screw the replacement tabs in place where originals have snapped off. Seems to be holding OK so far..
The Walls
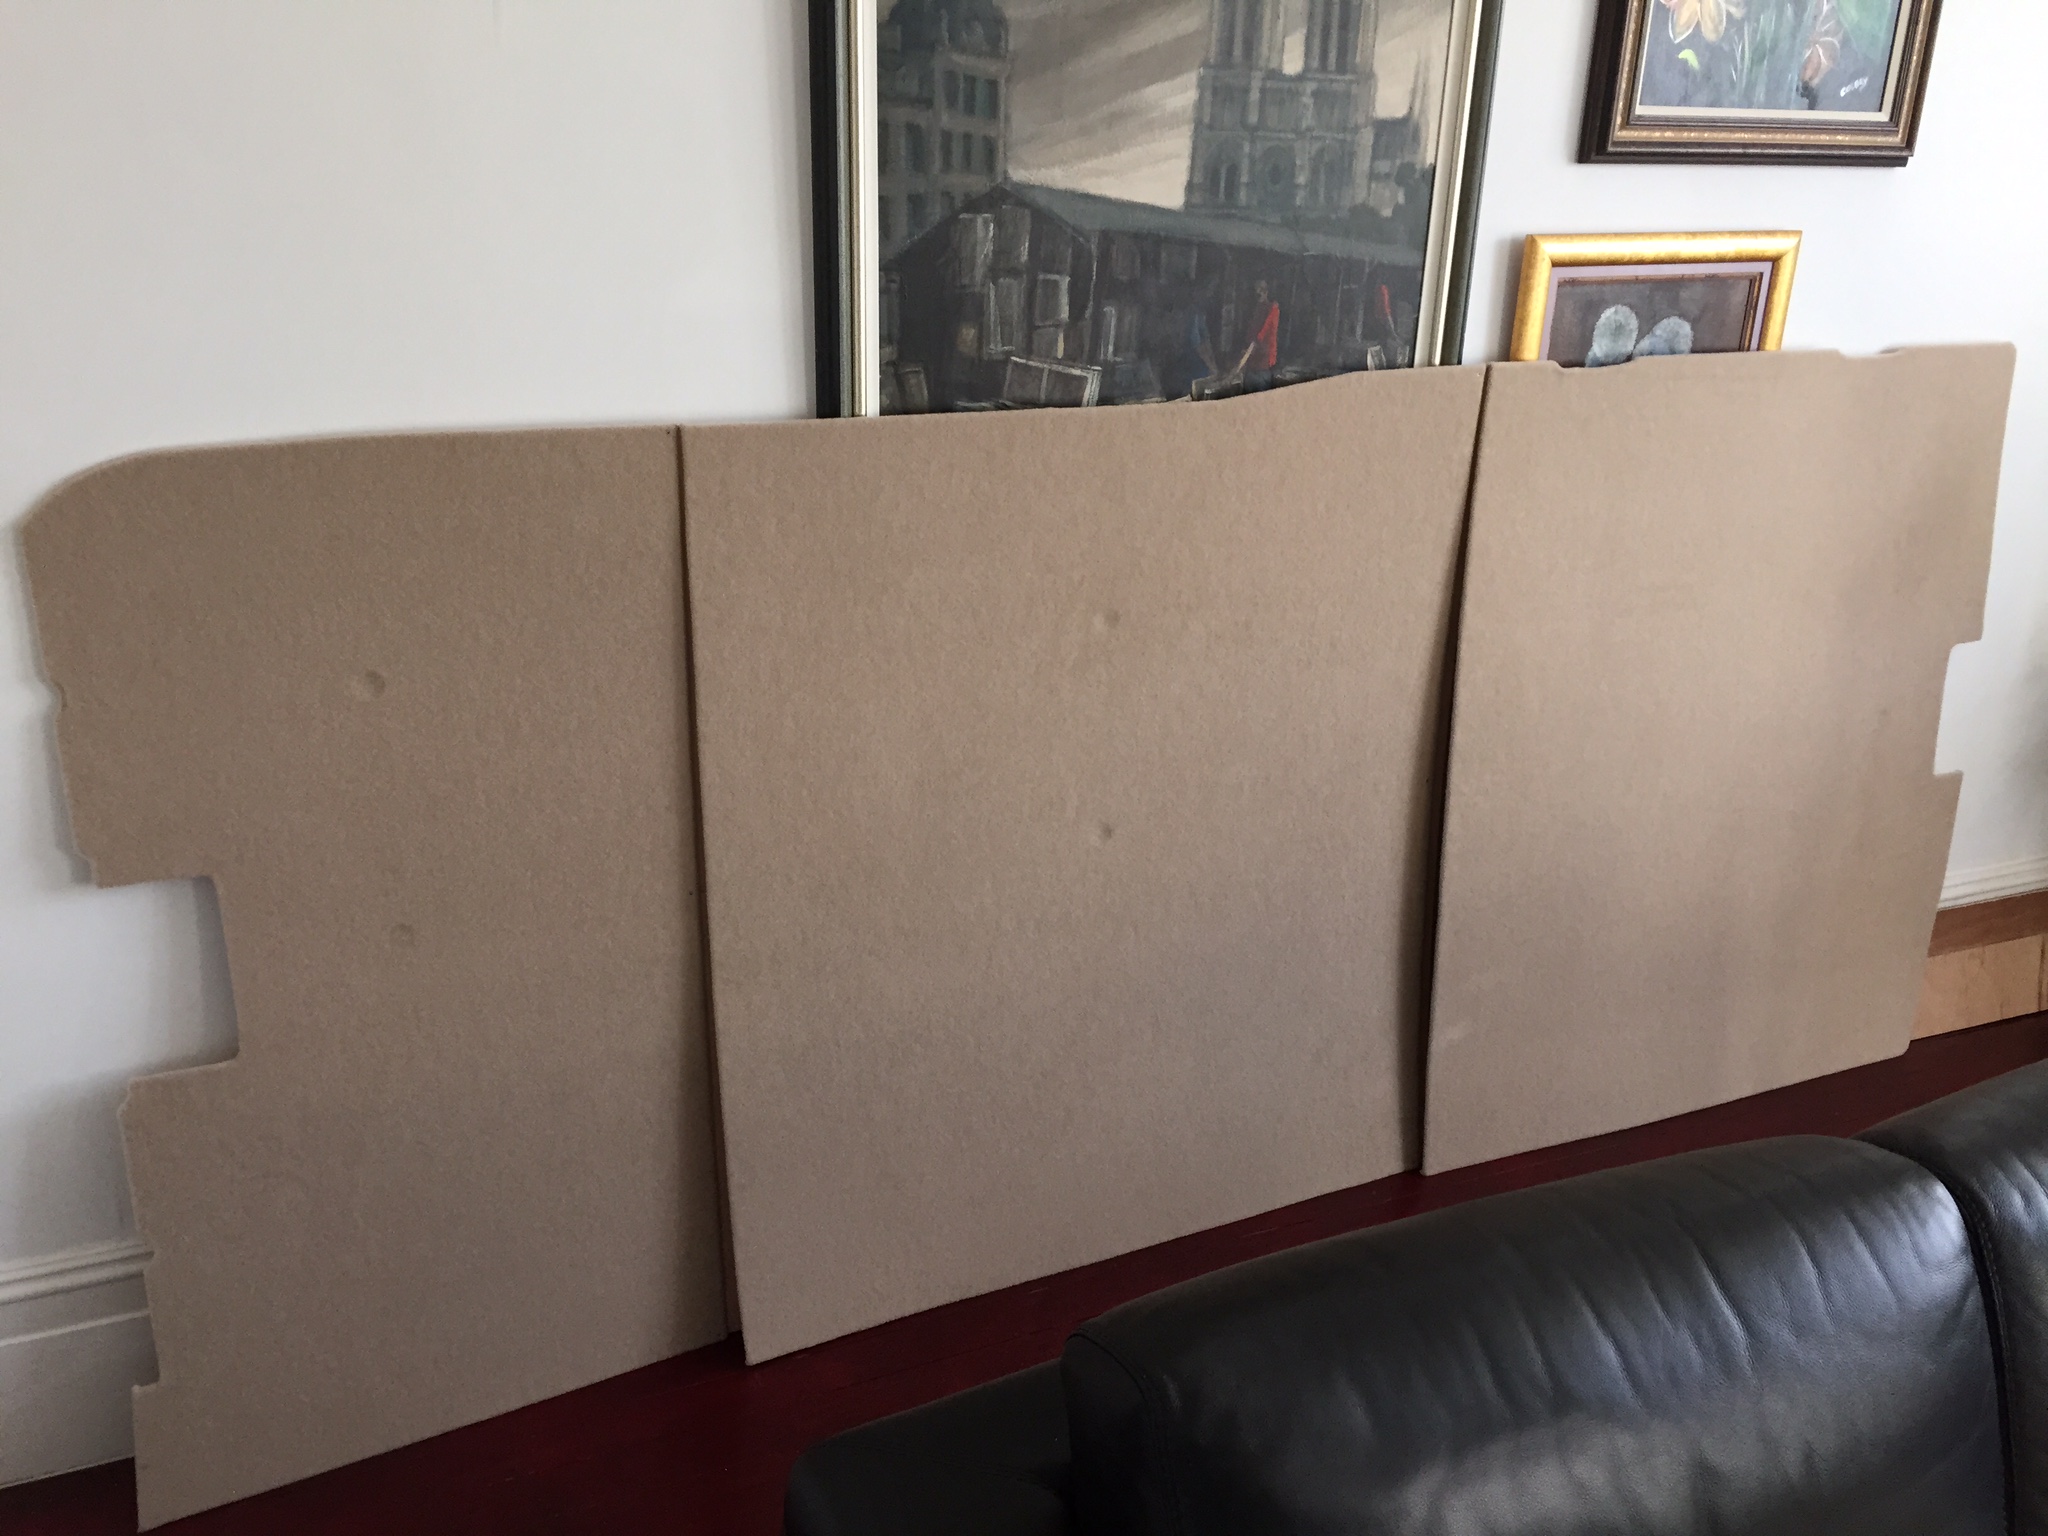
I found the walls a bit tricky to cut for this van, because there are very few straight edges in it. So the majority of the work had to be done with a jig-saw, which I am not particularly good with. Luckily, I had saved the original ply panels, so I used them as templates to cut the new ones.
Cutting holes in the ply panels for the windows proved to be more challenging. I used a transparent flexible (but not stretchable) plastic (actually an old floor protector sheet) to transfer the window curve points to the plywood and then traced lines to join the points together. It took a while, but the result seems to be OK:
Be careful not to break the panels at their narrowest points after you cut the large window holes. Even consider cutting the panels into top and bottom halves, so you have more room to play when positioning them. Mine all broke in the end, but luckily you can hide most breaks with carpet pretty easily, which I did.
Some key learning from this section of the project echo those from attaching the ceiling panels, in addition to the following:
- Allow for floor cover thickness if pre-drilling fixing holes as well as for the carpet around the panel edges.
- Avoid drilling holes close the the edges of the van, as there is a tendency to lose bits there (come up/in about 40mm if possible).
- If installing wiring conduits, ensure they fit through the holes and don't forget to pull all of them through before attaching, unlike me, who had to take some panels off again and cut bigger holes in-situ.
We left the sliding door and rear doors to be done after phase 2, since we ran out of time. As with the floor, if I were to do this again, I would consider ordering a ready made ply lining kit from somewhere, provided it was the appropriate thickness and went all the way to the ceiling. Then I would only have to cut out the window openings and holes for conduits.
Carpeting the rest
Apart from carpeting the ply panels, some areas inside the van needed to be covered also. These include:
- Around windows
- Rear pillars
- Sliding door frame
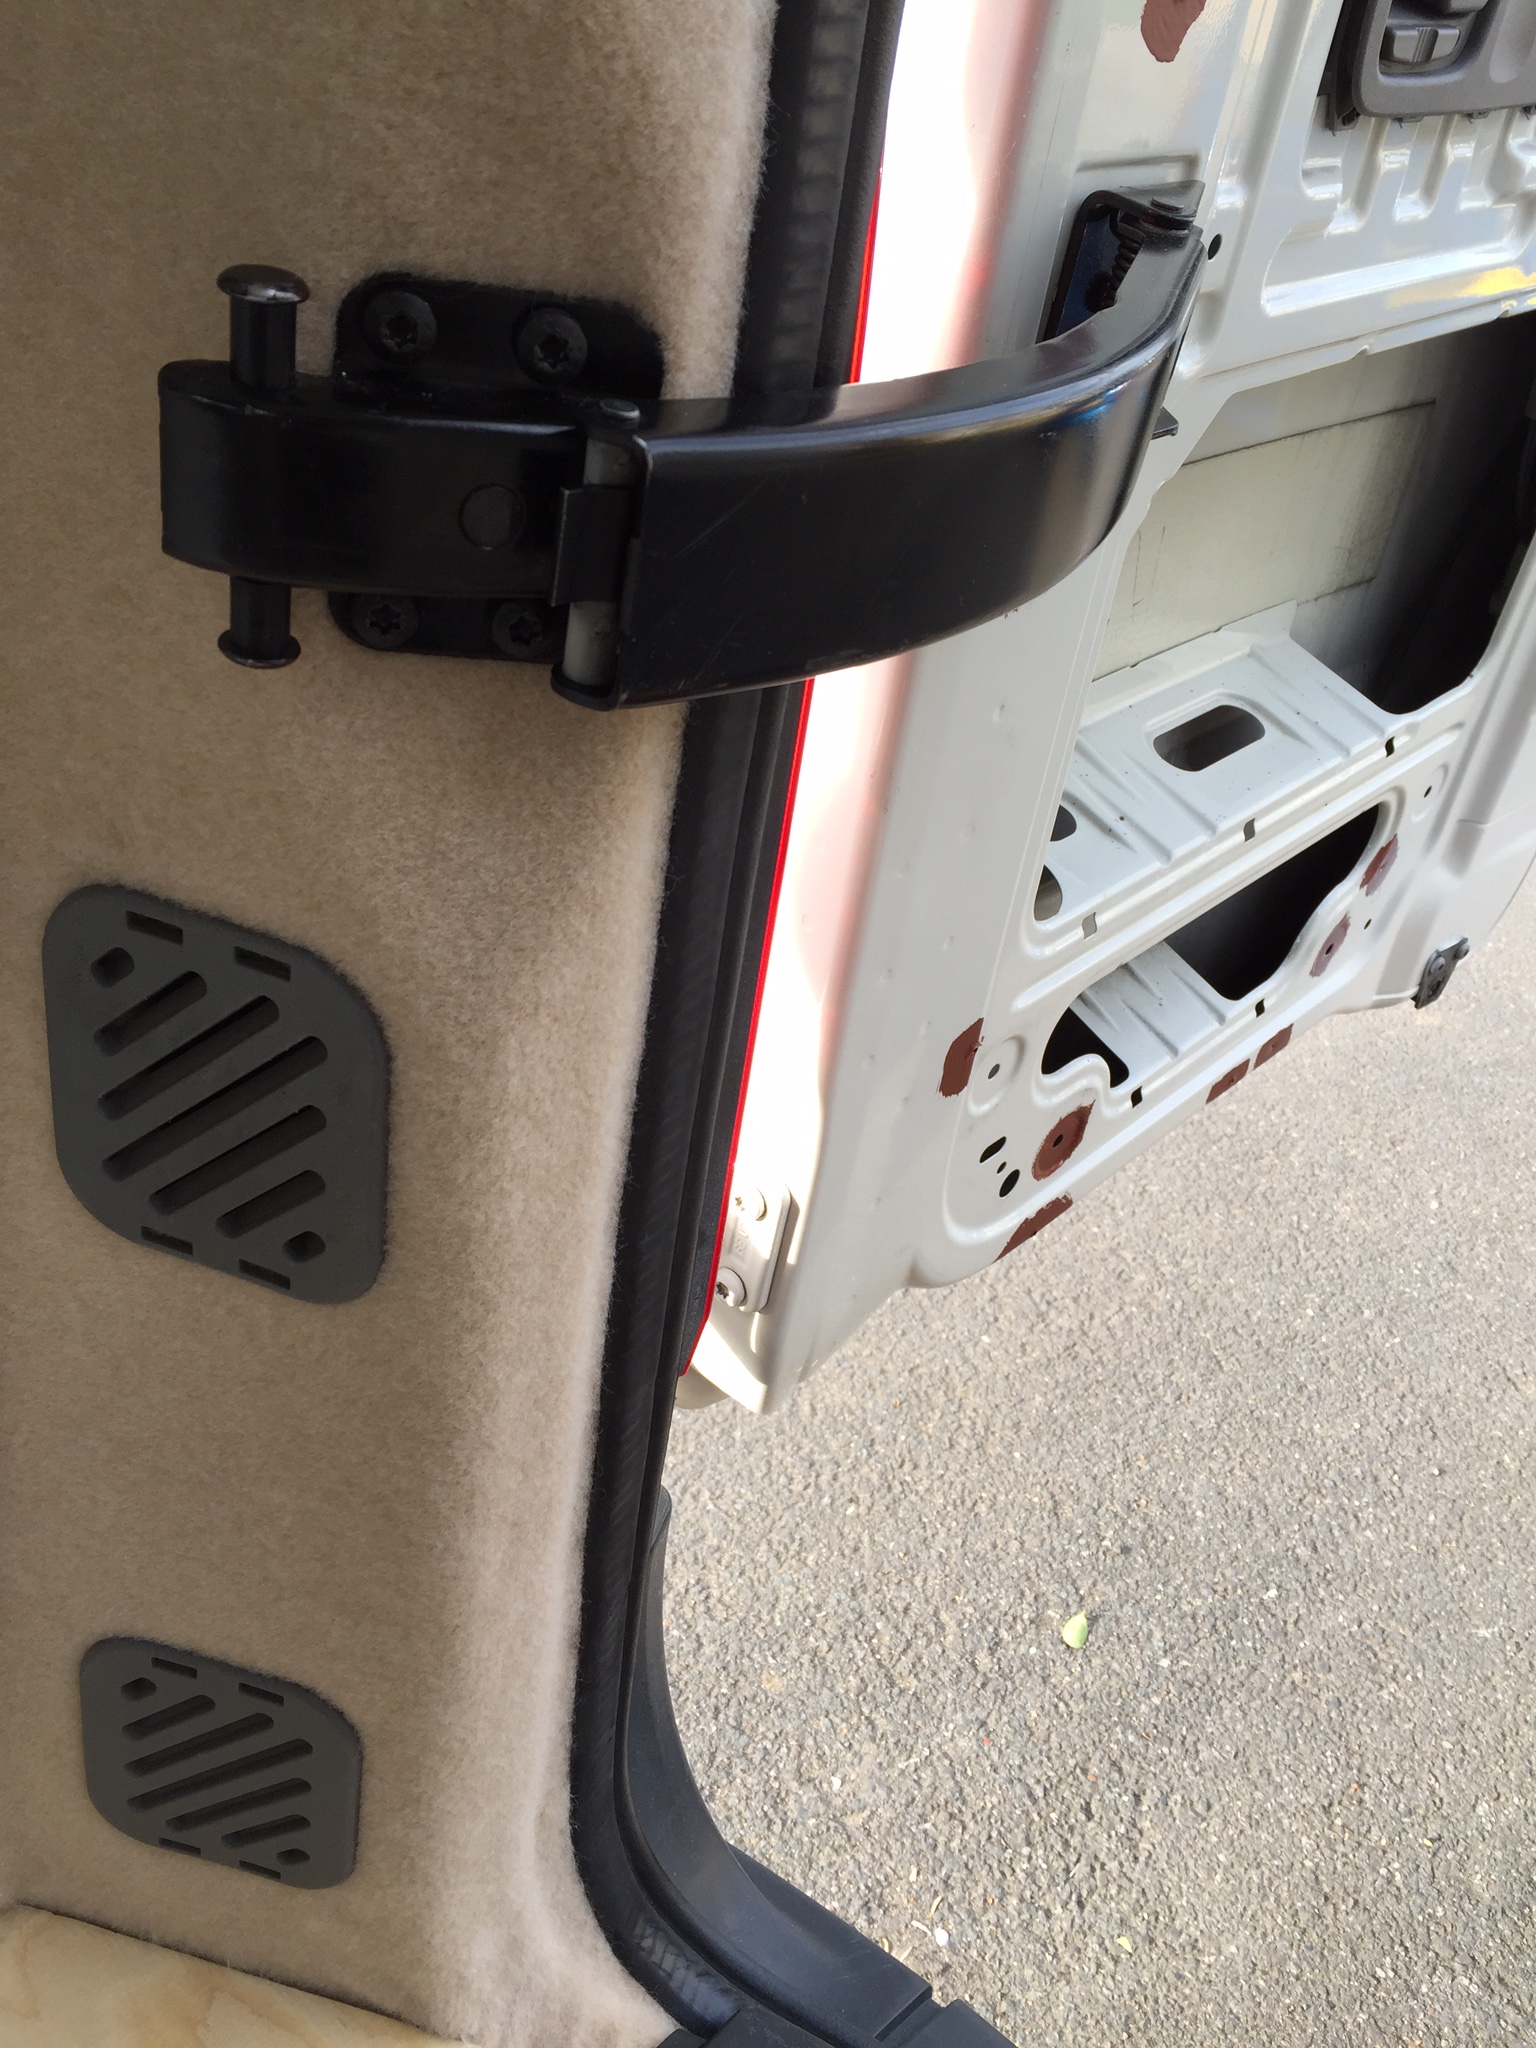
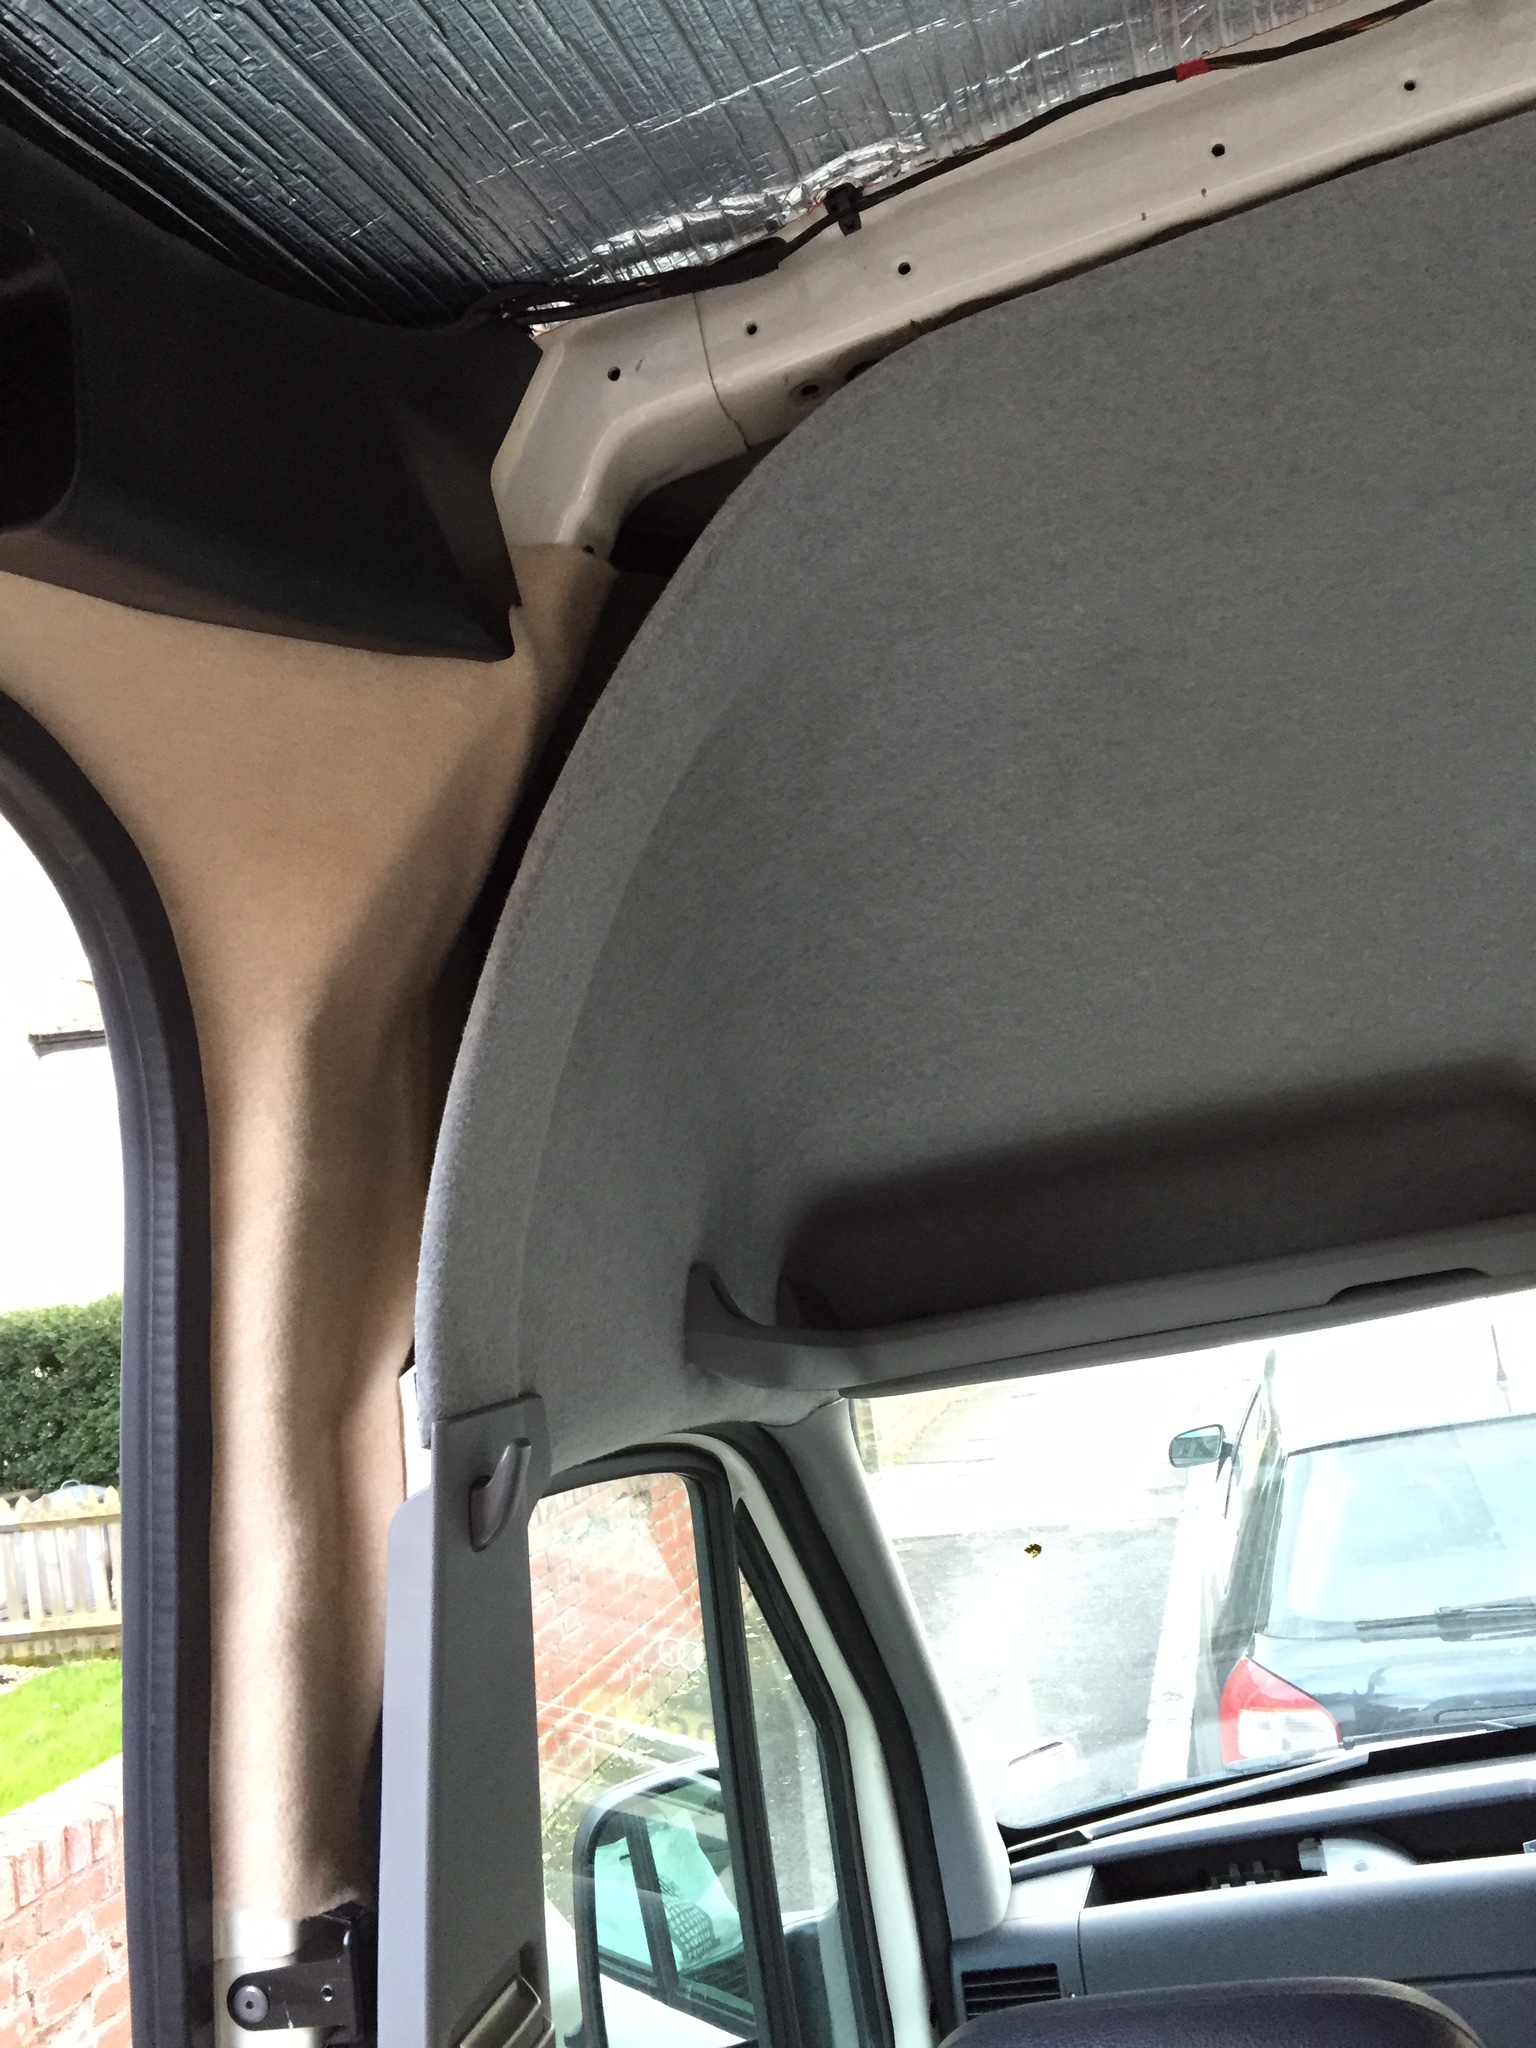
I glued carpet around the rear pillars, as well as around the door frame, which proved to be tricky because of the angles, but the carpet is stretchy and somewhat forgiving. I messed up cutting it in a few places, so I ended up with a few more joins than anticipated. All in all though, it doesn't look too bad.
I didn't carpet the front pillars all the way, since the expectation is to have then covered by ply trim during phase 2 as part of overhead cab storage build.
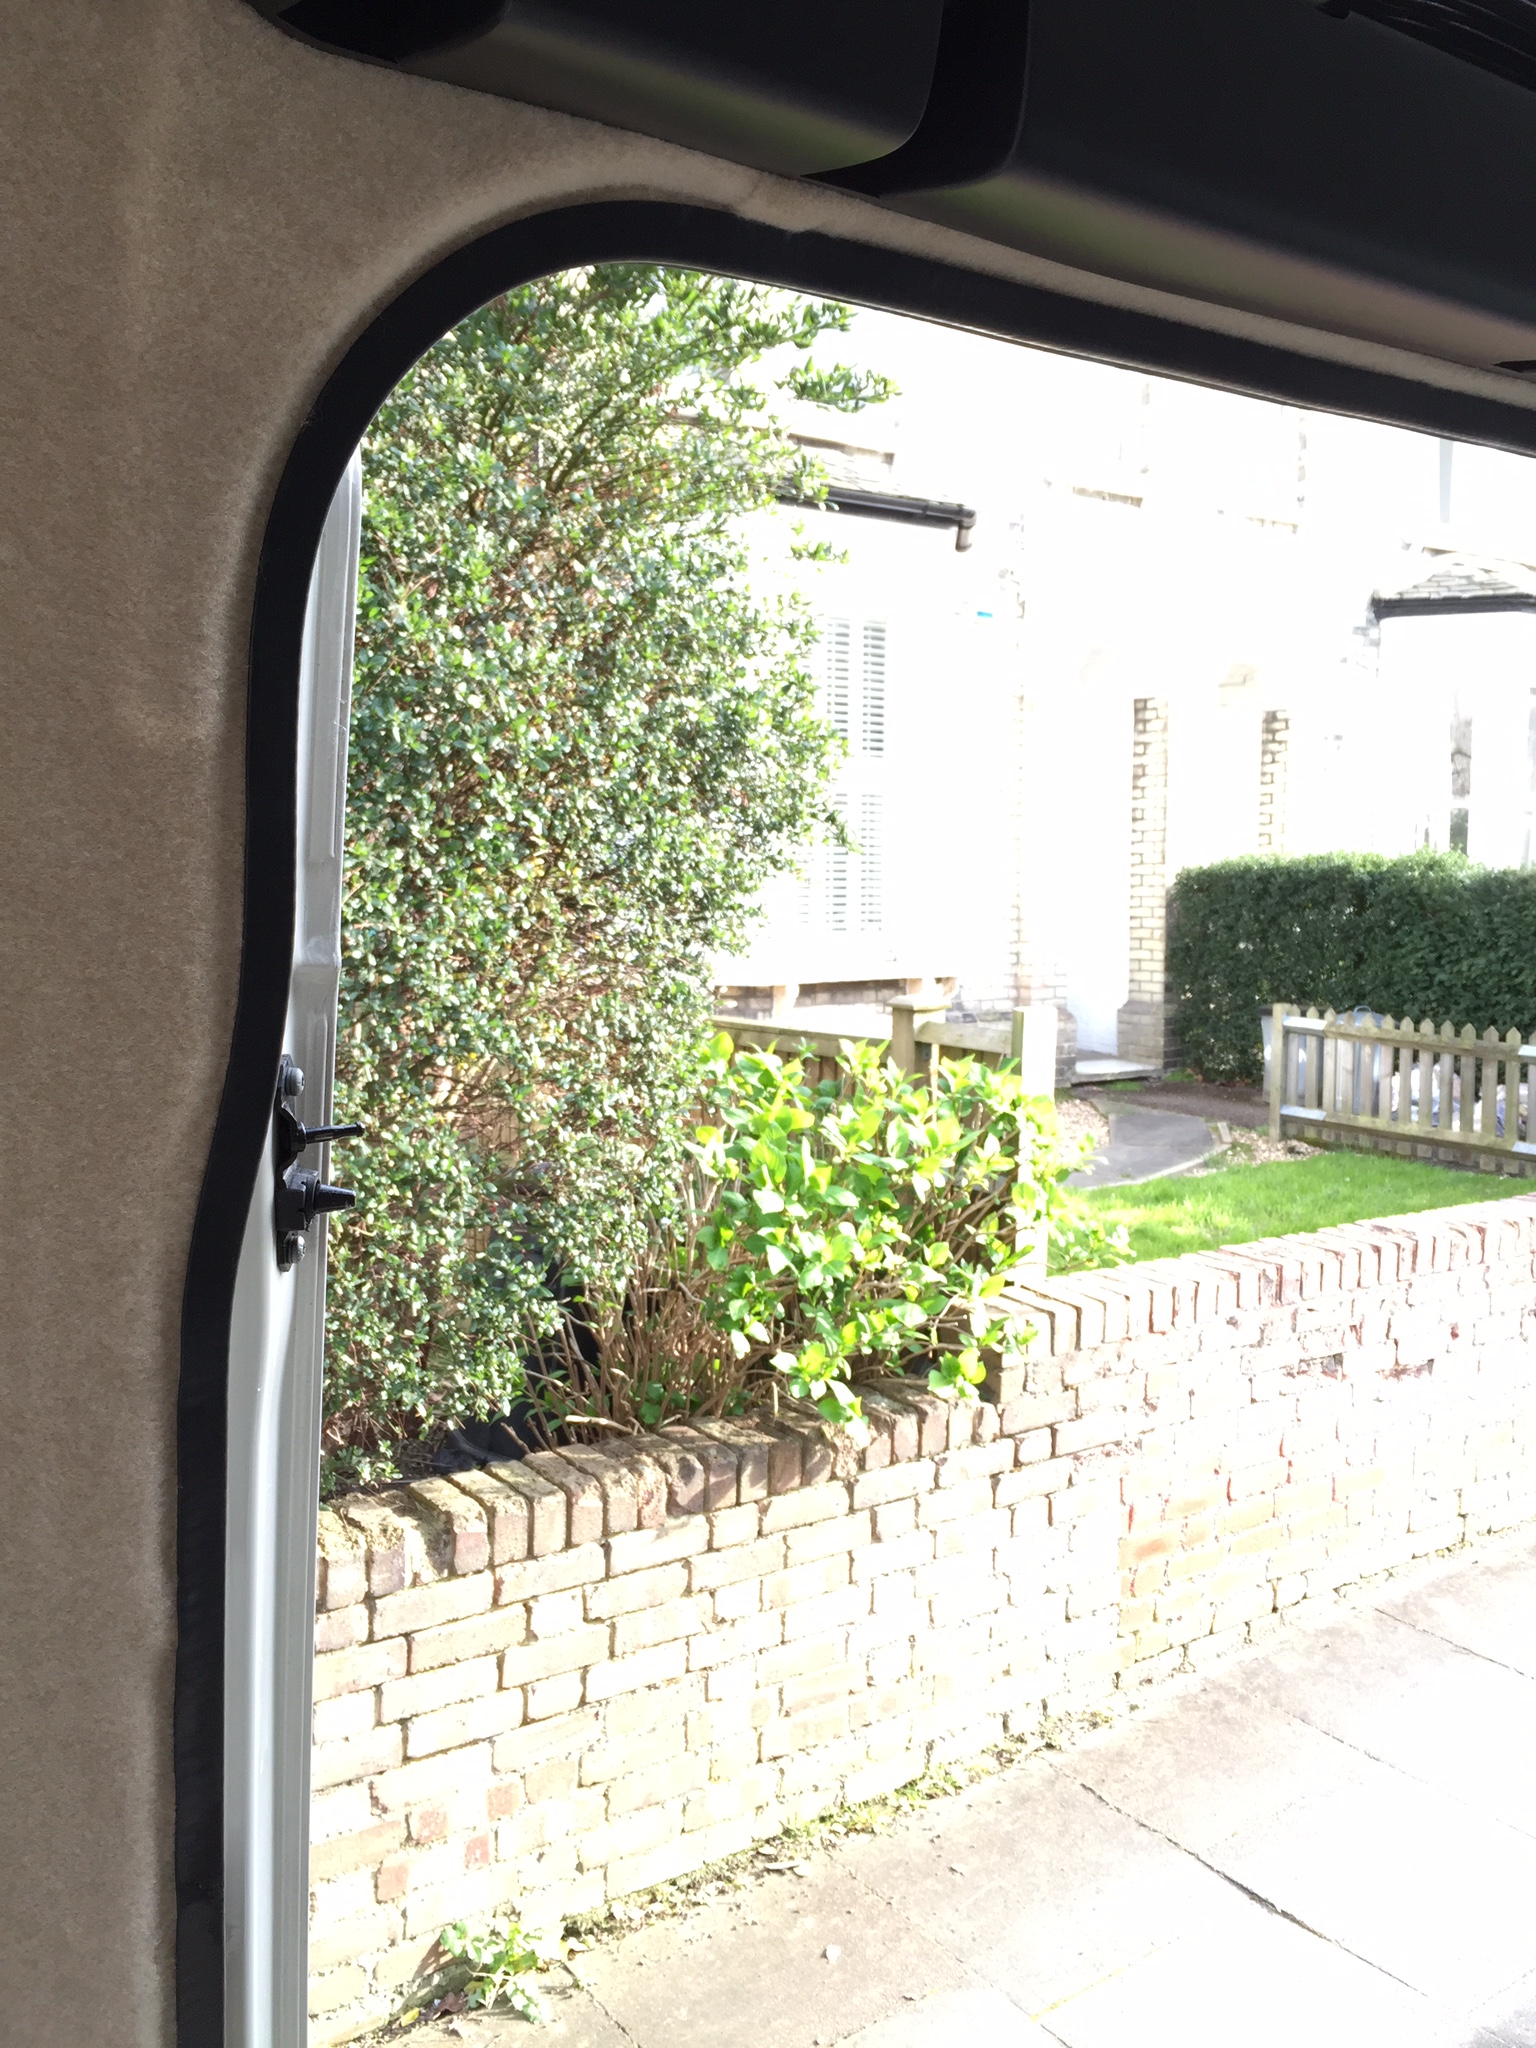
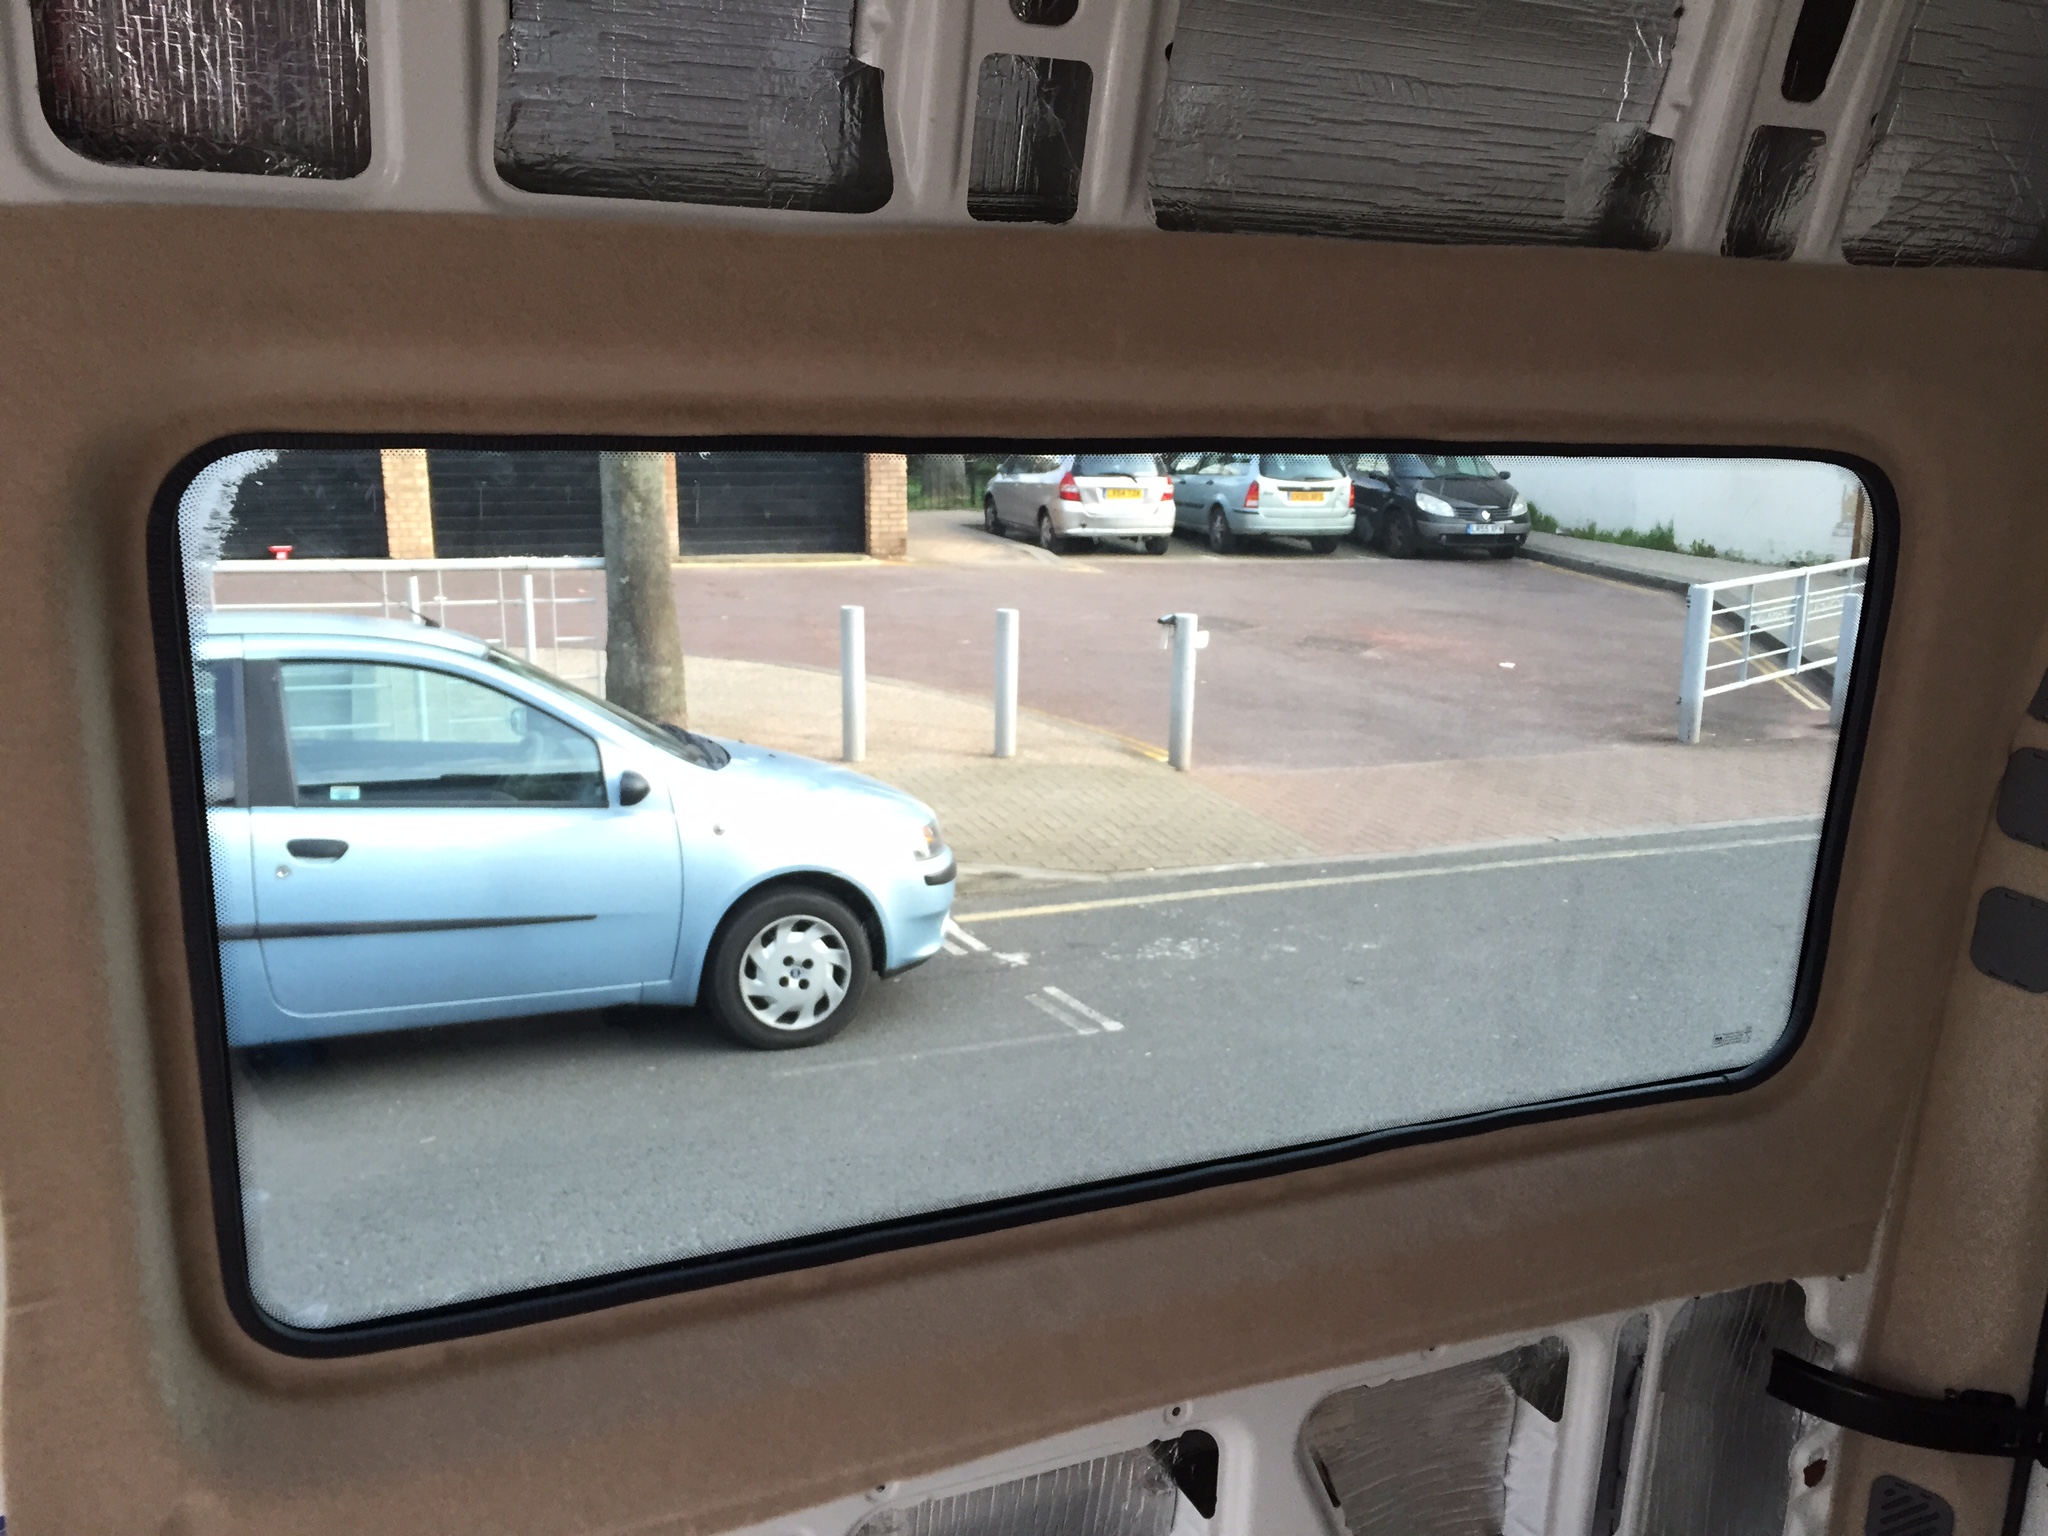
Around the windows, I cut out large pieces of carpet to cover the entire window, then glued the sides and cut out the window opening, ensuring enough carpet was left to be tucked away behind the edge trim. This is also a bit tedious, but the carpet is stretchy enough to work around all the corners without bunching up. The end result looked like this:
Floor Cover and Thresholds
For the floor covering, we obtained Polymax CIRCA PRO BLACK 2m Wide x 2mm Thick sheet from Polymax. Templates around wheel arches were created using aluminium foil, then transferred onto cardboard and finally onto the sheet. The biggest challenge with this part was to cut the exact openings for the seat rails. I tried using cardboard templates, but these proved to be unsatisfactory. Moreover, because I didn't use the jig to install the seat rails, while each individual set of rails are parallel to each other, they do not exactly line up behind one another. There is around 1-3mm skew, which while imperceptible to the naked eye, makes cutting straight lines impossible.
I ended up making a make-shift jig out of a piece of Polymax sheet and two plywood strips. In the Polymax sheet, I cut an exact hole for one of the rails and stapled the piece between the two ply strips. I then placed the jig over the first rail and using temporary screws fixed it to the ply floor. Laying the main sheet over the top, I screwed a few temporary screws through the main sheet and through the ply strips, to mark the alignment between the sheet and the jig. I then took the main sheet off, flipped it upside down and reattached the jig using screws through the same guide holes. I traced the rectangular rail opening on the underside of the main sheet and repeated the process by moving the stapled piece to each new rail position. I ended up with four cut-outs in the main sheet, which aligned perfectly with the low-profile Unwin rails.
Unfortunately I didn't take a picture, but it looked like this:
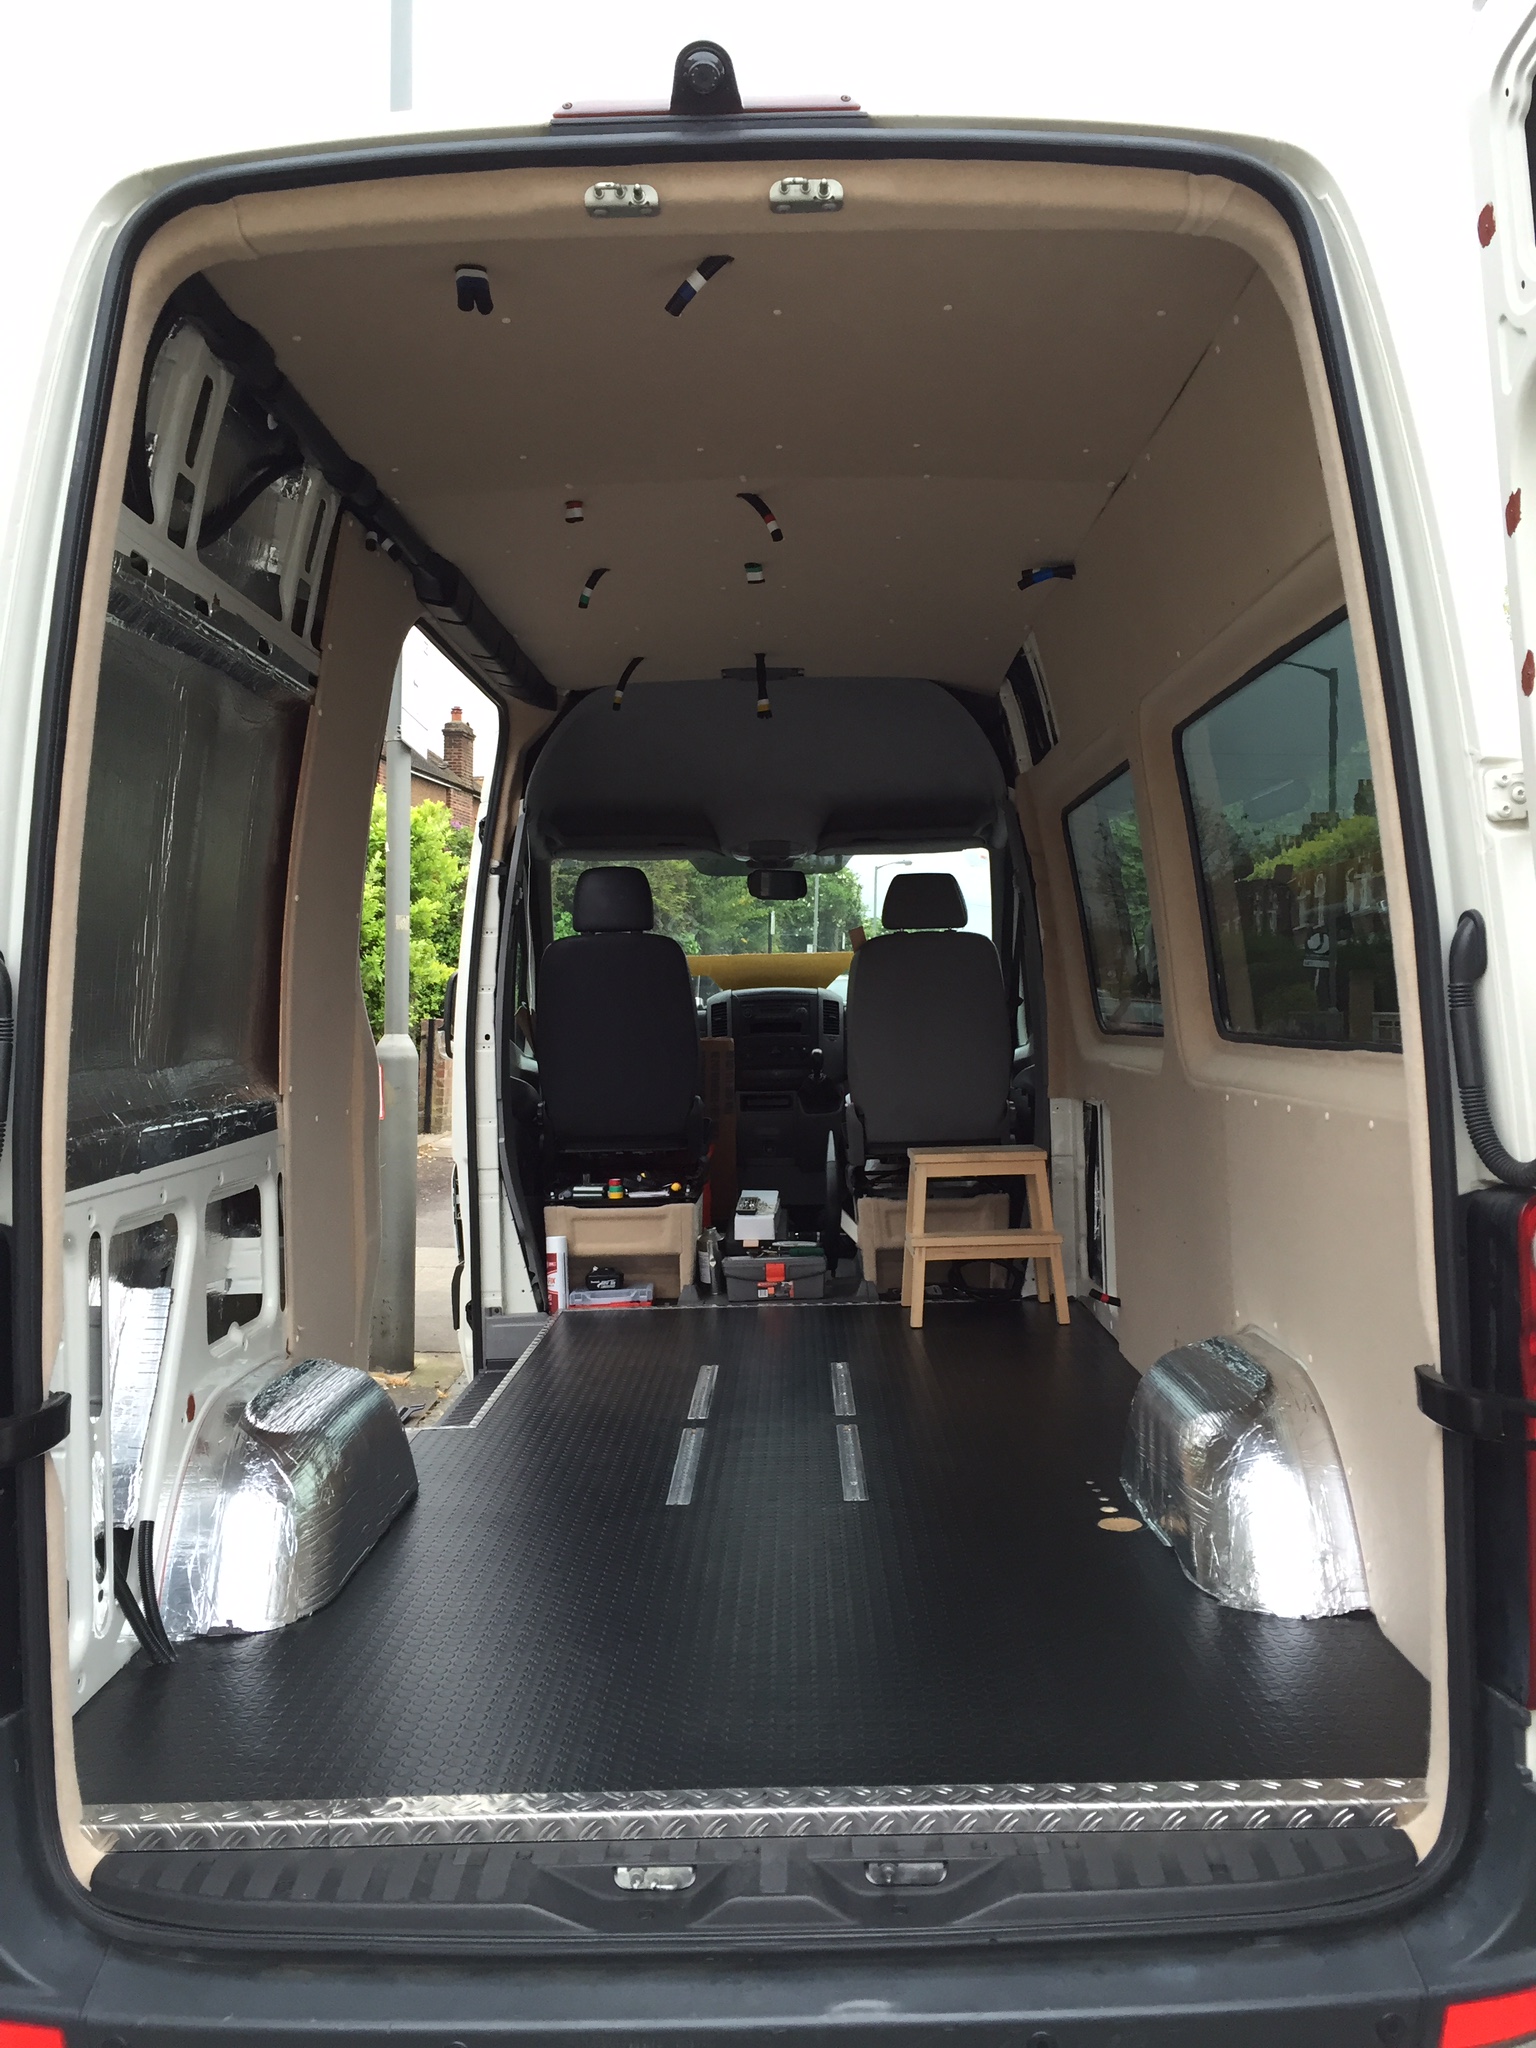
I glued it down with the same adhesive as we used for carpet, except in liquid form. This was the result:
I also made a massive mistake here by not using enough glue, so floor bubbles appear in the floor when it warms up. I will now have no option but to repair by injecting glue/solvent solution using a hypodermic needle and a syringe.
I bought only 1 litre of this adhesive, which claimed to cover 8-10m2. I pretty much ran out covering only the plywood towards the end. I would suggest ordering at least twice as much and covering both sides to be bonded together, followed by laying something flat and heavy on the whole thing (like a sheet of plywood and some bricks). Also, the carpet adhesive from the spray can seems to form a stronger bond that the one in liquid form.
For thresholds I used aluminium checker plate angle from Wickes, which I cut using airplane/aviation shears/snips. This works better than a hacksaw, giving a cleaner edge. I then filed the edges down to make a 45 degree join as best as I could.
I used an asymmetrical 29x43mm angle for the thresholds as pictured below, where you can also see the floor bubbling up due to insufficient glue/weak bond:
Wheel Arches and Boxes
I kept the original wheel boxes and decided against carpeting them. Instead, I used the left over Polymax sheet and trimmed the edges using left over checker plate aluminium angle from Wickes. I am not sure if these boxes will make it into the final design, as they are a bit bulky and may need to be sacrificed in favour of more space by the cabinet maker during phase 2. For now, they are included. You can see them pictured in the last photo below.
Other Stuff
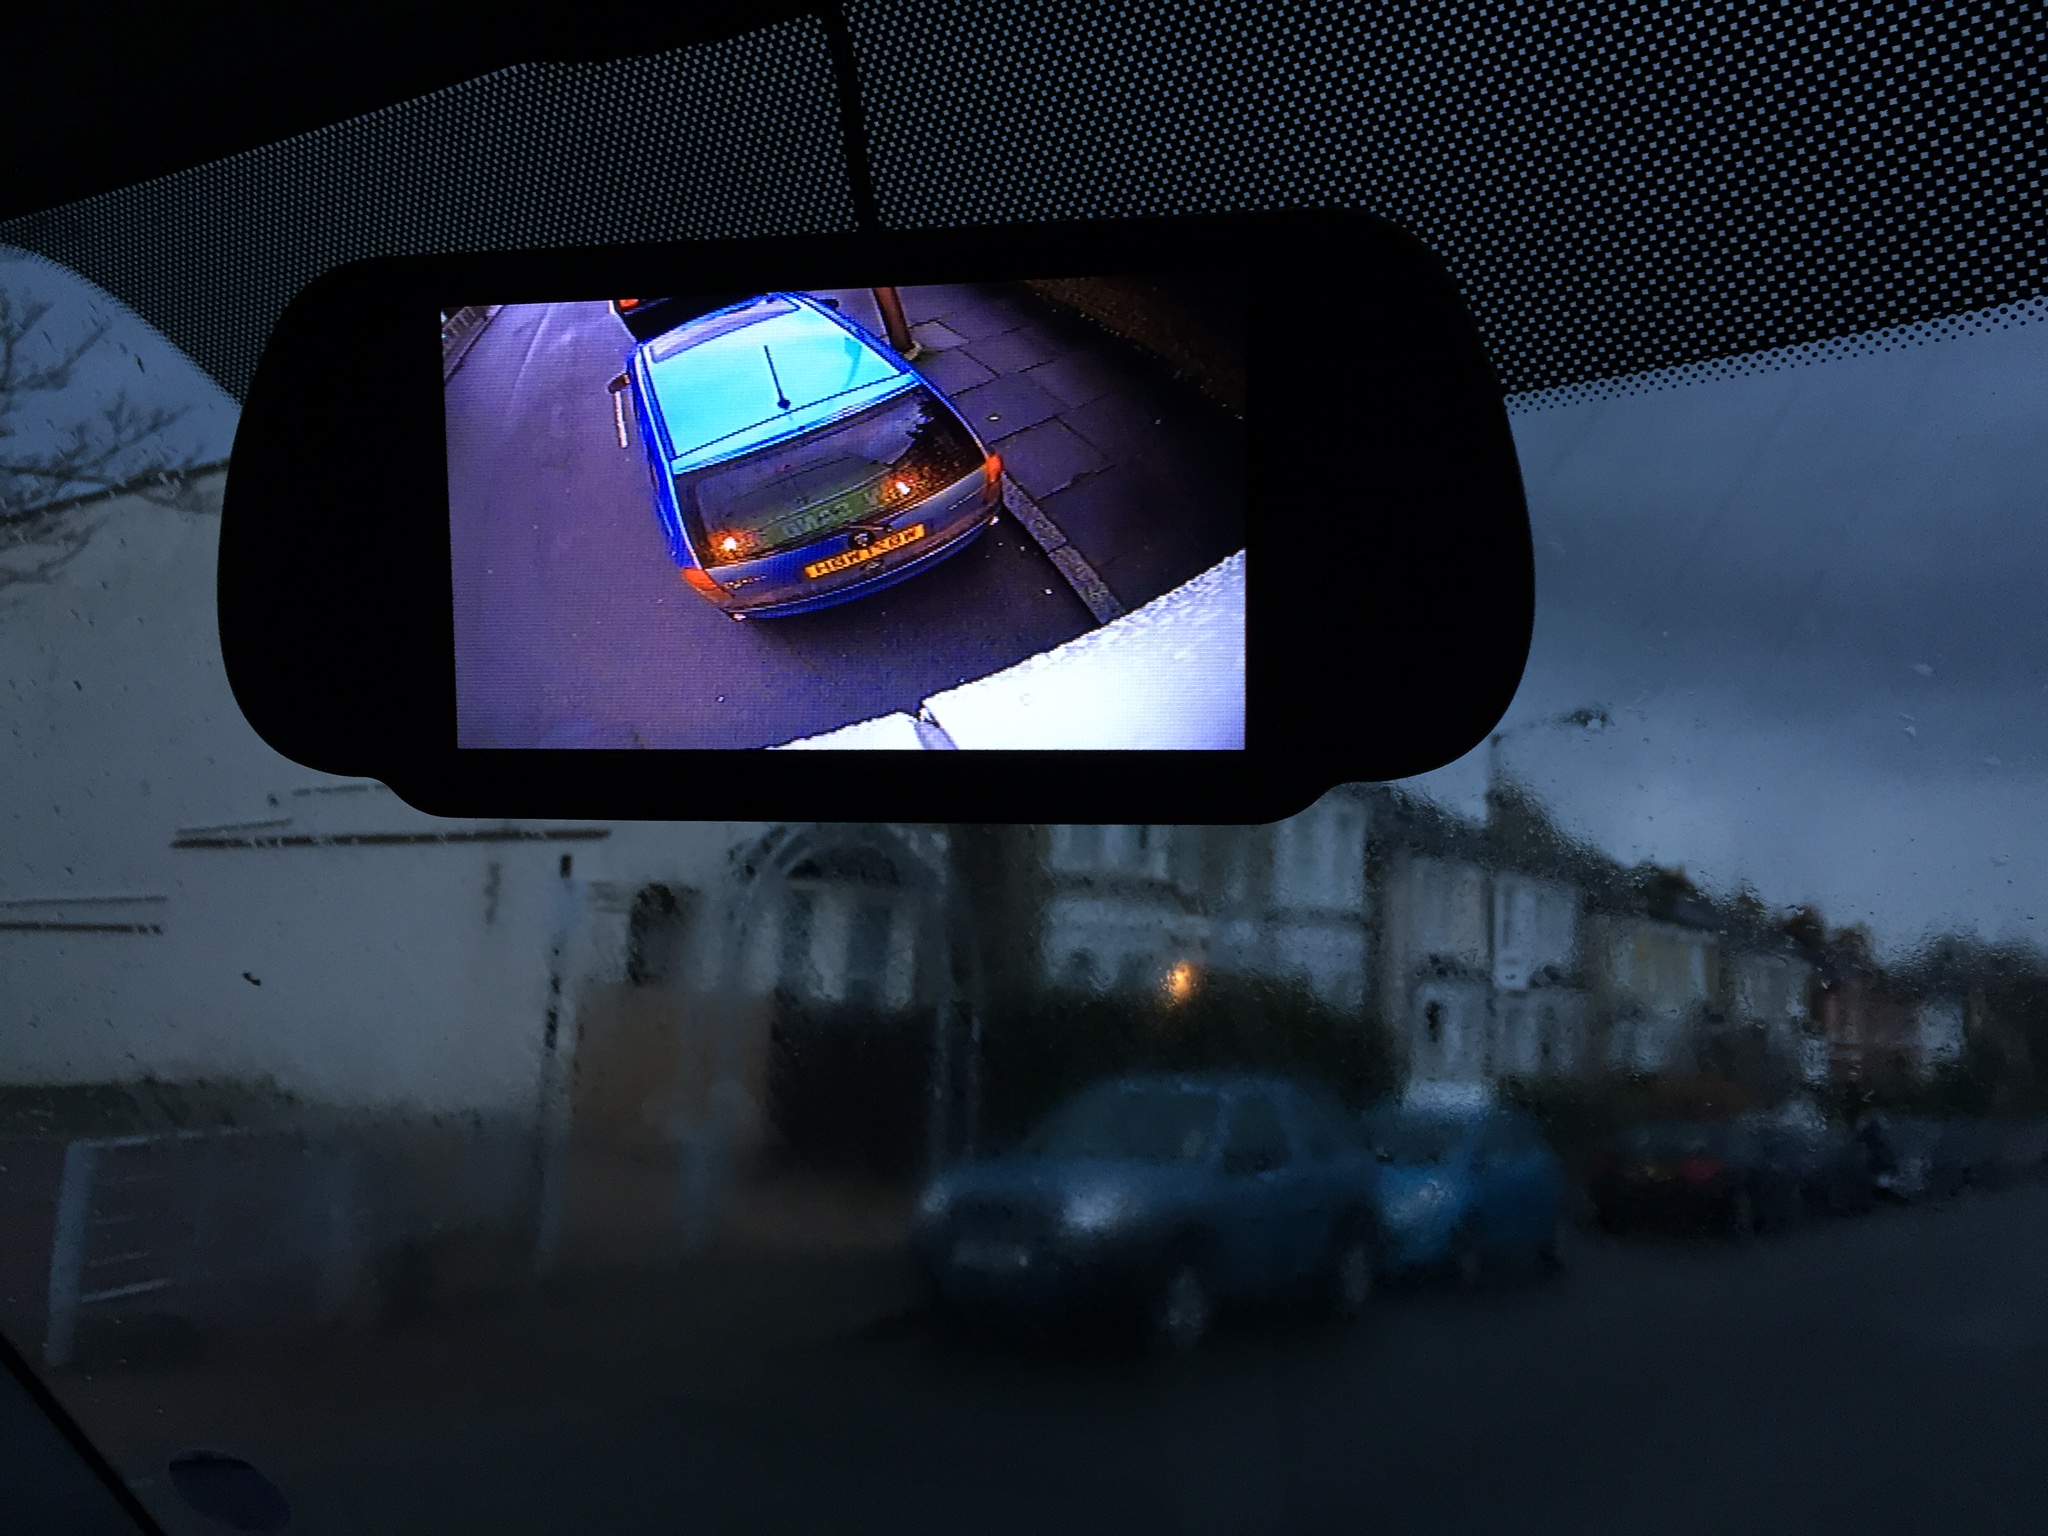
In between jobs, or when the weather was too poor to be working outside (the street is my workshop, since we live in London), I installed a reversing camera and enabled the AUX input on the standard VW stereo, so we can plug in our phones and listen to music.
I installed a Mercedes Sprinter/VW Crafter Rear Brake Light Sony CCD Reversing Camera Kit from eBay as well as a second-hand rear view mirror to clip the monitor to. I routed the video wire through the manufacturer conduit (N/S). I used a Autoleads BSFDUAL Blade Spur Fuse Dual (also from eBay) to take a feed for the camera from the cigarette lighter fuse blade. This fuse is only live when the ignition is on, which is what you want, since you do not want to have the monitor drain your battery. The camera takes the 12V feed from the reversing lamp, so it is only on when you are in reverse gear.
To get the AUX radio input enabled, I purchased an Aux in Adapter Jack Audio 5 Vw Crafter Mercedes a B Class Viano Vito Sprinter from eBay and enabled the AUX input using a simple procedure described here.
Conclusion of Phase 1
So with all the work completed, we are off to Marlin Conversions in Cornwall to hand over the van for phase 2 furniture and bedding work. Now this thing is someone else's problem, at least for the next 3-4 weeks and we can have a rest.
In the next post, I will describe phase 2 after Marlin Conversions have finished installing the furniture, bed and roof lights, followed by phase 3, where I will be installing gas, water and wiring up the electrics.

